
Last updated November 16, 2026
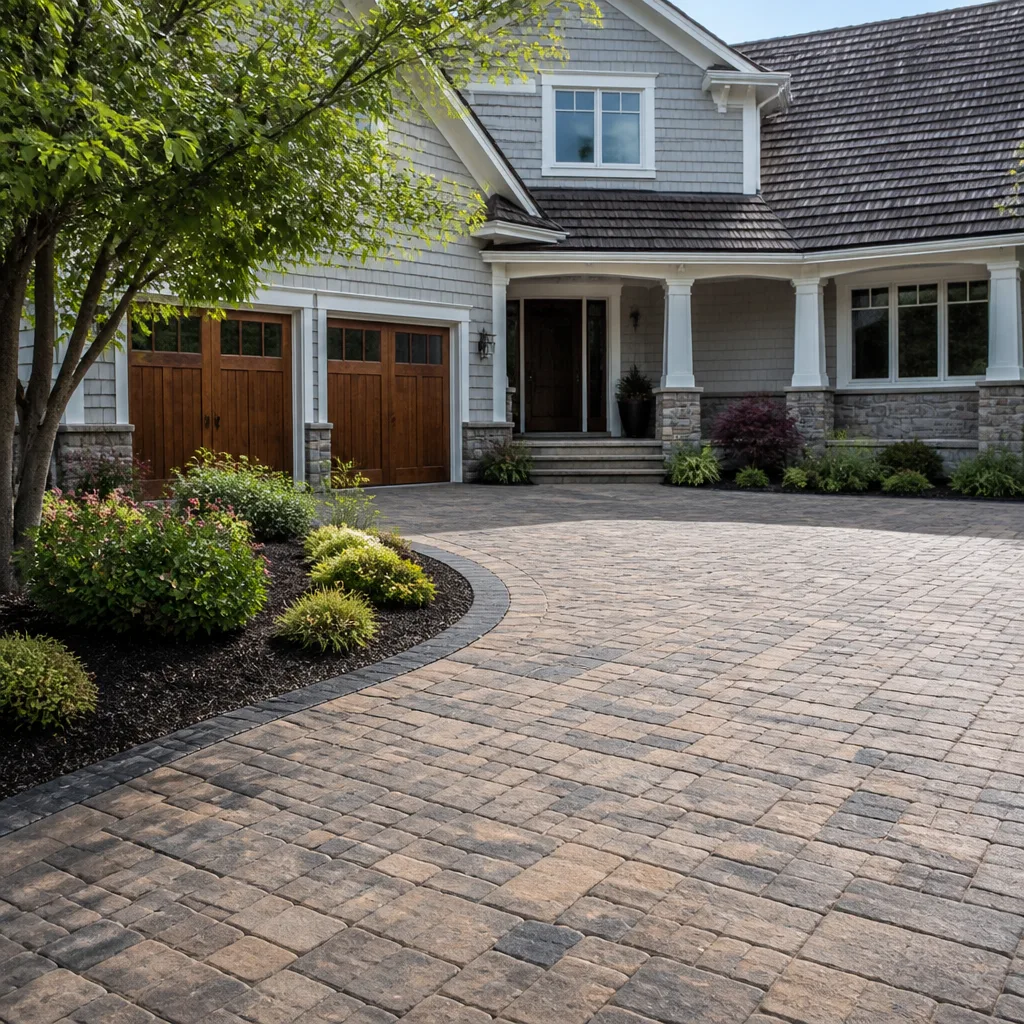 Driveway & pavers
 Kitchen remodeling
 Bathroom remodeling
 Home additions & ADU
 Roofing
 Windows & doors
 Fence
Free written scope consultation - allowances, timeline, and change-order rules on paper before a single trade is scheduled
Driveway & Pavers Warning Signs Every Homeowner Should Know
Most paver driveways don’t fail overnight. In our experience across Santa Clarita, the ones that turn into full base replacements almost always showed warning signs for months – a paver that rocked underfoot, a joint that widened a little more each season, water pooling in a low spot that wasn’t there last year. A driveway that looks fine from the street can be one wet winter away from a five-figure tear-out, and the cues are small enough to miss if you don’t know what you’re looking for. This guide names those cues plainly: what to check, what each sign actually means, and when a small fix is genuinely small.
Quick Answer
The most reliable early warning signs of driveway paver problems are a paver that rocks or shifts underfoot, joints that are visibly widening or losing sand, water pooling where it didn’t before, and sand bleeding out from under the edge restraint. Surface wear and faded color are cosmetic; movement, sinking, and drainage changes point to the base layer failing underneath, and those need attention before the rainy season rather than after.
Styles & brands we work with
- Kitchen remodeling
- Bathroom remodeling
- Home additions & ADU
- Roofing
- Windows & doors
- Driveway & pavers
- Fence
Table of Contents
- Warning Sign #1: A Rocking Paver Is Always a Base Warning
- Warning Sign #2: Widening Joints vs. Narrowing Joints
- Warning Sign #3: Drainage Failure and the Pooling Patterns That Give It Away
- Warning Sign #4: Edge Restraint Failure (Not Frost Heave, Not Tree Roots)
- Warning Sign #5: Broad Settling and Rutting Across a Drive Lane
- Warning Sign #6: Efflorescence, Sand Loss, and Staining That Won’t Rinse
- When a Small Problem Is Actually Small – and When to Act Fast
- What Santa Clarita Climate Does to a Paver Base
Warning Sign #1: A Rocking Paver Is Always a Base Warning
Here’s the single most misunderstood sign on a paver driveway: a paver that rocks when you step on it. Homeowners often figure they can pop it out, tap a little sand underneath, and set it back. If the paver is simply loose because the bedding sand washed out at that one spot, a re-set may hold. But when the same paver rocks again a few weeks later, the problem isn’t the paver. It’s the material below the bedding sand – the compacted base course that is supposed to be the driveway’s backbone.
A paver is only as stable as what’s under it. If the base has softened, lost density, or washed out from a slow drainage problem, the paver above it has nothing solid to sit on. That’s why we treat a recurring rocking paver as an early base warning, not a surface problem. In Santa Clarita, the common trigger is irrigation overspray or a downspout discharging near the driveway edge, softening a patch of base over a couple of seasons. The fix isn’t the paver. The fix is finding why the base gave up at that spot.
How to check for a genuine base problem
- Walk the full driveway in bare feet on a warm day – bare feet feel rocking pavers that shoes miss.
- Mark with chalk every paver that rocks or sits lower than its neighbors.
- Note the pattern. One isolated paver near a downspout is different from a cluster in the middle of the drive lane.
- Look at the ground around those pavers after rain. A discolored ring or a wet patch tells you where water is getting in.
- If chalk marks reappear in the same spots 60-90 days after a re-set, the base is failing and a pro needs to look at the full build-up.
Warning Sign #2: Widening Joints vs. Narrowing Joints
Most homeowners watch the pavers. We watch the joints – the sand-filled gaps between them. They tell you two completely different stories.
Widening joints mean the pavers are spreading apart. That is almost always a sign of edge restraint failure, base movement, or settling spread across a field of pavers under load. When pavers push apart, the sand that locks them together runs out with every rain. The driveway gets less stable with each wet season, and once the interlock is gone, a drive axle can shear a joint open.
Narrowing joints – pavers creeping tight until they’re touching or chipping at the corners – point to the pavers sliding downhill toward the edge restraint or the driveway apron. That’s a base slope problem. It also stresses the pavers enough to spall a corner or pop the face off on a cold morning. If you see narrow, tight joints at the bottom of the driveway and wide joints at the top, that’s the whole driveway trying to slide, and it’s a clear call for professional help.
In our experience, widening joints near the edges and the apron belong in the “act before the next rainy season” column. Narrowing joints anywhere are worth looking at right away, because a base slope issue under load is the one that takes the driveway from repair to replacement.
Warning Sign #3: Drainage Failure and the Pooling Patterns That Give It Away
Water is what kills paver bases, and it’s almost always slow and patient. A paver base that stays wet loses density, and once a base softens, air pockets open up and things start moving. The trick is catching drainage failure before it becomes structural.
The pooling patterns that matter
- A new low spot in the middle of the drive lane. Water that used to sheet off now sits in a dip. That dip wasn’t there two years ago – the base under it has settled.
- Pooling against the house, the garage apron, or a fence line. This is the worst pattern for Santa Clarita homes. In our area we see it constantly with paver drives that slope back toward the garage after a winter of settling. Water there soaks the footing, and now you’ve got a driveway problem and a structural problem.
- Standing water near a downspout discharge or irrigation head. Same starting point every time – a point source wearing a hole in the base.
- Water that used to drain to the street and now drains the opposite direction. That’s a slope change from beneath, not a surface quirk.
The simple test: on a dry day, run a hose on the driveway for ten minutes and watch where the water goes. If it ponds deeper than a quarter inch and stays longer than an hour, the surface has tilted or the sub-base has lost its shape. Either way, it’s a job for a professional inspection before the first fall rain arrives.
Warning Sign #4: Edge Restraint Failure (Not Frost Heave, Not Tree Roots)
The edge restraint is the hidden hero of every paver driveway – the concrete or aluminum curb that holds the field of pavers from spreading out. When it fails, homeowners almost always blame something else: frost heave, a tree root lifting the pavers, or just “the drought.” Three specific cues tell you it’s the edge restraint, not those other things.
- Sand bleeding out at the edge. A line of paver joint sand along the grass, the mulch bed, or the gutter line. If you’re adding joint sand every spring and can’t figure out where it’s going, it’s running under a failed edge curb.
- Pavers spreading outward at the edge. The outside row walks away from the field. It looks like the driveway “grew” a couple inches into the lawn.
- The edge curb itself lifting, tipping, or separating from the driveway. This is the clearest one. Homeowners read it as frost heave. Frost heave affects concrete slabs across a whole area; a lifted edge curb usually failed on one side because the base under it lost support.
Edge restraint repair is genuinely one of the most affordable fixes in hardscape work, and one of the most urgent. A failed edge is like a boat taking on water at the seam. It starts small and gets expensive fast. If we catch it in Santa Clarita before the first fall rain, most driveways take a repair, not a replacement.
Warning Sign #5: Broad Settling and Rutting Across a Drive Lane
You walk out in the morning and the driveway doesn’t look level anymore – it looks scooped. That shallow dip where the tires roll is called rutting, and it’s a different animal from an isolated rocking paver. Rutting means the base material is failing under load across a larger area. Set your phone on a straight edge laid across the drive lane and look for daylight under it in a rutted spot – more than a quarter inch of gap over a four-foot span is a real concern.
There is a subtlety to this one. Every paver driveway develops a little “memory” at tire tracks – it’s normal and it stabilizes. But when the rut deepens year over year, or when it appears in a lane that never carried trucks, the base was under-built. Common causes are clay-heavy subgrade with too little aggregate, insufficient compaction at install, or a base that got wet before it was ever paved over. Santa Clarita’s clay soils make this a more likely finding than homeowners expect. If the rutting is broad, deepest near the middle of the drive, and growing, that’s a professional inspection.
Warning Sign #6: Efflorescence, Sand Loss, and Staining That Won’t Rinse
Not all stains are equal. Some of what looks like a dirty driveway is a signal. Here’s how we sort them:
- White, chalky bloom across face of the pavers: efflorescence – mineral salts wicking to the surface. Often cosmetic, and it usually fades. But when it keeps returning to the same patch, water is moving through that spot from below.
- Sand bleeding from joints after a rain: joint sand loss. A little in the first season is normal. Steady loss after year two means the pavers are moving, and the interlock is broken.
- Dark permanent stains that don’t rinse off: often iron oxide from the base aggregate, or algae in constantly damp joint sand. Both point to ongoing moisture.
- Chipping face on paver corners: a mechanical sign the interlock is stressed, and a chip in one paver almost always means its neighbors are carrying load they shouldn’t be.
We’ve learned to read “cosmetic” versus “structural” with one rule: cosmetic issues stabilize. Structural issues get worse across the next wet season. If you can’t tell, have someone look at it before the rainy season rather than after.
When a Small Problem Is Actually Small – and When to Act Fast
Homeowners come to us in two camps: the ones who panic over every weed growing in a joint, and the ones who ignore a visibly spreading edge until a paver’s gone missing. Neither is right. Here’s the plain version.
Genuinely small – can wait for the next scheduled service
- A single loose paver near an irrigation head with no recurring pattern.
- Faded color or dull appearance on an older Belgard or Techo-Bloc driveway – a proper cleaning and re-seal refreshes the look and resets your clock.
- Weeds in joint sand – remove them and top up the joint sand; not a base issue.
- Light efflorescence on a new-ish driveway that fades within a season.
Act before the next rainy season – the difference between a repair and a replacement
- Widening joints at the edge, sand bleeding out at the lawn line, or an edge curb tipping.
- Any paver that rocks in the same spot after one re-set.
- A new low spot holding water in the drive lane.
- Water sheeting toward the house or garage.
We can’t speak for the rest of the state, but in Santa Clarita the calendar matters. Our rainy window runs roughly late fall into early spring, and the ground softens just enough that a failing edge or a failing base becomes a real problem. Getting a professional out in late summer or early fall to look at the symptoms means the work happens dry, and repairs hold. Waiting until after the first big rain means chasing damage instead of preventing it.
What Santa Clarita Climate Does to a Paver Base
Santa Clarita is not the climate most paver guides are written for. Two things here work against a paver base in a way homeowners don’t anticipate.
The dry-wet swing. Our clay soils and expansive subgrade swell in wet weather and shrink in dry weather. That cycle works on the base and the edge restraint every single year. It’s why Santa Clarita paver driveways tend to show edge and joint symptoms before driveways in places with gentler seasonal swings.
Point-source water from irrigation. Santa Clarita properties run a lot of drip irrigation and turf irrigation near the driveway edge. A misdirected head puts a constant trickle into the same square foot of base for months. We’ve seen more failed base spots under an irrigation head than from any other cause in this area. When we look at a paver driveway in Saugus, Newhall, or Valencia, the first thing we check is where the irrigation lands.
The good news: Santa Clarita’s clay also means that a properly built base, installed with the right aggregate and compaction, holds for decades. When we install a paver driveway – typically in Belgard or Techo-Bloc, the brands we stand behind for local conditions – the base is the whole story. The pavers on top are what you see; the base is what you feel.
If all of this sounds like a lot of looking at joints, that’s because paver driveways speak in whispers. The signs that matter are quiet – a joint a half inch wider than it was last year, a shallower puddle that drains a little slower every month. Learning those signals is the whole point of this guide.
Common Mistakes to Avoid
- Popping a rocking paver and re-setting it without diagnosing the base. If the paver rocks again within 90 days, the fix is at the base level, and re-setting the same paver a third time is wasted money. Diagnose before you re-set.
- Confusing edge restraint failure with frost heave or tree roots. In Santa Clarita we almost never see true frost heave. When an edge curb tips or the outside row spreads, it’s usually a failed edge curb with base loss beneath it, and it’s a straightforward fix.
- Adding sand every season without asking where it’s going. Steady joint sand loss under load means the pavers are moving. New sand on moving pavers just loses the new sand next rain.
- Washing the driveway with a pressure washer at high pressure. Too much pressure strips the joint sand and the paver seal. Gentle nozzle, low pressure, and top up the joint sand afterward.
- Letting irrigation spray hit the driveway edge. Direct the head a foot away from the edge. Point-source water is the most common cause of localized base failure we see.
- Waiting out the rainy season on a failing edge or a new pooling spot. In Santa Clarita, the repair bill before the rain is usually a fraction of the repair bill after.
- Skipping local reference checks on a paver bid. Ask for a name on the same street, or look up the contractor’s license before you sign anything. On any paver job, ask whether the base aggregate and compaction are specified in writing.
See the difference
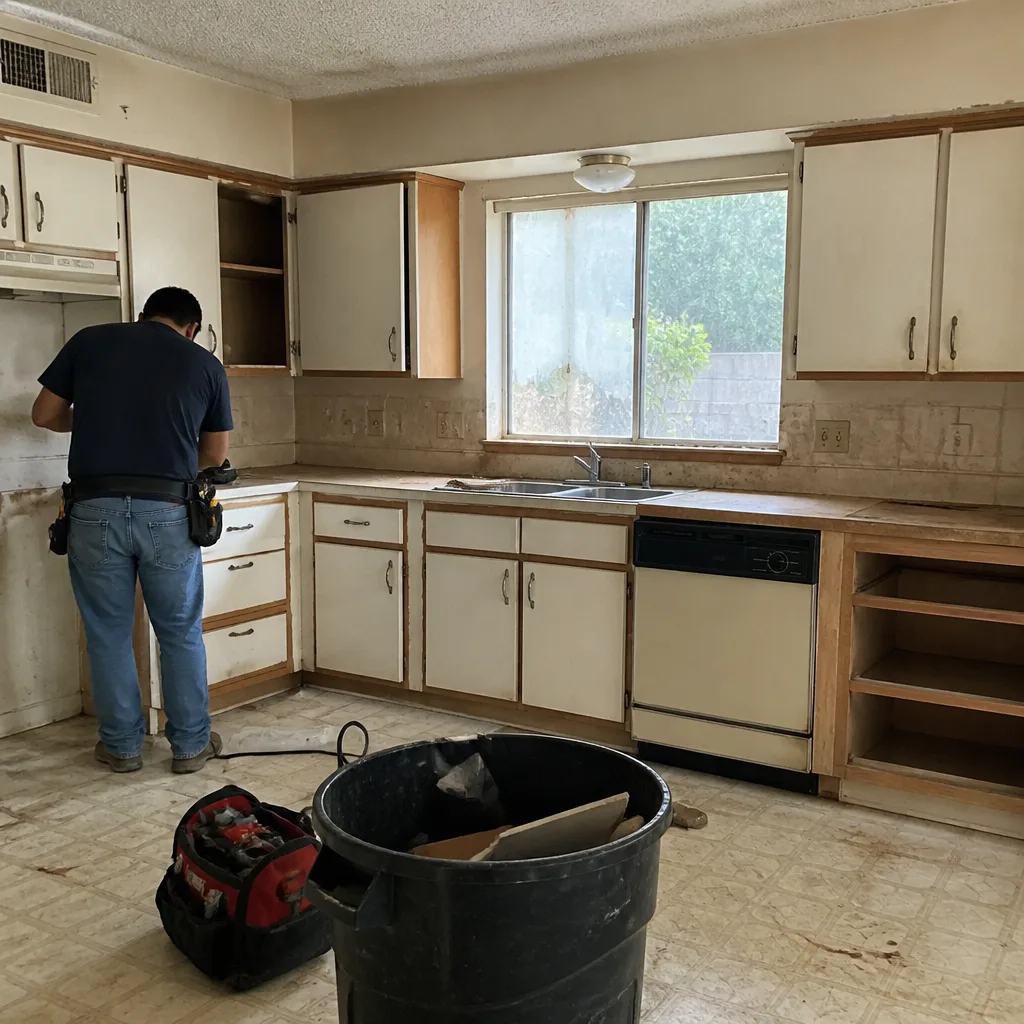 Before
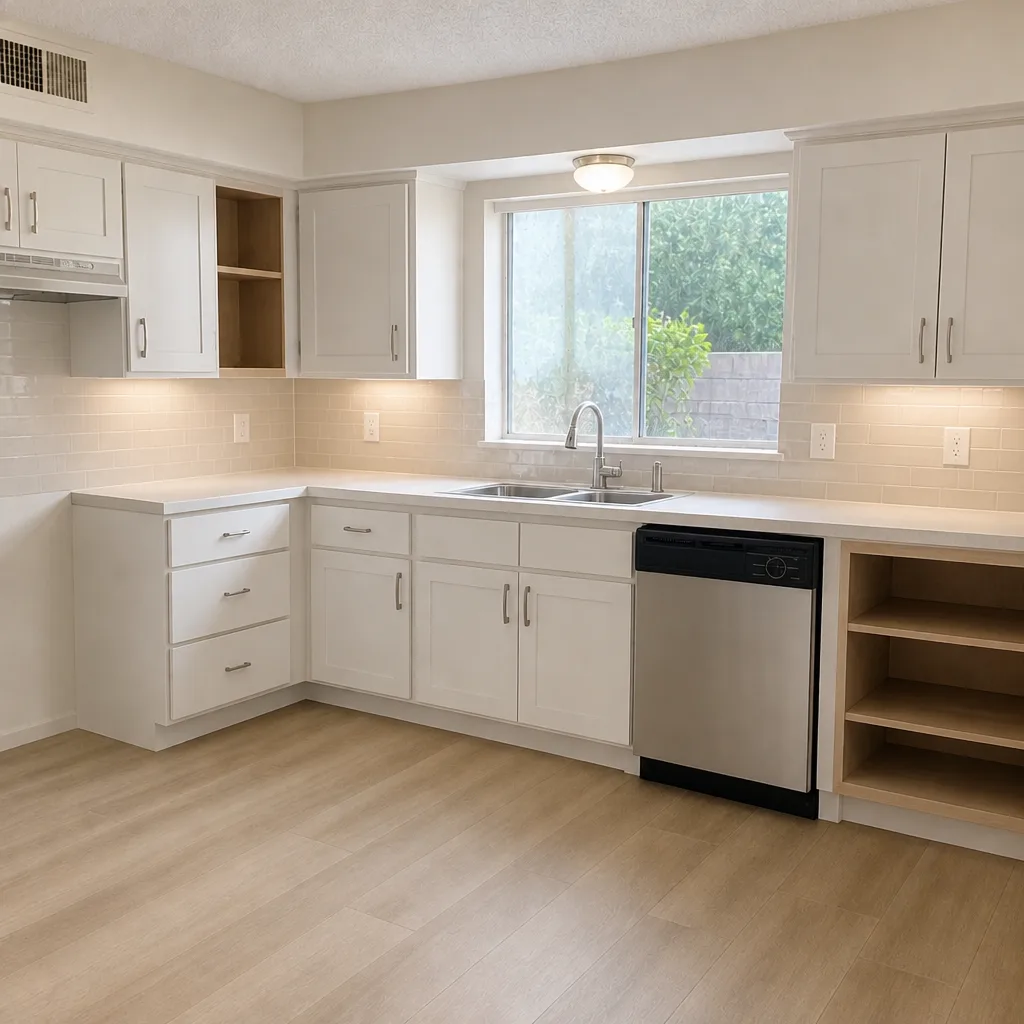 After
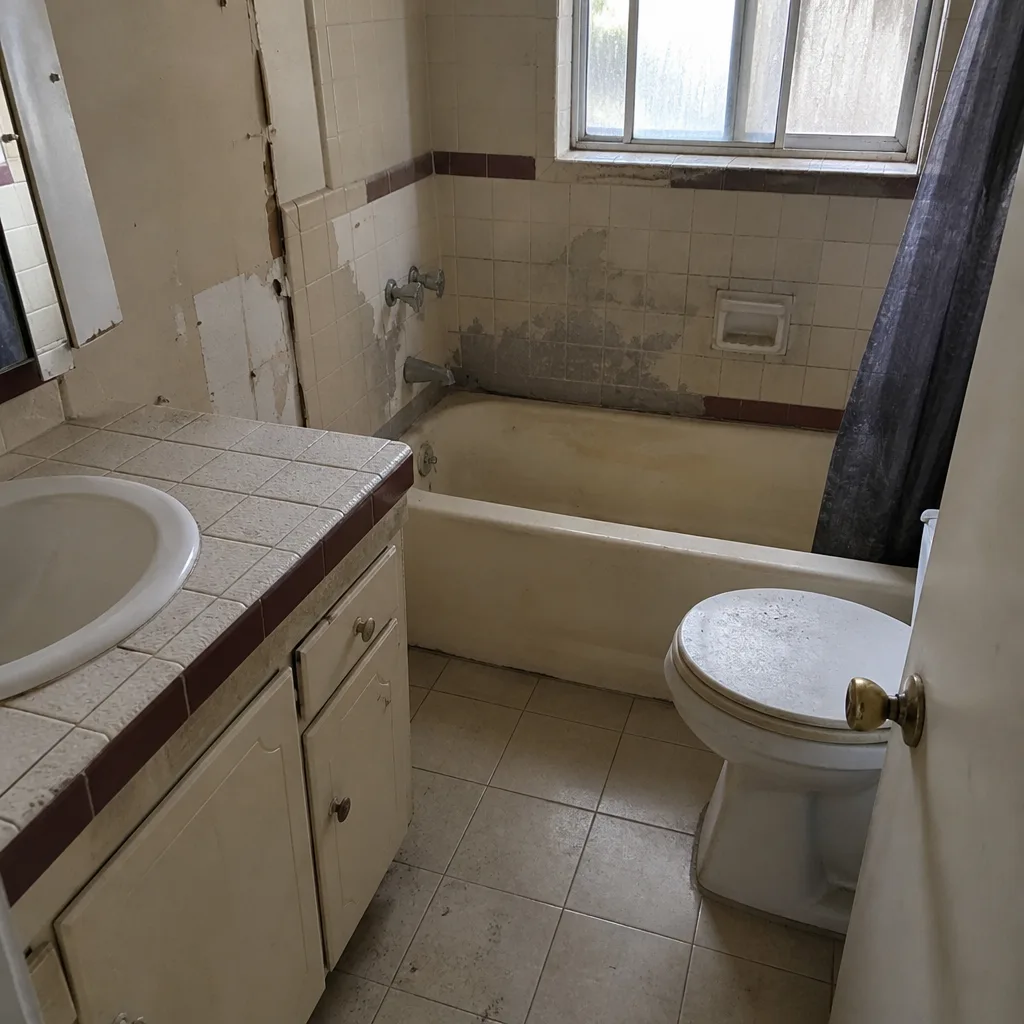 Before
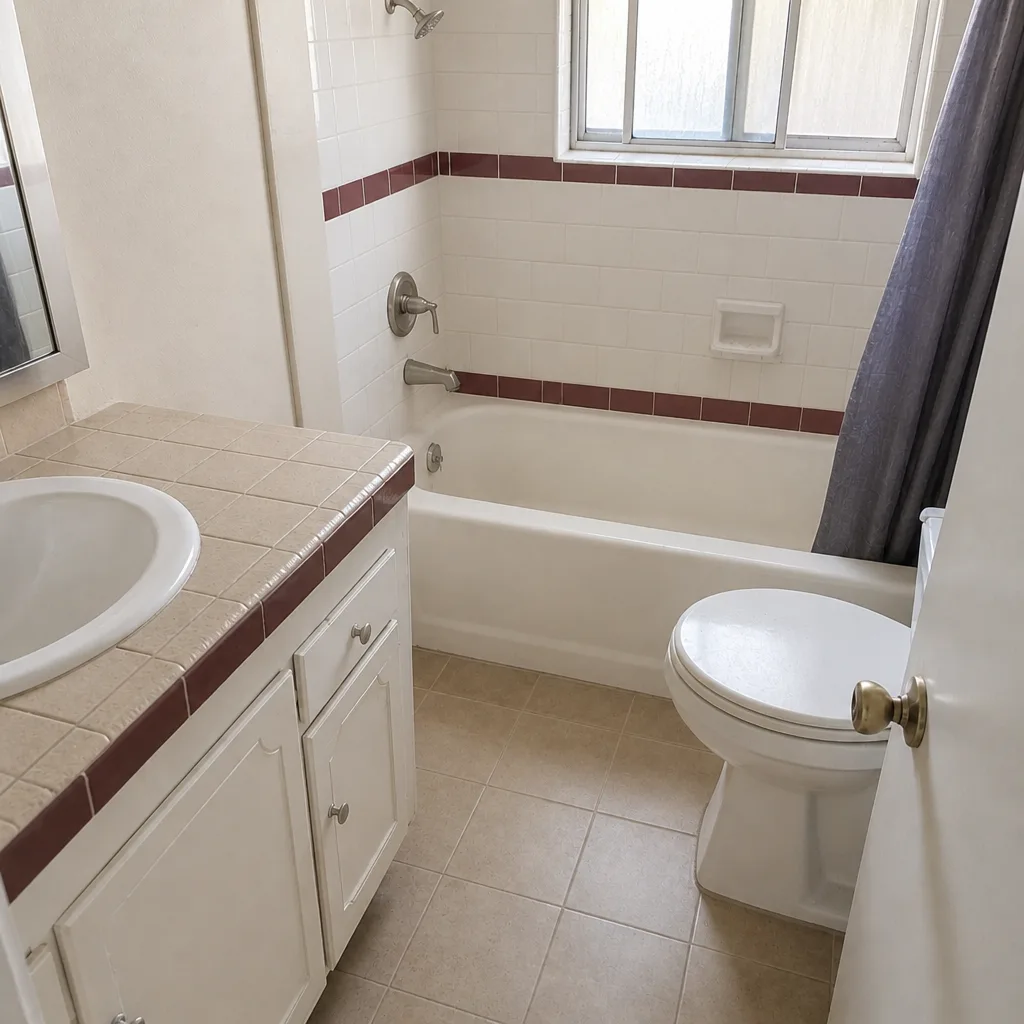 After
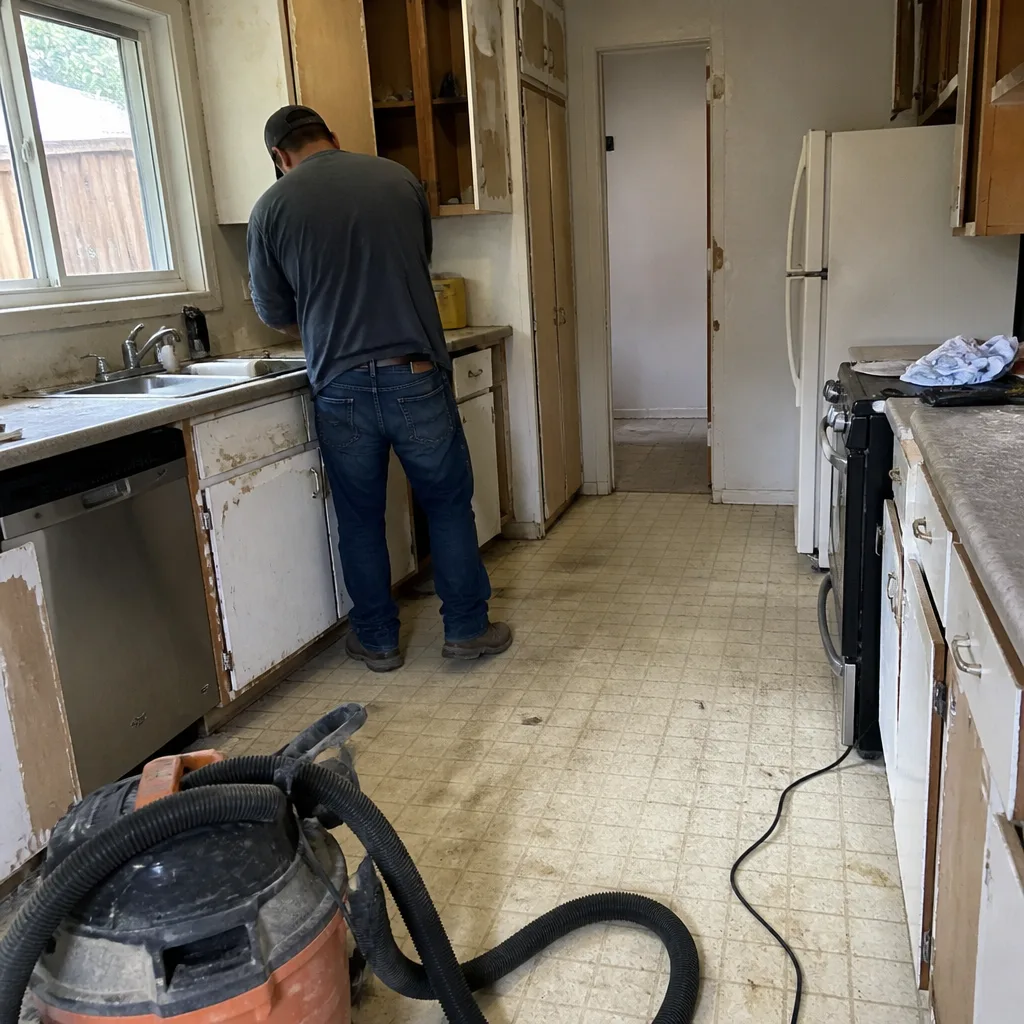 Before
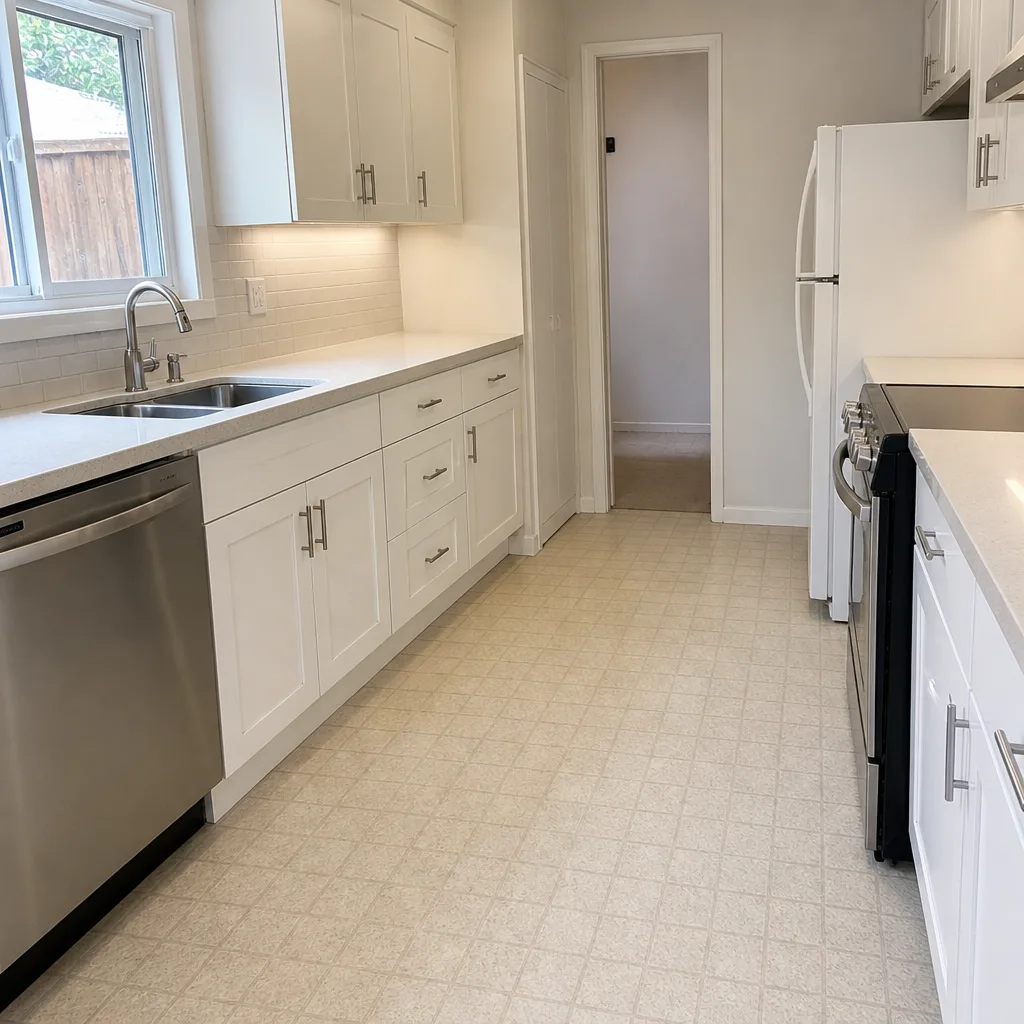 After
When to Call a Professional
Call a professional for a paver driveway when a rocking paver keeps rocking after one re-set, when an edge curb is lifting or tipping, when joints are visibly widening at the edge and joint sand is bleeding out, when a low spot pools water for more than an hour after rain, or when water is sheeting toward the house, the garage, or a fence line. Those are the symptoms that put a base or a slope at risk, and expertise at the base layer is what separates a repair from a replacement. Barrett & Sons Construction Santa Clarita offers free estimates in Santa Clarita – call (833) 762-8116. We can put a scope in writing, name the brands (Belgard and Techo-Bloc on our hardscape work), and answer questions over the phone before anyone swings a hammer. If you suspect paver problems from failed drainage reaching under your foundation, our Home Additions & ADU in Santa Clarita team can also look at structural concerns; and if you’re resurfacing a driveway alongside a new fence line or gate, our Fence Installation in Santa Clarita crew coordinates the layout so the edge restraint and gate posts don’t fight each other.
Frequently Asked Questions
The earliest signs are a paver that rocks underfoot, joints that visibly widen at the edges, joint sand bleeding out onto the lawn, and a new low spot where water pools after rain. Surface wear and faded color are cosmetic; those four symptoms point to a base or edge issue underneath. If you see more than one at once, call (833) 762-8116 for a free estimate.
Not always on the first occurrence – a single paver near a downspout or irrigation head can be re-set and hold. But if it rocks again within a couple of months, or you find a cluster of rocking pavers, it’s a base warning. The base has lost support and patio-tapping sand back in is a temporary fix at best.
Not without a written change order in your hands before the work proceeds. That’s how Barrett & Sons does every job: scope in writing, allowances in writing, change orders in writing. No surprise invoice at the end. That’s especially important on paver work where base issues are often only confirmed after the pavers come up – so we quote the base repair up front when we can see it, and stop and price anything new before we touch it. Call (833) 762-8116 for an exact quote; estimates are free.
It depends on the scope. Minor re-sets and edge restraint repairs usually don’t require a permit; full paver replacement or work that changes drainage or grade often does. We’ll tell you plainly whether a permit applies to your job and pull it when it does. The permit inspector works for you, not for us – that’s why we like him.
Edge restraint and joint-sand repairs usually finish in a day. A base-patch repair that pulls up a few pavers and re-compacts typically takes one to two days. A full paver driveway tear-out and rebuild – the repair that catches you when a warning sign gets ignored for years – runs four to seven days depending on the size of the drive and the base depth. Estimates are free; call (833) 762-8116 to schedule.
A properly built paver driveway with the correct base aggregate, compaction, and edge restraint typically lasts 25 to 30 years or more – even in Santa Clarita’s dry-wet swing on clay soil. What shortens its life is almost never the paver. It’s water reaching the base, a failed edge, or a base that was under-built at install. Surface maintenance (cleaning, joint sand, a re-seal every few years) buys you the full life span; ignoring base warning signs costs it.
The Bottom Line
Much of what a paver driveway tells you is quiet. A rocking paver, a widening joint, a new puddle, a bleached line of sand at the edge – all small, all easy to miss, all the first chapter of a bigger repair if you wait. Read them, and they save you money. Ignore them, and Santa Clarita’s rainy season prices the difference for you. If you see more than one warning sign, don’t guess. Call Barrett & Sons Construction Santa Clarita for a free estimate – (833) 762-8116 – and we’ll walk the driveway with you, put the scope in writing, and tell you honestly whether it’s a repair or a replacement. The north L.A. County weather will do the rest. If you’re also planning to add a patio, walkway, or driveway expansion around the same time, have a look at our Driveway & Pavers in Santa Clarita service page to see how we build the base, and start from our Barrett & Sons Construction Santa Clarita home page if you want the full picture of what we take on locally.
Written by the team at Barrett & Sons Construction Santa Clarita.