
Last updated November 16, 2026
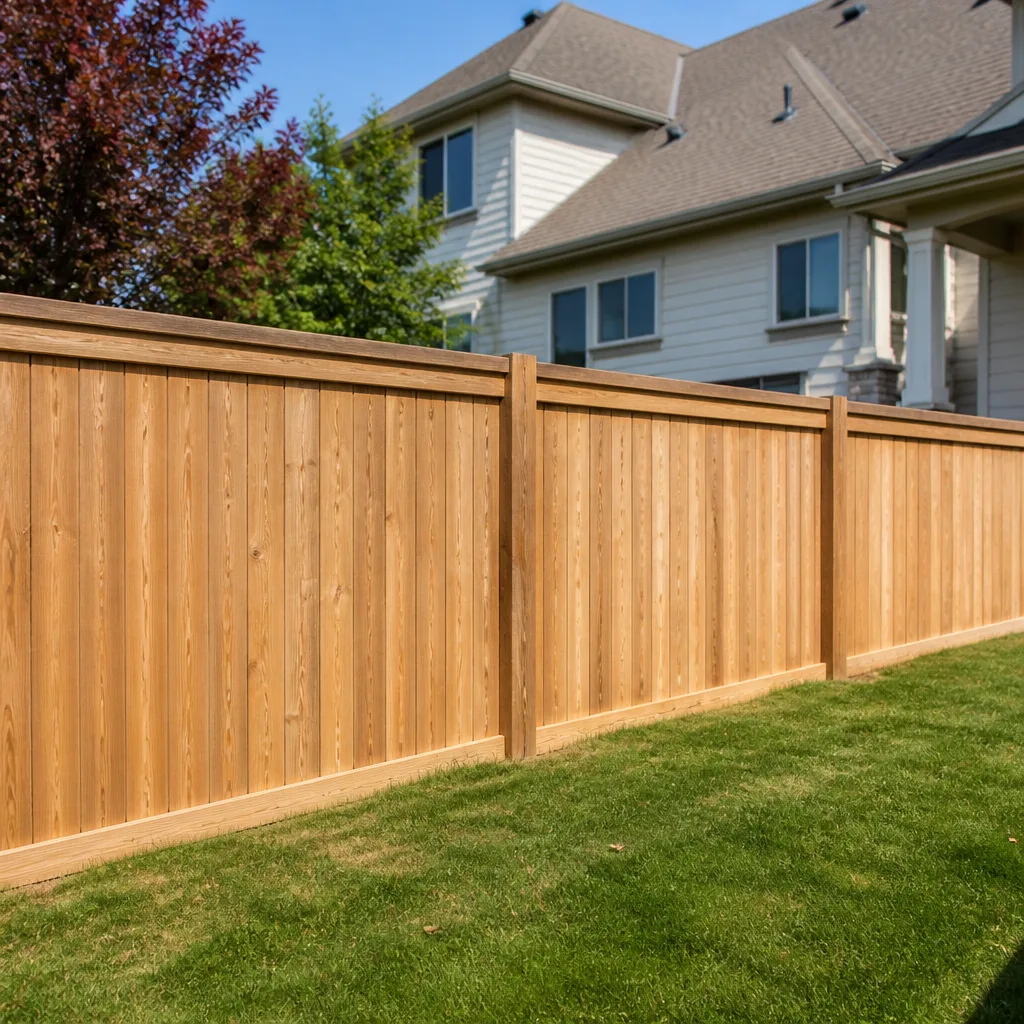 Fence
 Kitchen remodeling
 Bathroom remodeling
 Home additions & ADU
 Roofing
 Windows & doors
 Driveway & pavers
Free written scope consultation - allowances, timeline, and change-order rules on paper before a single trade is scheduled
Fence Installation Troubleshooting: Common Problems and How to Fix Them
A fence that’s leaning is almost never a problem with the boards. By the time you can see the lean from the driveway, the post footing has already failed, and you’re in a repair conversation, not a touch-up. Same goes for the sagging gate that drags on the concrete and the section that wobbles when the dog hits it. The visible symptom is the last thing to fail, not the first. This guide works backward from what you’re seeing to what actually went wrong, because most fence problems people try to fix by swapping a board or tightening a bolt are post-failure problems in disguise. Fix the symptom in Santa Clarita and the same section gives out again inside two years.
Quick Answer
Most fence problems that look like board or hardware failures are actually post-footing failures. Diagnose the post first by testing for rot, checking whether the base moves independently of the soil, and confirming the post is still plumb below grade. Reset or replace the post before you touch a single board, or the repair won’t hold. In Santa Clarita’s dry, hot climate, footing and soil movement account for more fence failures than wind or wood rot combined.
Styles & brands we work with
- Kitchen remodeling
- Bathroom remodeling
- Home additions & ADU
- Roofing
- Windows & doors
- Driveway & pavers
- Fence
Table of Contents
- How to Diagnose Post Rot vs. Footing Failure vs. Soil Movement
- The Two-Person Test: Can That Leaning Post Be Reset or Does It Need Replacing?
- Why Gates Sag Differently Than Fence Sections
- Why Wood Fence Sections Near Irrigation Heads Always Fail First
- When Your Neighbor’s Section Is Causing Problems on Your Side
- How Santa Clarita’s Climate Accelerates Fence Failure
- The Right Order of Repairs (And Why Doing It Out of Order Wastes Money)
How to Diagnose Post Rot vs. Footing Failure vs. Soil Movement
Three failures look almost identical from ten feet away, and they need completely different repairs. Misread the cause and you’ll spend money on the wrong fix.
Post rot starts at the ground line and works up. The wood darkens, softens, and eventually crumbles when you push a screwdriver into it. Rot is usually a drainage problem: the post sits in a pocket that holds water. You’ll find it most often at the bottom of a slope where runoff collects, or under a downspout that dumps right at the fence line.
Footing failure is different. The wood itself can be sound while the concrete bell underground has cracked, shifted, or was poured too shallow to begin with. The post rocks in its hole. Push the top of the post and the whole assembly moves as one unit, concrete and all.
Soil movement is the third cause and the one Santa Clarita homeowners miss most. Our clay-heavy soil expands when it’s wet and shrinks hard when it dries. A summer of 100-degree days followed by a winter rain can shift a post a half inch without any rot at all. If two or three posts in a row lean in the same direction, that’s soil, not wood.
Here’s how to sort them out:
- Push a screwdriver into the post about six inches above the soil line. If it sinks in easily, you have rot.
- Grab the post at hip height and rock it side to side. If the concrete at the base moves with it, that’s footing failure.
- Look at the pattern. One post failing is local. Several in a row leaning the same way is soil movement.
- Check the base for a water source: irrigation head, downspout, low spot, or a neighbor’s runoff crossing your line.
Get this diagnosis wrong and you’ll replace perfectly good boards on a post that’s already gone. We’ve seen it a hundred times in Santa Clarita: fresh cedar screwed to a rotten post, looking great for one season and leaning again by the next.
The Two-Person Test: Can That Leaning Post Be Reset or Does It Need Replacing?
Before you dig anything up, run this test. It takes two people and about five minutes, and it tells you whether a leaning post can be saved or has to come out.
Person one stands at the post and pushes it toward plumb. Person two kneels at the base with a hand flat against the soil right where the post meets the ground.
- If the post moves toward plumb and the soil at the base stays put, the post is sound and only the top has shifted. That’s a reset candidate.
- If the post moves but the soil around the base lifts, cracks, or pulls away, the footing is compromised. That post comes out.
- If the post won’t move at all when pushed, it’s either set deep and solid (good) or rusted through a metal anchor (bad). Check for a metal post or anchor before you assume it’s solid.
A post that passes the reset test can often be brought back to plumb with a brace and re-tamped base, sometimes with a deeper anchor added alongside. A post that fails gets replaced with a properly set footing: typically 24 to 36 inches deep in Santa Clarita soil, set in concrete, with the post bottom above the pour so water can drain off the end grain.
Don’t skip the two-person part. A one-person push tells you the post moves. It doesn’t tell you whether the ground under it is holding or letting go, and that’s the whole answer.
Why Gates Sag Differently Than Fence Sections
A gate is a fence section carrying its own weight on a hinge, and that changes everything. A normal fence post holds boards in place. A gate post holds the entire gate’s weight, plus the leverage of a swinging panel, plus the force of every slam and shove. That’s why gate problems almost always start at the hinge post, not the gate itself.
Here’s the common confusion: a gate that swings freely but won’t latch. Homeowners assume the gate is warped or the latch is bad, so they replace the latch or shave the gate. Usually neither is the problem.
Three causes cover most of it:
- Hinge post lean. The gate-side post has tipped slightly away from the latch side. The gate still swings fine, but it’s sitting an inch low at the far edge, so the latch misses. Check the hinge post with a level first.
- Hinge sag. The top hinge has pulled loose or the screws have wallowed out the wood. The gate hangs off plumb and drops at the latch end. Tighten or replace the hinges with longer screws into solid wood.
- Diagonal brace failure. Wood gates need a diagonal brace running from the bottom of the hinge side up to the top of the latch side. Without it, the gate racks itself out of square under its own weight.
If the gate swings properly but the latch won’t catch, set a level on the hinge post before you touch the gate. If the post leans, fix the post. If the post is plumb and the gate is out of square, the brace or the hinges are the culprit. If it’s both, fix the post first. Patching the gate while the post leans means you’ll be back at it in six months.
We build gates with properly set hinge posts and a metal frame or a diagonal brace on every build, because a gate is the part of the fence that gets used every day and takes the most punishment. That’s part of why we back every installation with a written 90-Day Done Right Promise: if the gate drags or the latch misses, we come back and make it right on one call.
Why Wood Fence Sections Near Irrigation Heads Always Fail First
Walk your fence line and find the sprinkler heads. Then look at the fence within ten feet of each one. That section is almost always the first to fail, and it isn’t bad luck.
A sprinkler head sprays water at the fence every time the system runs. Even a head aimed properly sends some overspray. Over a season, that post stays damp at the base while the rest of the line dries out. Damp wood rots faster than dry wood, and a wet footing heaves differently than a dry one. Add Santa Clarita’s hot summers, where the system may run every day for months, and the irrigation-adjacent post takes more moisture cycles than any other post on the property.
The fix is simple and it extends fence life by years if you do it when the fence goes in, not after the post fails:
- Aim or relocate the head. Point it away from the fence or swap to a lower-angle head. A five-minute adjustment prevents most of the damage.
- Leave a gravel gap at the base. Set the post so the bottom sits in a few inches of gravel above the concrete pour, so water drains off the end grain instead of wicking up.
- Cap the post or slope the cut. A flat-topped post soaks water from above. Sloping the top cut or adding a cap sheds water and keeps the end grain dry.
If you’re building new fence in Santa Clarita near an irrigation line, plan the head placement before the posts go in. It’s cheaper to move a sprinkler head than to replace a post, and a fence line that stays dry at the base will outlast one that doesn’t by a wide margin.
When Your Neighbor’s Section Is Causing Problems on Your Side
Shared fence problems are the hardest kind because the fix depends on cooperation. Here’s how to spot when the failure is on the other side of the line, and how to have the conversation without turning it into a fight.
Signs it’s the neighbor’s section:
- Your boards look fine but the fence leans toward their yard. The failing post is holding the whole section, and the lean direction tells you which side the footing is tied to.
- Their post is rotted at the base while yours is solid. Wood rot doesn’t respect property lines, but it does start where water collects.
- Their tree roots or their grade change has moved the footing on their side, and the visible failure shows up on yours.
- Their side of the fence hasn’t been maintained while yours has. Paint and stain slow rot; an untreated side fails first.
How to approach it: know who owns which section before you knock. In most California residential fences, a boundary fence sits on the property line or slightly inside one lot, and the local code and plat map tell you which. Once you know, ask for a conversation, not a confrontation. Frame it as a shared fence in shared trouble. Offer to split the repair or to have the work done once by one crew so the whole line matches. Most neighbors will split a repair before they’ll let the fence fall over, especially if you bring a written estimate and the name of the contractor. If the fence sits right on the line, that shared-fence conversation is the reason we list our license, address, and name in the open: a neighbor can look it up before they agree to anything.
How Santa Clarita’s Climate Accelerates Fence Failure
Not every fence problem is universal. Santa Clarita’s particular mix of dry heat, clay soil, and seasonal wind puts specific stress on fence posts that a coastal or inland-valley client wouldn’t see. If you’re troubleshooting fence problems in Santa Clarita, start here.
- Clay soil and the shrink-swell cycle. Our soil shrinks hard in a dry summer and swells with winter rain. Posts set in shallow footings get lifted or loosened by that movement. A footing that works in sandy soil may not hold here.
- Triple-digit summers. Wood dries, shrinks, and checks in the heat. A board that starts tight can open up a gap at the seams by August. Sections in full sun on the west side of a property fail faster than shaded sections.
- Santa Ana wind events. A fence with a compromised post can handle a normal breezy day and then fold in a wind event. If you’ve been meaning to fix a leaning post, do it before the next round of high winds.
- Irrigation without drainage. Plenty of Santa Clarita properties run irrigation six months a year with no drainage consideration at the fence line. That’s the same story as the irrigation section above, and it’s the single most common preventable failure we see.
In our experience, the fence failures we get called out to in Santa Clarita come down to footing depth and water management more than anything else. A deeper footing and a plan for keeping water off the base solves most of what goes wrong here.
The Right Order of Repairs (And Why Doing It Out of Order Wastes Money)
Fence repair is a sequence, not a shopping list. Do it in the wrong order and you’ll pay twice.
- Diagnose all posts first. Walk the whole line with a screwdriver and a level and mark every failing post before you touch anything. You want the full picture, not a fix one at a time and find the next failure in two weeks.
- Repair or replace failing posts. Reset the posts that pass the two-person test, replace the ones that don’t. Add proper footings now, not later.
- Fix water sources. Move or aim irrigation heads, extend downspouts, correct the grade where water pools at the base. This is the step most homeowners skip, and it’s why the repair doesn’t last.
- Re-hang gates and re-hang boards last. Gates and boards go back on plumb posts. If you set a gate on a leaning post, the gate will lean too. If the repair is out of order, the door or gate that swings fine today will drag again.
- Stain or seal the wood where it’s needed. A coat on the exposed side slows rot and keeps the repair from looking like a patch.
We follow this order on every fence job and write the scope down before anyone swings a hammer. Scope in writing, allowances in writing, change orders in writing. That way you know exactly what’s being fixed and what it costs before work starts, and you’re not getting a surprise invoice at the end. If you’re planning a larger yard project, our Fence Installation in Santa Clarita page covers the full build process, from footing depth to matching a whole line so the repair doesn’t stand out. And if you’re redoing a driveway or patio at the same time, our Driveway & Pavers in Santa Clarita page shows how grading and drainage around a fence line get handled in the same scope. For full home upgrades, we also handle Home Additions & ADU in Santa Clarita work, where fence relocation and rebuilds come up often. You can learn more about our family-run approach on the Barrett & Sons Construction Santa Clarita home page.
Common Mistakes to Avoid
- Replacing boards on a failing post. The boards are the visible part, not the cause. New cedar screwed to a rotten post looks fine for one season and leans again by the next.
- Shimming a gate instead of fixing the hinge post. A latch that misses usually means the hinge post has leaned. Shimming the latch is a temporary patch that fails the first time the gate takes a good push.
- Setting a shallower footing than the soil needs. Santa Clarita clay needs a deeper footing than sandy soil. A footing that worked at a beach house won’t hold here through a summer.
- Ignoring the water source. Repairing a rotted post without moving the irrigation head or extending the downspout means the new post rots the same way inside two or three years.
- Fixing one post at a time. Walk the whole line and diagnose every post before you buy materials. Piecemeal repairs cost more and leave the same failing section when you’re done.
- Forgetting the permit requirement on a full replacement. If the repair turns into a full fence replacement, check what the city or county requires. We pull permits on every eligible job because the last contractor many clients used told them permits were optional, and the inspector’s sign-off is the homeowner’s proof the work is right.
- Letting a neighbor problem sit. A fence failing on the shared line gets worse and more expensive the longer it’s left. Have the conversation early with a written estimate in hand.
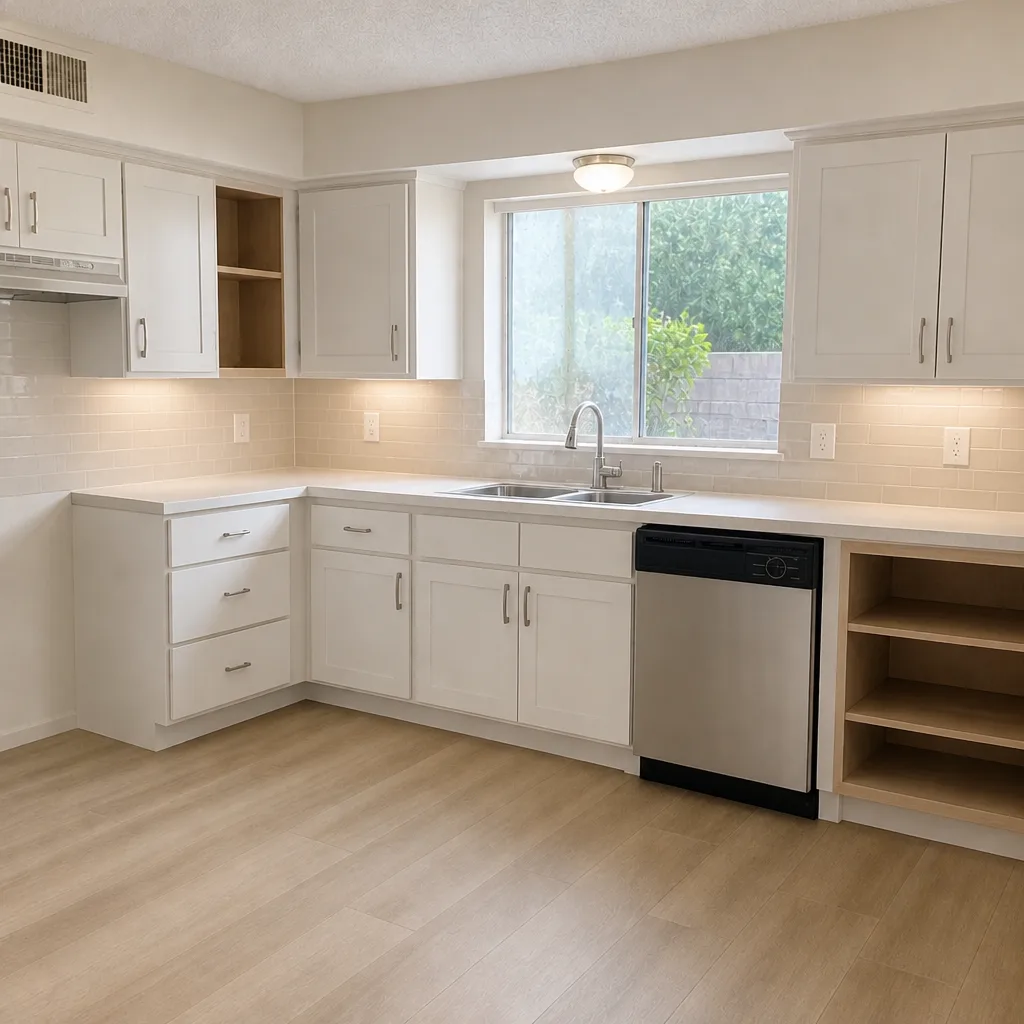
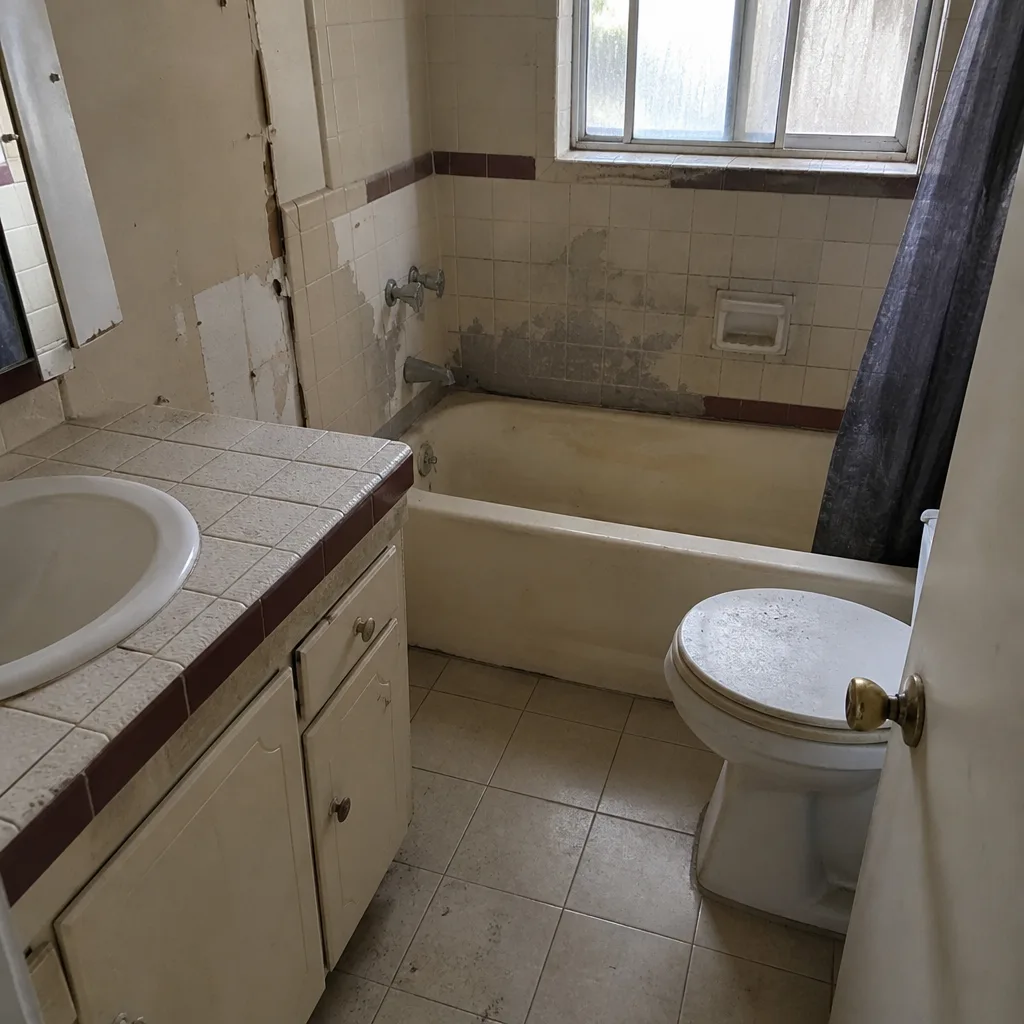
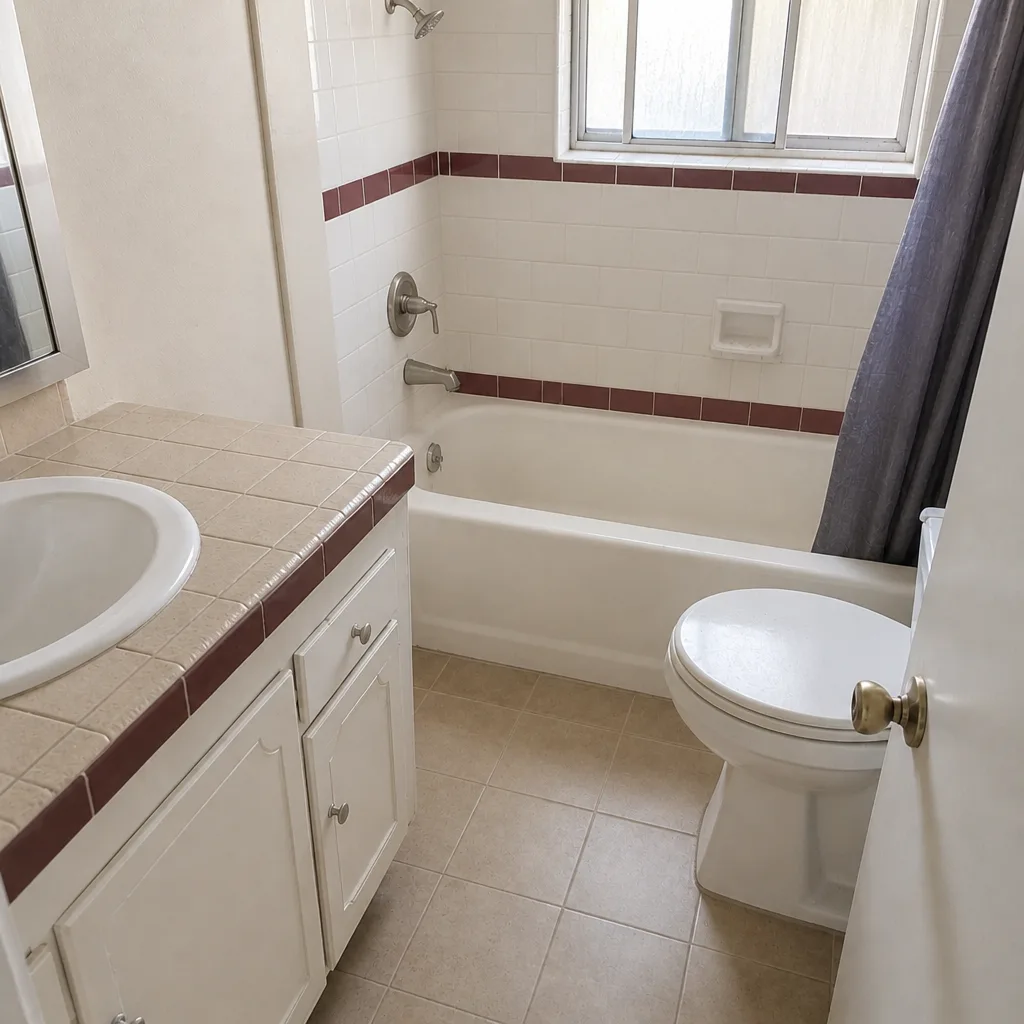
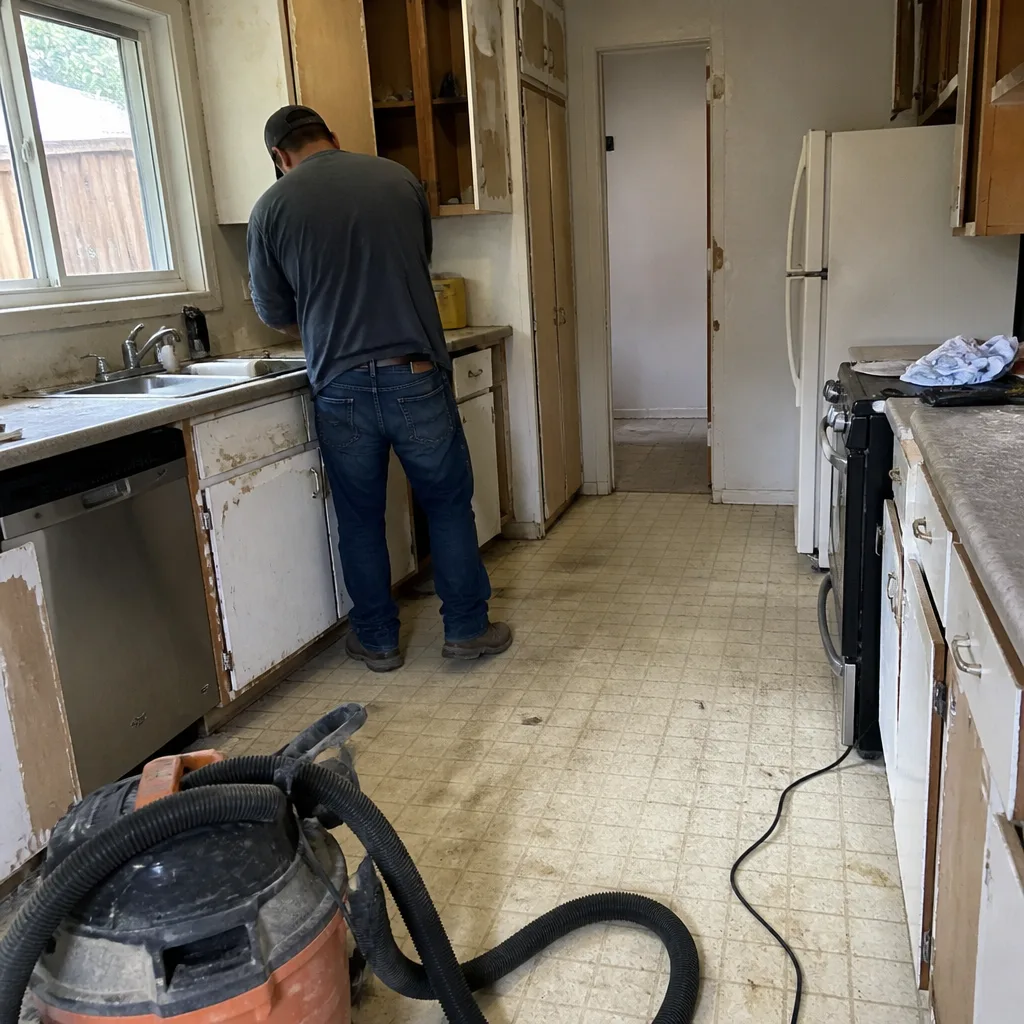
See the difference
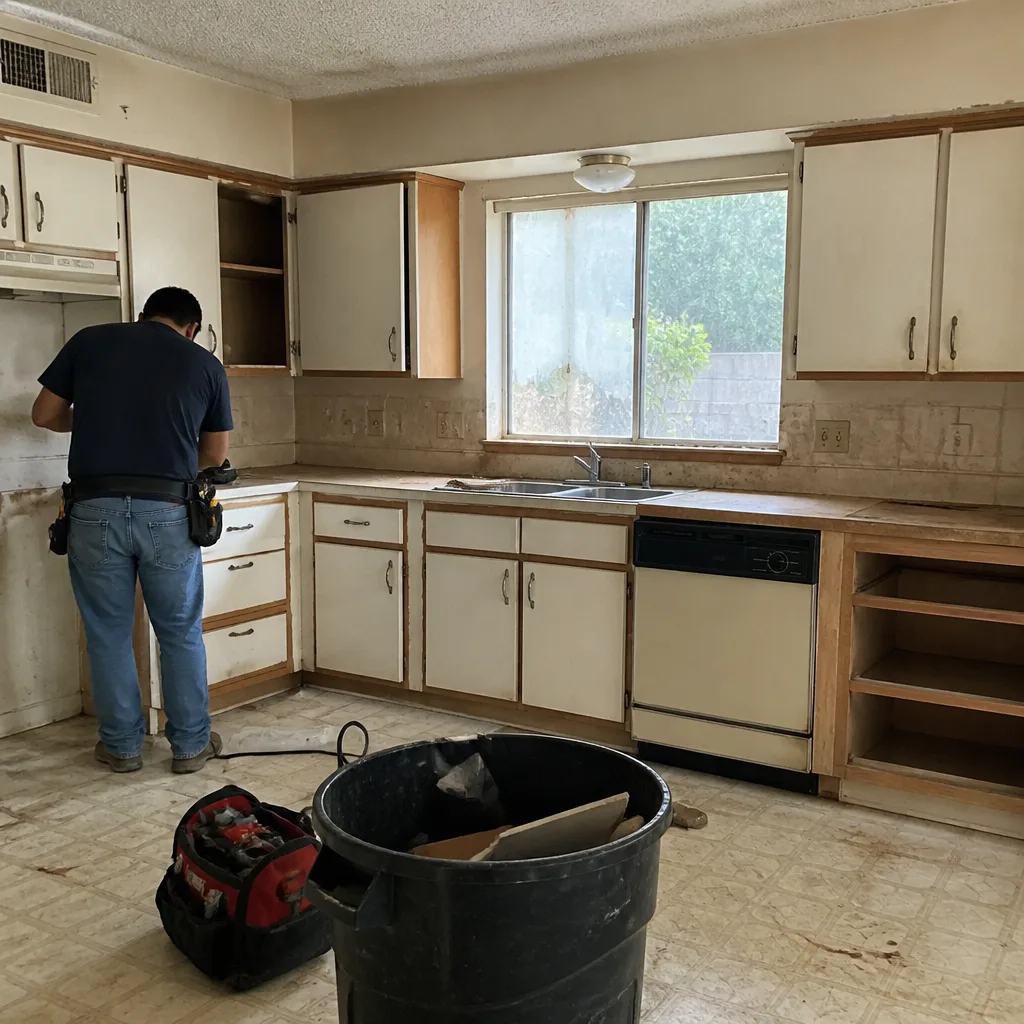 Before
 After
 Before
 After
 Before
 After
When to Call a Professional
Some fence repairs are DIY-able and some aren’t. If a single post has gone soft and the rest of the line is sound, a homeowner with a shovel and a bag of concrete can handle it. Call us when the whole line is leaning, when multiple posts have failed, when the footing needs to be dug out and replaced with a proper depth, when a gate hinge post has to come out and be re-set, or when the repair turns into a full fence replacement that needs a permit. Call us too if the section sits on a shared property line and you want a written estimate to bring to the neighbor, or if you’ve already had one repair fail and don’t want to pay a third time. Barrett & Sons Construction Santa Clarita offers free estimates in Santa Clarita – call (833) 762-8116. Our crew members have up to 28 years of experience across fence work, and we’re happy to look at a problem and tell you whether it’s a repair or a replacement.
Frequently Asked Questions
Use the two-person test: have one person push the post toward plumb while a second feels the soil at the base. If the soil holds and only the post tip moves, it can be reset. If the base lifts or pulls away, the footing is gone and the post needs to come out. A post that rots to the touch at the soil line also gets replaced, no reset.
The most common cause is a leaning hinge post, not a bad latch. Put a level on the hinge post first. If it leans, the gate is dropping at the latch end because the post has tipped. Fix the post and the latch catches again. If the post is plumb, check the hinges for pulled screws and the gate for a missing diagonal brace.
Because they stay wet. A sprinkler head sprays water at the post and the footing every time the system runs, and a damp post rots faster than a dry one. Aim the head away or relocate it, leave a gravel gap at the base so water drains off the end grain, and slope or cap the top. That combination adds years to those posts.
It depends on where the fence actually sits, and the plat map and local code settle it. A boundary fence on the property line is often a shared responsibility. Get the ownership question settled before you repair, then talk to the neighbor with a written estimate in hand. Most neighbors split a repair rather than let the fence fall down.
Repair cost depends on how many posts have failed and whether the footing needs replacement. Replacing a single post is a small job. Rebuilding footing and resetting several posts in a line is a much larger one. We don’t quote over the phone; we come out, diagnose the line, and give you a written line-item estimate before any work starts. That way the number you see is the number you pay, and any change arrives as a written change order. Call (833) 762-8116 to schedule a free estimate.
A single post reset is often a day. A section rebuild with new footings can take a few days depending on the length of the line and the permit requirements if it’s a full replacement. We lay out the schedule before work starts so you know what to expect, and we don’t leave a fence half-finished over a weekend.
The Bottom Line
Almost every fence problem that looks like a board or hardware failure traces back to the post. Test the post first with a screwdriver and the two-person test. Reset the ones that pass, replace the ones that don’t, and fix the water that caused the failure before you put a single board back on. Gates follow the same rule: fix the hinge post, and the latch fixes itself. In Santa Clarita, footing depth and water management solve most of what goes wrong. Do the repairs in the right order, scope it in writing, and the fence holds. Skip the cause and the same section fails again inside two years.
If you’re not sure what you’re looking at, we’ll come out and tell you honestly whether it’s a repair or a replacement. Barrett & Sons Construction Santa Clarita is owner-operated, every eligible job gets permits pulled and inspected, and every finished job is backed by our written 90-Day Done Right Promise. Call us at (833) 762-8116 for a free estimate. We answer the phone with a live person.
Written by the team at Barrett & Sons Construction Santa Clarita.