
Last updated November 16, 2026
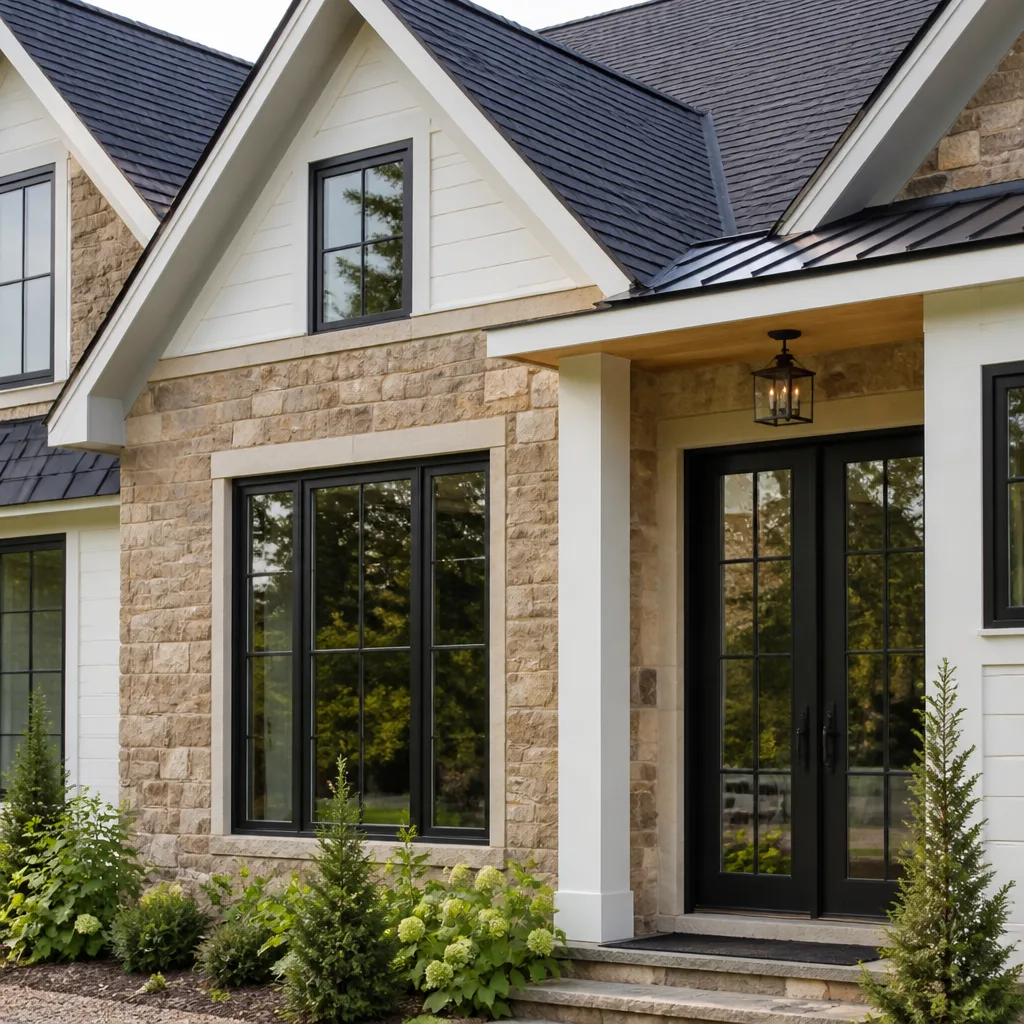 Windows & doors
 Kitchen remodeling
 Bathroom remodeling
 Home additions & ADU
 Roofing
 Driveway & pavers
 Fence
Free written scope consultation - allowances, timeline, and change-order rules on paper before a single trade is scheduled
DIY vs Professional Windows & Doors: What’s Safe to Do Yourself
The window itself is usually the least complicated part of a window replacement. The flashing, the shimming, the air sealing, and making sure water has somewhere to go other than your wall cavity – that’s what determines whether the installation is still performing in year ten. We’ve pulled windows that looked fine from the street and found the sheathing behind them soft as cardboard after a single wet winter. This guide is about the parts nobody puts in the YouTube video: how to check whether your rough opening is even close to square, where California permits actually apply, which projects a careful homeowner can genuinely handle, and where the labor savings gets eaten by a callback three winters later. If you’re weighing what to tackle yourself in Santa Clarita, this is the honest version.
Quick Answer
Interior door hanging, weatherstripping, and trim work are reasonable DIY projects for a careful homeowner with the right tools. Full window replacement, exterior pre-hung door installation, and anything involving a rough opening that isn’t plumb, level, and square are not – the failure mode isn’t installation day, it’s water intrusion two to five years later. In California, most window replacements require a permit, and premium window warranties from brands like Andersen and Marvin typically require documented professional installation to stay valid.
Styles & brands we work with
- Kitchen remodeling
- Bathroom remodeling
- Home additions & ADU
- Roofing
- Windows & doors
- Driveway & pavers
- Fence
Table of Contents
- The Rough Opening Reality Check
- Why Flashing and Water Management Decide Everything
- California Permits: What’s Actually Required
- Interior Doors: A Reasonable Intermediate Project
- Exterior Doors: The Weatherproofing You Underestimate
- The Honest Cost Math
- Warranty Documentation and Premium Brands
- Common Mistakes to Avoid
The Rough Opening Reality Check
Here’s the uncomfortable truth about most homes in Santa Clarita built before 2000: the rough opening is not plumb, level, or square. Framing lumber dries and crowns after the wall goes up. Settling happens. In tract homes from the 1980s and 90s – the kind that make up a big share of Canyon Country and Newhall – we regularly find rough openings out of square by a half inch or more, and occasionally by an inch. A replacement window is designed to drop into a square opening. You can force it into an unsquare one. It just won’t seal right, and the operating sash may bind a year later.
Before you assume a DIY swap is straightforward, measure. Here’s the check a trained crew runs first:
- Measure the opening diagonally from corner to corner in both directions. The two numbers should be within 1/4 inch of each other. More than that means the opening is out of square.
- Set a 4-foot level against each side jamb and the head. Note any gap larger than 1/8 inch. That’s your out-of-plumb condition.
- Check the sill with a level front to back and side to side. The sill must slope slightly toward the exterior so water drains – a flat or back-sloped sill is a leak waiting for the first hard rain.
- Probe the framing at the sill and lower corners with a screwdriver. If it sinks in easily, you have rot and the opening needs repair before any window goes in.
Tolerance limits for a replacement unit are tight: within 1/8 inch on plumb, level, and square, with the sill properly sloped. If your opening is outside that, the window installer’s job becomes a framing repair job first. That’s where the DIY timeline usually blows up.
Why Flashing and Water Management Decide Everything
Most DIY window installs that fail don’t fail on installation day. They fail two, three, five winters later, when a homeowner notices bubbling drywall on the interior wall below the window or a soft spot under the siding. The cause is almost always the same – water got behind the window and had nowhere to go.
Proper flashing at a window rough opening is a system, not a tube of caulk. It involves:
- Sill pan flashing – a pre-formed or site-built pan that sits under the window, with the back dam and end dams turned up so any water that gets behind the frame is caught and directed to the exterior.
- Flashing tape sequence – the house wrap laps over the head flashing, the head flashing laps over the side flashing, and the side flashing laps over the sill pan. The order matters. Get it backwards and water wicks in at every joint.
- Backer rod and sealant at the perimeter – not just a bead of caulk on the face. The air seal goes in the gap between the window frame and the rough opening, behind the trim, where you can’t see it after the job is done.
- Drainage path continuity – the weep holes in the window frame must line up with the drainage plane, and the exterior finish (stucco, siding) has to allow water to exit. In Santa Clarita, where stucco is the dominant exterior finish, this is where a lot of quick installs go wrong. Stucco doesn’t drain like siding does unless it’s detailed correctly.
We can’t tell you how to flash a window in a way that’s safe to skip a pro. The detailing is the job. But we can tell you that this step is where the money is. The window is the easy part.
California Permits: What’s Actually Required
California requires a building permit for most window and door replacements, with a specific exemption for “like-for-like” swaps that meet certain criteria. Here’s what that exemption actually covers – and doesn’t.
A like-for-like replacement generally qualifies without a permit when the new window is the same size and same type as the old one, the opening isn’t enlarged or altered, the header and framing aren’t touched, and the installation meets current energy code. Change any of those and you’re into permit territory. Enlarge the opening, swap a single-pane for a different configuration, or replace an old non-code-compliant unit with a new one that changes the egress requirements – and the permit is required. In practice, a lot of Santa Clarita window replacements that homeowners assume are exempt are not, because they touch the opening or upgrade the glazing package.
What the inspector is checking on a permitted window replacement:
- Frame and header condition after the old unit comes out, and whether any structural work was done without a plan
- Flashing and weather-resistive barrier detailing at the opening
- Compliance with Title 24 energy requirements for the glazing (U-factor and SHGC)
- Egress sizing for any bedroom windows (minimum clear opening dimensions)
- Whether the tempered glass requirement applies – any window within 18 inches of a floor or within a certain distance of a door
We pull the permit and sign off on the inspection on every eligible job, because we’ve seen too many homeowners told permits were optional. The permit inspector works for you, not for the contractor. That’s a good thing.
Interior Doors: A Reasonable Intermediate Project
Hanging an interior pre-hung door is the kind of project a careful homeowner with a level, a shim kit, and a decent plunge router can genuinely handle. It’s the right place to start if you want to build some confidence. Here’s the honest version of what’s involved.
Interior doors are forgiving because there’s no weatherproofing and no code-driven egress sizing (except in sleeping rooms, where it does apply). You’re dealing with three things: plumb, level, and the reveal. The door frame has to sit plumb in both directions, the head has to be level, and the gap between the door and the jamb has to be even all the way around. Shim at the hinge locations and at the strike side, then check the swing before you nail anything off.
Also interior – and often overlooked as a DIY candidate – is the door hardware upgrade. You don’t need a pro to swap a passage set or install a privacy lock. Brands like Schluter make trim and transition products that a diligent homeowner can install with basic tools, and getting those details right on a bathroom or kitchen threshold is a satisfying weekend project. When you start getting into exterior doors, we recommend slowing down.
Exterior Doors: The Weatherproofing You Underestimate
An exterior pre-hung door looks like the same project as an interior door. It is not. The tolerance for error is much tighter, and the consequences for error are much bigger. An interior door hung slightly out of plumb creaks and swings open on its own. An exterior door installed with sloppy weatherproofing leaks into the wall cavity and rots the framing over a couple of seasons.
What most homeowners underestimate on an exterior door install:
- The sill pan and door pan. Every exterior door needs a sill pan that drains to the exterior, angled slightly forward, with the door threshold sealed to it. Skip this and water sits under the threshold and into the subfloor.
- Head flashing and jamb flashing. Same lap logic as a window. Get the sequence wrong and the door leaks at the top corners.
- Security hardware tolerances. The deadbolt must align with the strike plate on the jamb, and the jamb has to be reinforced with a metal plate or a longer screw into the framing for the lock to be meaningful. On a DIY install that’s out of alignment by even 1/8 inch, the deadbolt doesn’t throw fully – and the door isn’t secure.
- Hinge-side shimming under load. Exterior doors are heavier, and the shim points have to carry that weight without compressing over time. We’ve pulled doors that sagged within a year because the hinge-side shims were undersized.
- The threshold sweep and weatherstripping. Not decorative. The door has to close against the sweep with an even seal, or you’re heating and cooling the neighborhood.
If it’s a patio door or any door with a large glass panel, we recommend professional installation. The weight, the weatherproofing load, and the security hardware tolerances together are more than most homeowners want to take on. That’s not a knock on you. It’s an honest read of the risk.
The Honest Cost Math
Here’s the math homeowners actually run, and the part most guides leave out. On a typical replacement window project in Santa Clarita, the labor portion is somewhere in the range of 35 to 50 percent of the total project cost, depending on the window, the size of the opening, and how much repair the rough opening needs. A single standard replacement window might be $400 to $700 in material and roughly the same in labor for a simple swap. Multiply by a full-house window replacement and the labor savings of a DIY install looks substantial on paper.
What the paper doesn’t show:
- The tools you don’t own yet. A good set of levels, a proper shim kit, flashing tape and a roller, a caulk gun with the right sealant, a reciprocating saw for the old nails, an impact driver, and an extension ladder rated for the work. That’s often $300 to $600 in tools before you’ve bought a single window.
- The permit and inspection. A homeowner can usually pull an owner-builder permit, but the inspection timeline means the opening sits unfinished until the inspector signs off – which, in Santa Clarita, can mean a week or more depending on scheduling.
- The callback risk. If the install leaks, fixing water damage in the wall cavity and re-flashing the opening can cost more than the labor you saved. And most homeowners’ insurance doesn’t cover faulty workmanship.
- The window replacement warranty. This is the big one, and it’s covered in the next section.
The math usually comes out close to even on small jobs and clearly in favor of professional installation on a whole-home window replacement or any exterior door. That’s before you factor in what a written workmanship warranty is actually worth.
Warranty Documentation and Premium Brands
Premium window manufacturers require documented professional installation for the full warranty to apply. That’s not a small print technicality – it’s the difference between a window that’s covered for 20 years and a window that’s covered for the glass unit only. Andersen and Marvin both have installation documentation requirements that a homeowner install typically can’t satisfy. If you install a $1,200 window yourself and it fails at the seal in year four, you may be looking at a pro-rated material credit at best, and no labor coverage at all.
The brand matters here as much as the installer. When we install a window, the brand is one you can look up. Andersen and Marvin on the window side. American Standard and Toto when a bathroom remodel comes with the window replacement and the fixtures need to match. Schluter for the trim and transitions. You should be able to verify every material in the job before the invoice arrives, and that’s true whether the brand name is on the glass or on the tile edge.
When you’re weighing a window or door project against a bigger remodel – say, adding an ADU or home addition in Santa Clarita where the window and door package is part of the scope – the warranty documentation question gets bigger, not smaller. Get it in writing.
Common Mistakes to Avoid
- Assuming the rough opening is square without measuring. In homes built before 2000 across Santa Clarita, it usually isn’t. Measure diagonals and check plumb before you buy anything.
- Skipping the sill pan because “the old window didn’t have one.” The old window probably leaked too, and you just didn’t notice until the drywall showed it.
- Caulking the exterior and calling it weatherproofing. Face caulk isn’t flashing. It hides the leak until it’s a rot problem.
- Hanging an exterior door without reinforcing the strike jamb. A deadbolt that doesn’t fully throw is decoration. Longer screws into the framing are part of the job, not an accessory.
- Installing a premium window yourself and losing the manufacturer’s warranty. Andersen and Marvin warranties require documented professional installation. Read the warranty document before you swing a hammer.
- Assuming “like for like” means no permit is needed in California. If the opening changes at all, the exemption usually doesn’t apply, and Title 24 compliance still has to be documented.
- Buying the cheapest window on the shelf because the install is DIY. The window is the part you live with for 20 years. Save money on the labor, not on the glazing package.
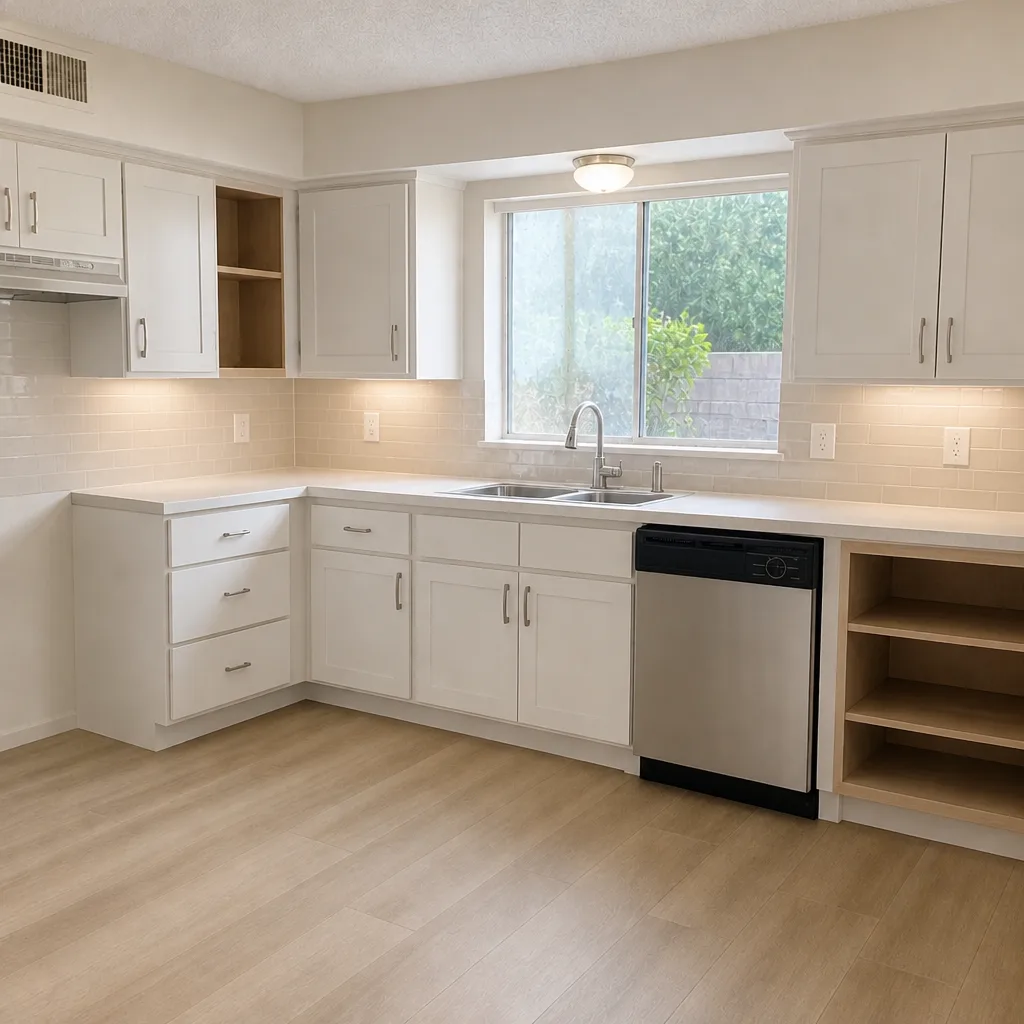
See the difference
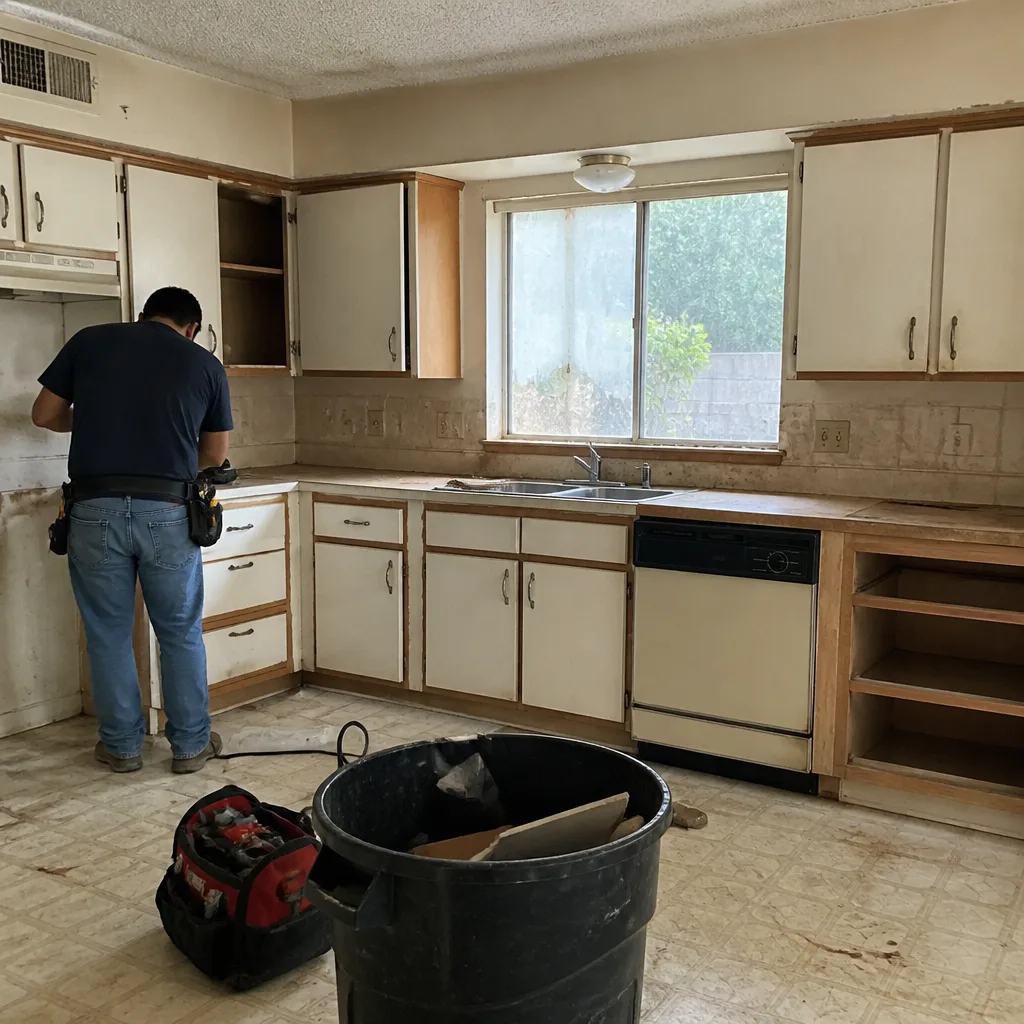 Before
 After
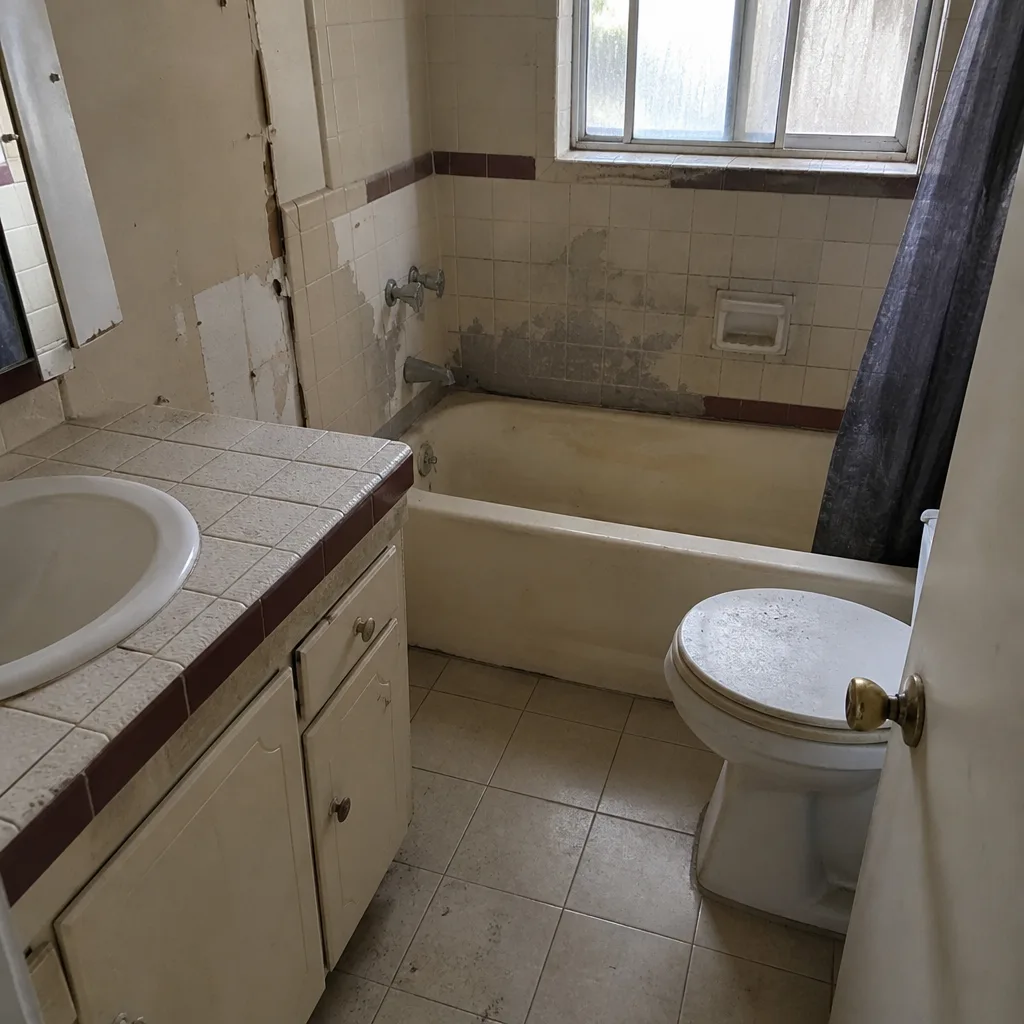 Before
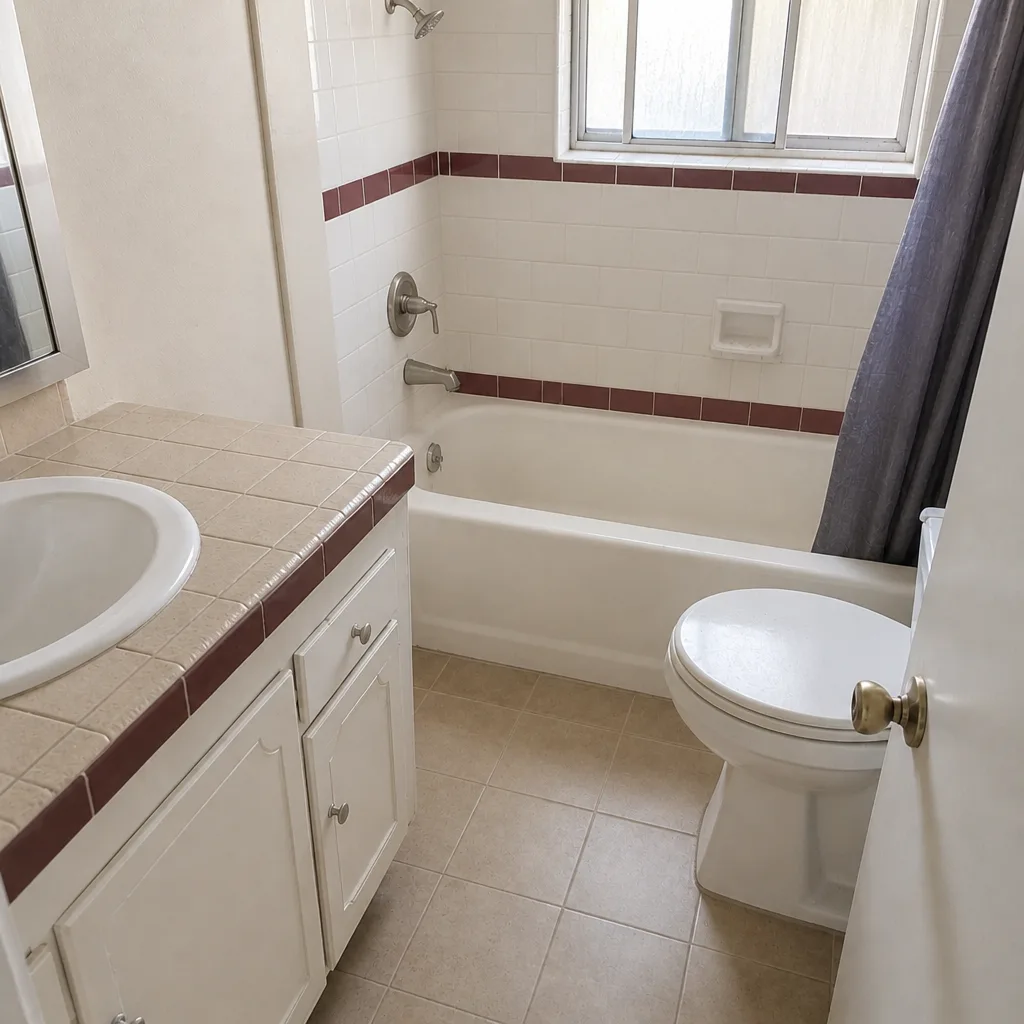 After
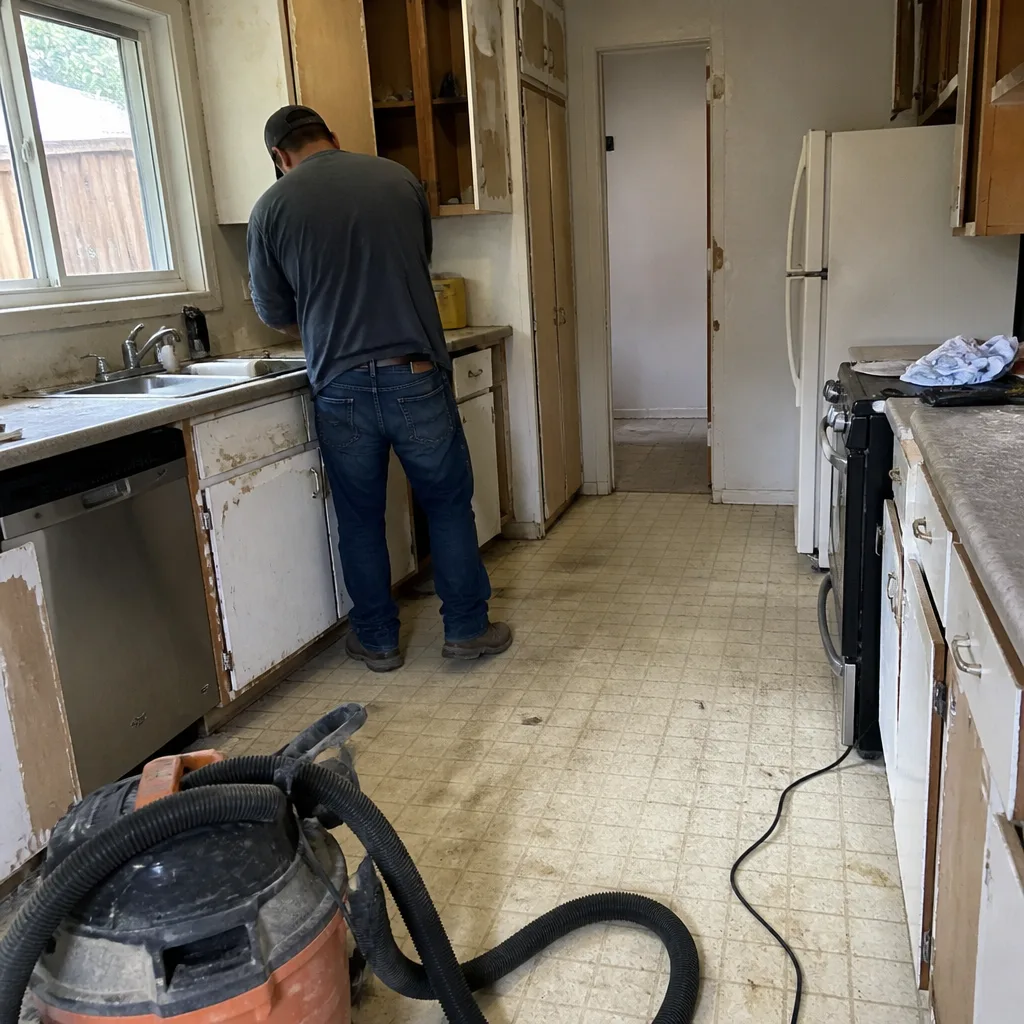 Before
 After
When to Call a Professional
Call a professional for full window replacement, any exterior pre-hung door, anything involving an opening that’s out of square by more than 1/4 inch, and any project where the framing or sill shows rot. Also call for patio doors, sliding glass doors, and any window on a second story or above – the height work alone is worth a trained crew. If your project is part of a larger remodel or addition, get the window and door package in the same scope as the rest of the work. Permits, flashing, and warranty documentation travel together, and splitting them across two contractors is how the leaks happen. Barrett & Sons Construction Santa Clarita offers free estimates in Santa Clarita – call (833) 762-8116 to schedule yours.
Frequently Asked Questions
Yes, a homeowner can usually replace a window themselves as an owner-builder, but a permit is required for most replacements, and the like-for-like exemption only applies when the opening and framing aren’t altered. The bigger issue is the warranty: Andersen and Marvin installation warranties typically require documented professional installation, so a DIY install may void the coverage that made the window worth buying.
In the Santa Clarita market, a standard replacement window with professional installation typically runs in the $800 to $1,500 range per window, depending on size, glazing package, and how much rough opening repair the wall needs. Full-house packages price lower per window. Call (833) 762-8116 for an exact quote on your Santa Clarita home – estimates are free.
Replacing a door in the same opening without changing the size or configuration is often exempt in California, but exterior door replacements that change the opening size, the egress, or the energy compliance do require a permit. We pull the permit and sign off on the inspection on every eligible job because the inspection is a check on our work, not a hassle.
Usually not. The labor savings on an exterior door is typically $400 to $800, and the flashing, sill pan, and security hardware tolerances are where most DIY installs fail within the first few seasons. The water damage repair alone can exceed the labor you saved, and most homeowners’ insurance doesn’t cover faulty workmanship.
We install Andersen and Marvin windows because both brands publish their warranty requirements and are verifiable, and they perform well in Santa Clarita’s hot summers and occasional winter rain. For trim and transitions, we use Schluter products, and on bathroom window and fixture packages, American Standard and Toto fixtures match the same standard of material accountability.
A single window replacement is typically a one-day job, and a whole-home window package can run three to five days depending on the number of openings and whether the stucco detailing needs repair. If a permit is required, allow extra time for the inspection scheduling. We give you a written schedule with the estimate, and any scope change arrives as a written change order before work proceeds.
The Bottom Line
Interior door hanging, weatherstripping, trim, and hardware swaps are honest DIY projects. Full window replacement, exterior pre-hung doors, and any opening where the framing or squareness is in question are not – not because you’re not capable, but because the failure mode is water intrusion two to five winters down the road, and the cost of fixing it usually exceeds the labor you saved. In Santa Clarita, where most homes are stucco and most rough openings in pre-2000 construction are out of square, the calculus tilts toward professional installation on any exterior project. Get a free second opinion on any written estimate before you sign, and verify the window’s warranty requirements before you commit to a brand. Call (833) 762-8116 for a free estimate from Barrett & Sons Construction Santa Clarita – and keep the DIY projects to the ones that stay dry if you get them wrong.
Written by the team at Barrett & Sons Construction Santa Clarita.