
Last updated November 16, 2026
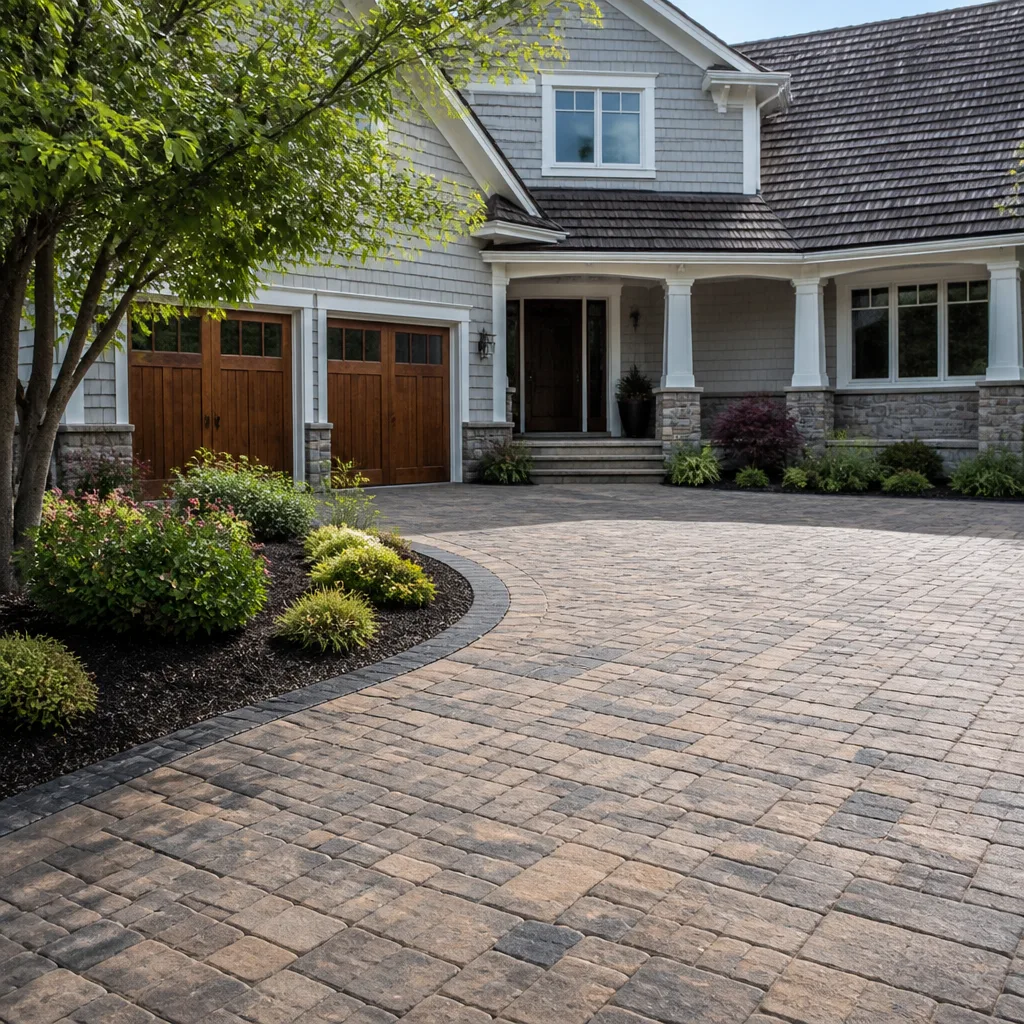 Driveway & pavers
 Kitchen remodeling
 Bathroom remodeling
 Home additions & ADU
 Roofing
 Windows & doors
 Fence
Free written scope consultation - allowances, timeline, and change-order rules on paper before a single trade is scheduled
Driveway & Pavers Maintenance Checklist for Santa Clarita Homeowners
A paver driveway that would coast through 25 years near the coast in Long Beach can show joint erosion and surface pop in under 8 years in parts of Santa Clarita. The difference isn’t the pavers. It’s the heat cycling, the wind grit, and the handful of freeze nights that sneak into Saugus and Canyon Country every winter. Most maintenance checklists you’ll find online were written for a mild coastal climate and they miss all of it. This guide walks through what actually wears pavers out in Santa Clarita, in the order it happens, and what to do about each stage before it turns into a rebuild.
Quick Answer
In Santa Clarita, paver driveways need polymeric sand re-jointing roughly every 2 to 3 years, not the national every-3-to-5 default, because inland heat cycling opens joints faster. Seal with a water-based, breathable product every 3 to 5 years, clear grit before Santa Ana wind season, and inspect for efflorescence and popped pavers each spring. Do those four things and a properly based driveway holds up.
Styles & brands we work with
- Kitchen remodeling
- Bathroom remodeling
- Home additions & ADU
- Roofing
- Windows & doors
- Driveway & pavers
- Fence
Table of Contents
- Why Santa Clarita Wears Pavers Differently
- The Polymeric Sand Schedule for Inland Heat
- UV Bleaching vs. Efflorescence vs. Structural Failure
- Pre-Santa Ana Season Clearing Routine
- Water-Wise Sealing That Keeps Your Warranty
- Honest Surface Repair vs. a Bad Base Course
- The Full Seasonal Checklist
- Common Mistakes to Avoid
Why Santa Clarita Wears Pavers Differently
Three forces work on a Santa Clarita driveway, and they don’t work in isolation. Summer afternoons push past 100°F across the valley floor. Santa Ana winds drag grit and dust off the hills and sandblast exposed surfaces. And a few nights each winter dip below freezing in the higher pockets of Saugus and Canyon Country. The pavers themselves handle all three. The joints and the bedding are what fail.
Here’s the sequence we’ve watched play out on driveways across Valencia, Newhall, and Stevenson Ranch:
- Late summer heat expands the pavers and compresses the polymeric sand in the joints.
- Fall Santa Ana winds drive grit into hairline cracks in the sealant and the joint sand.
- Winter freeze nights catch moisture in those cracks and lift it slightly as it freezes.
- Spring warm-up leaves the joints wider than they started, and the cycle repeats.
Each pass widens the gaps a little more. A driveway that sees four or five of these cycles without re-sanding will start losing pavers at the edges and along the wheel paths. Coastal driveways never see the freeze step, which is why the national schedule doesn’t fit here. If your driveway sits on a slope in Canyon Country, the grit also washes downhill with the first rain and pools against the garage apron, which is where we most often find the first popped paver.
Understanding the sequence matters because it tells you what to fix and when. Fixing sand before Santa Ana season protects the joints through the grit. Sealing before summer protects the surface through the heat. Skip the order and you’re repainting a wall that’s still leaking.
The Polymeric Sand Schedule for Inland Heat
Polymeric sand is the material that locks pavers together and keeps weeds and water out of the joints. Most manufacturers recommend re-jointing every 3 to 5 years. In Santa Clarita, plan on every 2 to 3 years, and check the joints every spring.
The reason is straightforward. Polymeric sand cures into a flexible binder that expands and contracts with the pavers. The wider the temperature swing, the harder the binder works. Santa Clarita routinely swings 30 to 40 degrees between a summer afternoon and the same night. That’s double what the sand sees in a coastal town, so it ages roughly twice as fast.
What to look for before you re-sand:
- Visible gaps wider than a quarter inch along the joint lines, especially on the sunny side of the driveway.
- Loose sand that kicks up when you sweep or shows up in the gutter after rain.
- Weeds pushing through joints that were clean two seasons ago.
- Rutting along the wheel paths where sand has washed out and pavers have started to settle.
Re-sanding is not a hose-and-broom job. The old sand has to be cleared out of the joint to depth, the surface cleaned and dried, and the new polymeric sand worked in and activated per the manufacturer’s instructions. Done wrong, the sand cures on the surface instead of in the joint and looks like a haze until it weathers off. We’ve seen homeowners try to shortcut this in Valencia and end up paying twice.
If you’re not sure whether it’s time, run a finger along a joint in full sun. If the sand crumbles or the joint is deeper than a quarter inch, it’s due. Pair that check with your spring walk-around and you’ll rarely get caught.
UV Bleaching vs. Efflorescence vs. Structural Failure
Three things make a paver driveway look tired, and they look similar enough that homeowners misdiagnose them all the time. Here’s how to tell them apart, because each has a different fix and only one is a real problem.
UV bleaching
Sun exposure fades the color in a paver over time, usually evenly across the surface and slightly faster on pavers that see full afternoon sun. It’s cosmetic. A faded driveway is still structurally sound. If the pavers were sealed with a UV-stable product and re-sealed on schedule, fading is slower but never zero. Bleaching is most obvious on tumbled or mottled pavers in Valencia and Stevenson Ranch, where the color variation was the selling point and the sun flattens it out.
Efflorescence
Efflorescence is a white, powdery bloom that appears on the surface, usually after rain or in damp seasons. It’s mineral salts wicking up through the pavers as moisture moves through the base. It’s cosmetic too, but it tells you something is happening below the surface. A paver with a little efflorescence near a downspout or a low corner is normal. Efflorescence returning across the whole driveway every season usually means moisture is trapped underneath, and that’s worth investigating.
Structural failure
Structural failure shows up as pavers that are loose, rocking underfoot, or sunken in a rutted pattern. The color usually hasn’t changed much, but the surface moves. If you can press on a paver and feel it tilt, or if a wheel path has dropped more than a quarter inch, the base course or the bedding is the problem, not the surface. No amount of sealant fixes that.
The quick field test: hose the driveway down. If the white bloom washes away and comes back in a week, it’s efflorescence. If it stays put and the color underneath is faded, it’s UV. If the surface moves when you walk on it, it’s structural, and it’s a base problem.
Pre-Santa Ana Season Clearing Routine
Santa Ana winds in Santa Clarita are seasonal and predictable. They typically arrive in fall and again in early spring, and they carry grit, dust, and fine sand off the hills and open lots. That grit is the quiet destroyer of a paver driveway, because it works its way into the sealant and the joints and abrades them open.
Clear the driveway before the winds arrive, and you cut that wear dramatically. Our routine:
- Blow off the full surface with a leaf blower on high, working from the garage out toward the street so grit doesn’t accumulate against the door.
- Clear the gutters and the base of the walls where grit from the hillside collects. Use a broom and a hand scoop, not a hose, so you don’t push grit into the joints.
- Check the joint lines for grit wedged into cracks. A stiff broom is fine; a pressure washer turned up high will strip the sealant and sand, so keep it off.
- Rinse the apron and the transition to the street where grit piles up and gets swept back across the surface by traffic.
- Re-seal any cracks before the wind season starts. A crack the size of a pencil lead is a grip point for grit; filling it in fall saves the joint in spring.
This routine takes an afternoon. The alternative is a spring re-sand and a sealant reapplication, and by then the damage is done. We’ve seen Canyon Country driveways lose a full season of sealant life to a single windy fall that went unmanaged.
While you’re at it, check the low side of the driveway, the driveway-to-garage transition, and the base of any walls. These are the spots where grit accumulates and where water pools, and they’re the earliest warning signs of a drainage problem that will eventually undermine the base.
Water-Wise Sealing That Keeps Your Warranty
Sealing protects the pavers from UV and locks the joint sand in place, but not every sealer is right for Santa Clarita. Local drought restrictions and manufacturer warranties both matter, and they sometimes conflict with the sealer the hardware store has on the shelf.
What to choose:
- Water-based, breathable sealers are the safe default. They let moisture vapor escape, which reduces efflorescence and freeze damage, and they’re typically compliant with local water restrictions.
- Solvent-based sealers can give a glossier finish but trap moisture. On Santa Clarita driveways with freeze nights and seasonal rain, a trapped-moisture sealer is an invitation to efflorescence and surface spalling.
- Check the paver manufacturer’s warranty before you apply anything. Many warranties specifically require a breathable, water-based sealer, and using the wrong product can void coverage on the surface.
- Avoid “wet look” high-gloss sealers unless the manufacturer explicitly approves them for your specific paver and climate. They look sharp for a season and then show every grit scratch.
The sealant schedule matters as much as the product. In Santa Clarita, plan on re-sealing every 3 to 5 years, with a touch-up on high-traffic areas like the apron and the wheel paths more often. Seal in spring, after the last freeze and before the summer heat, so the product cures evenly and the pavers are protected through both seasons.
Application is where most DIY sealing goes wrong. Over-application traps grit and leaves a milky haze. Under-application leaves gaps in coverage. Two thin coats applied with a roller, back-brushed into the joints, and allowed to dry fully between coats is what the manufacturers specify. If you’d rather not risk a five-gallon mistake on a few thousand square feet of pavers, that’s a job worth pricing out.
Honest Surface Repair vs. a Bad Base Course
Not every problem is a maintenance problem. Some pavers fail because the base course underneath was never installed correctly, and no amount of re-sanding or sealing will fix that. Knowing the difference saves you from paying twice.
Honest surface repair is the right call when:
- A single paver or a short run has cracked or chipped, but the surrounding surface is stable.
- Efflorescence is confined to one spot near a downspout or low corner.
- A joint has opened at one location where traffic is heavy, but the rest of the driveway is intact.
- The color has faded evenly and the surface is still firm underfoot.
A base course problem is the more likely cause when:
- Pavers rock underfoot across a wide area, or multiple pavers have settled at different depths.
- Water pools on the surface after rain instead of draining.
- Ruts reappear after repair, along the same wheel paths.
- Efflorescence returns across the whole driveway every season.
- Pavers along the edges are separating and migrating outward.
If you’re seeing the second pattern, a surface repair will look fine for one season and then come back. The base has to be addressed, and that’s a bigger scope. This is where a written estimate matters: we’ll tell you plainly whether a spot repair is honest or whether you’re looking at a base rebuild, and we’ll put it in writing before anyone touches the driveway. The last thing you want is a spot repair that buys you six months and a second invoice.
If you’re thinking about replacing rather than repairing, our team handles Driveway & Pavers in Santa Clarita and can walk the existing base with you before you decide. We work with Belgard and Techo-Bloc, so you can look up the product and the warranty rather than trusting a brand off a brochure.
The Full Seasonal Checklist
Here’s the whole year in one place. Print it, stick it in the garage, and follow it. The order matters because each step protects the next one.
Spring (after the last freeze, before summer heat)
- Walk the full surface and press on any paver that looks different. Note rocking or settlement.
- Check the joints for depth and crumbling sand. Re-joint any joint that’s due.
- Hose down the surface to test for efflorescence; note any white bloom that returns.
- Re-seal with a breathable, water-based product if it’s due, in two thin coats.
- Clear the gutters, downspouts, and low corners so water drains away from the driveway.
Summer (heat and sun)
- Avoid pressure washing the surface on high heat; it can damage the sealant and the sand.
- Watch for new efflorescence after any small rain; a single spot is fine, a full bloom isn’t.
- Check the apron and the wheel paths for early sealant wear.
Fall (before Santa Ana season)
- Blow off the full surface and clear the grit-prone corners and wall bases.
- Fill any sealant or joint cracks before the wind arrives.
- Rinse the apron and the driveway-to-street transition.
- Inspect the edges for paver migration or separating.
Winter (freeze nights in Saugus and Canyon Country)
- Watch for water pooling in the wheel paths and low corners after rain.
- Keep the driveway clear of grit and leaves so moisture can drain.
- Note any new rocking or settlement while the ground is soft; that’s when it shows.
Two of your neighbors probably drive past your driveway every day. If something looks off, they’ll notice before you do. If you’re not sure, our team can look at it with you. This checklist also applies to a new install, and it’s the same routine we bring to a Fence Installation in Santa Clarita because the base and drainage rules for a paver driveway apply to any hardscape on the property.
Common Mistakes to Avoid
- Following the national 3-to-5-year re-sand schedule. Santa Clarita’s temperature swing cuts that in half. Plan on every 2 to 3 years and check the joints every spring.
- Pressure-washing the surface on high. It strips the sealant and the joint sand and can etch the pavers. Use a stiff broom and a leaf blower instead.
- Sealing over grit. Sealant traps grit in the surface and leaves a permanent haze. Clear the surface first, then seal.
- Using a glossy, solvent-based sealer in a wet winter. It traps moisture, and trapped moisture in a freeze night shows up as efflorescence and spalling the following spring.
- Ignoring a single popped paver. One popped paver is usually the start of an edge failure. Fix it before it becomes a run of them.
- Skipping the fall grit clear. Santa Ana season abrades a joint open in one windy fall if grit is left sitting on the surface.
- Treating a base problem as a surface problem. If the pavers rock or ruts reappear, no amount of re-sanding will fix it, and a spot repair will just cost you twice.
When to Call a Professional
Most of this checklist is homeowner work. Call a professional when the surface shows any of these:
- Pavers rocking underfoot across more than a few square feet.
- Ruts that come back after a spot repair.
- Widespread efflorescence that returns every season.
- Edges separating or migrating outward.
- Standing water on the surface after rain.
- Any structural failure you can see and feel, not just a color change.
Barrett & Sons Construction Santa Clarita offers free estimates in Santa Clarita. Our crew members have up to 28 years of experience, every job gets its permits pulled and inspections signed where they apply, and every price change arrives in writing before work happens. Call (833) 762-8116 to schedule your free estimate. If you’ve had a written estimate from another contractor, bring it in for a free second opinion. You’ll get a straight answer about whether you’re looking at a spot repair or a base rebuild, and the price on the page will be the price on the invoice.
While you’re planning, it’s a good time to think about the rest of the property. Our team handles Barrett & Sons Construction Santa Clarita home projects across every trade, and if you’re considering a hardscape that ties into a bigger plan, our Home Additions & ADU in Santa Clarita team can walk the driveway and the pad together so the drainage is right from the start.
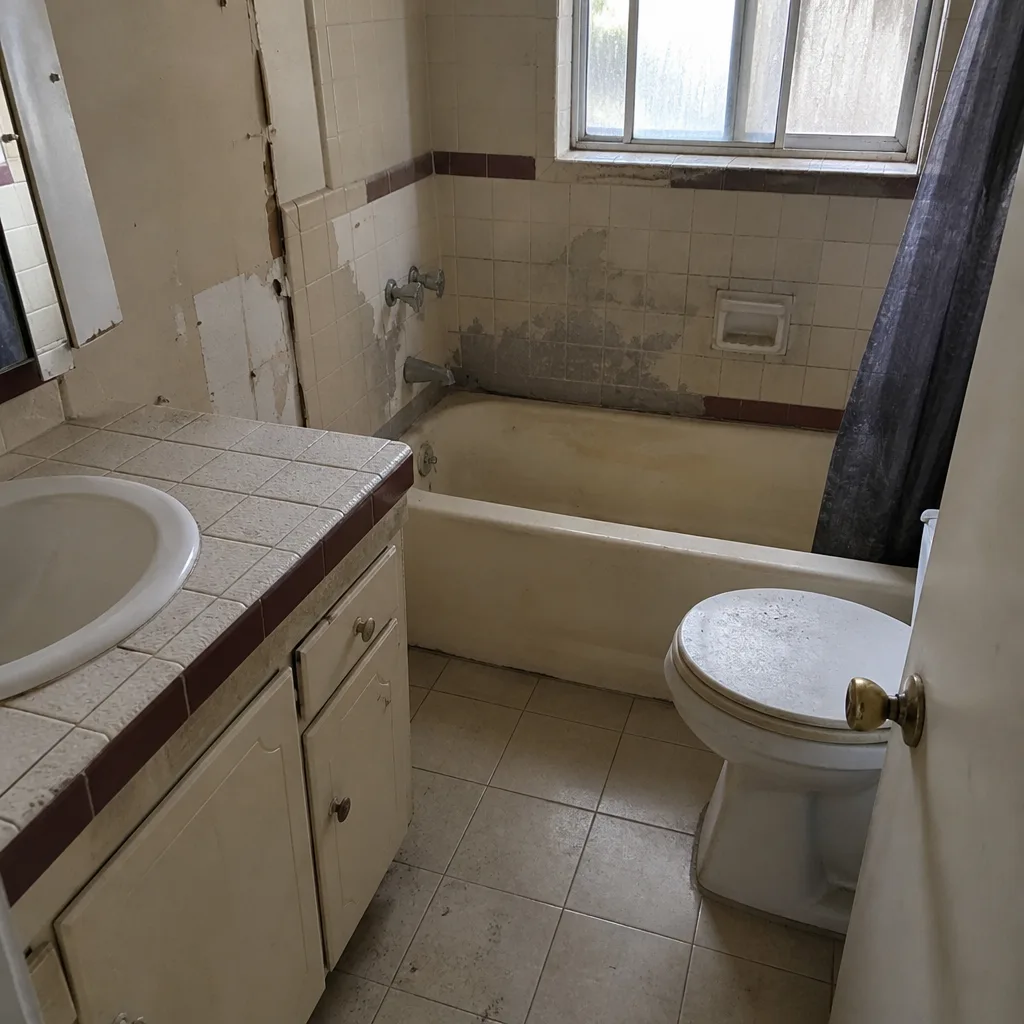
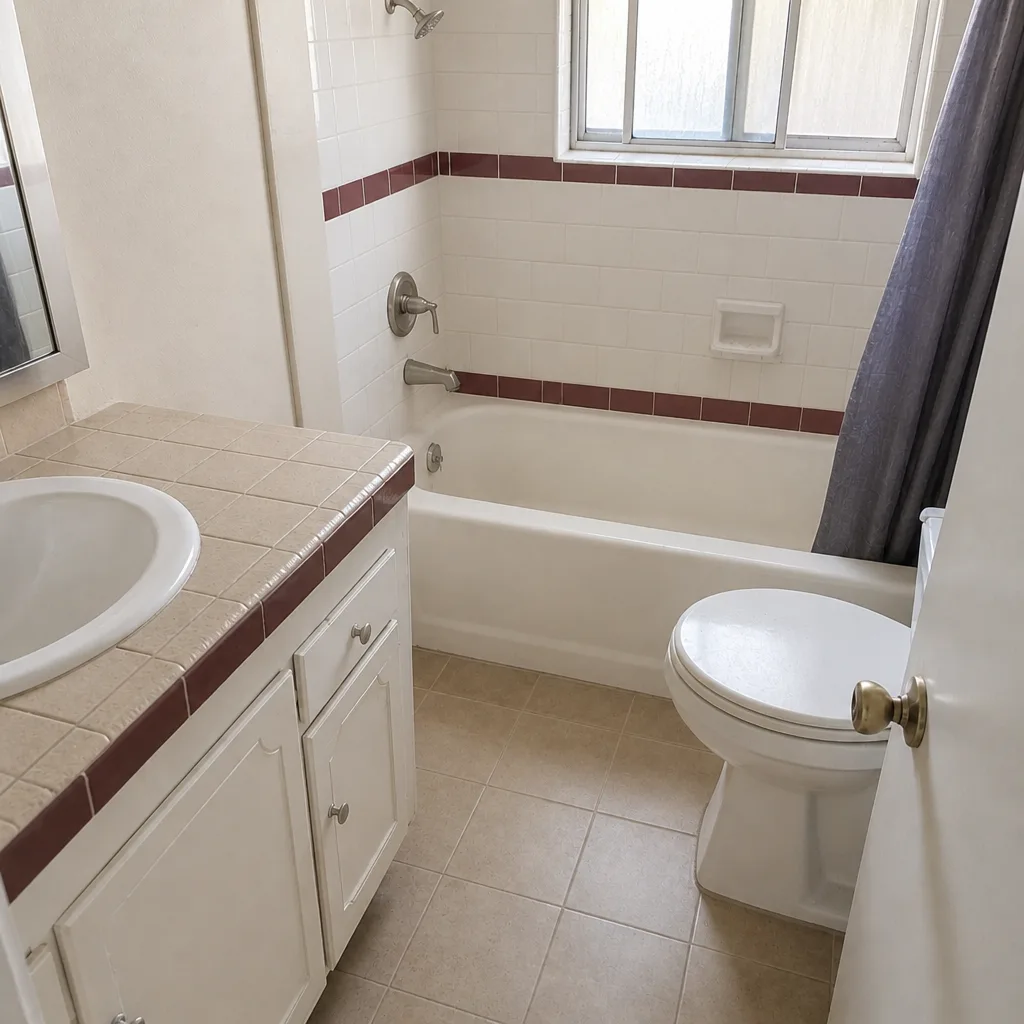
See the difference
 Before
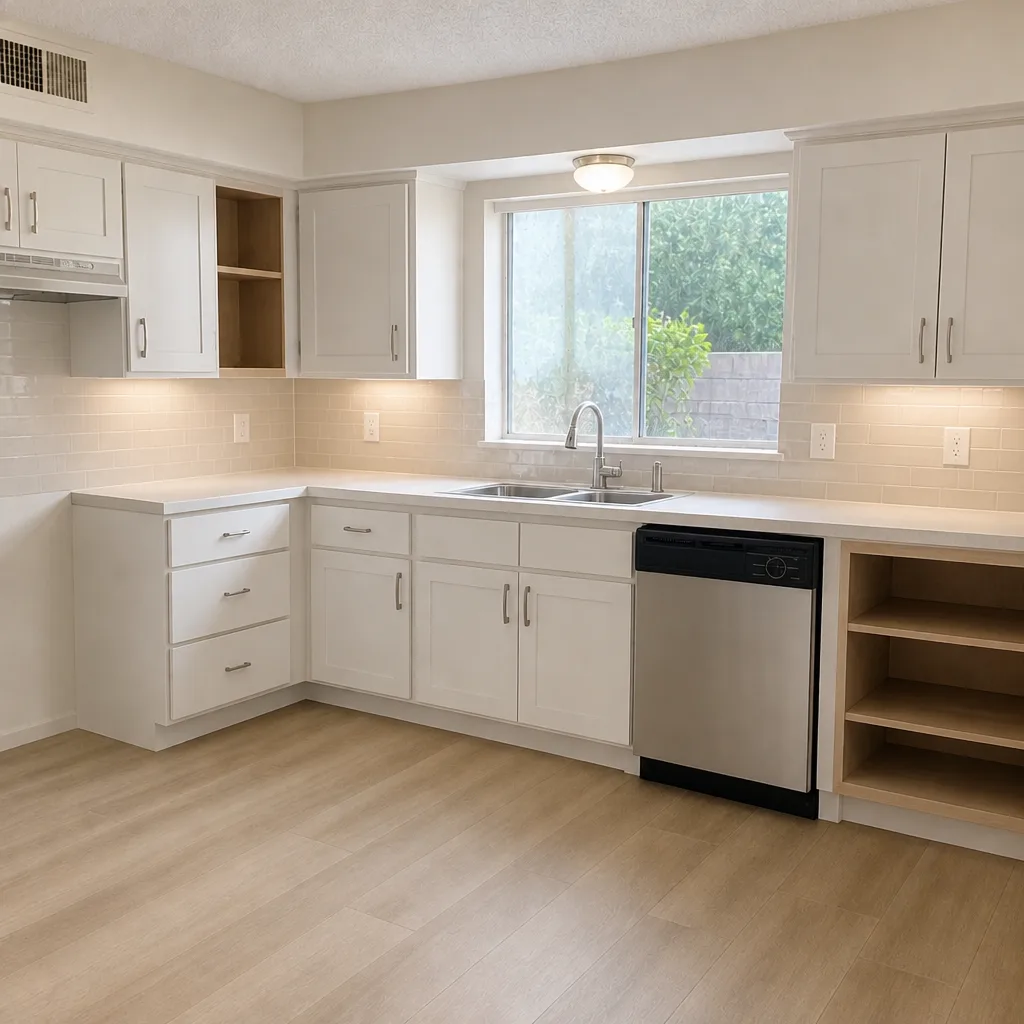 After
 Before
 After
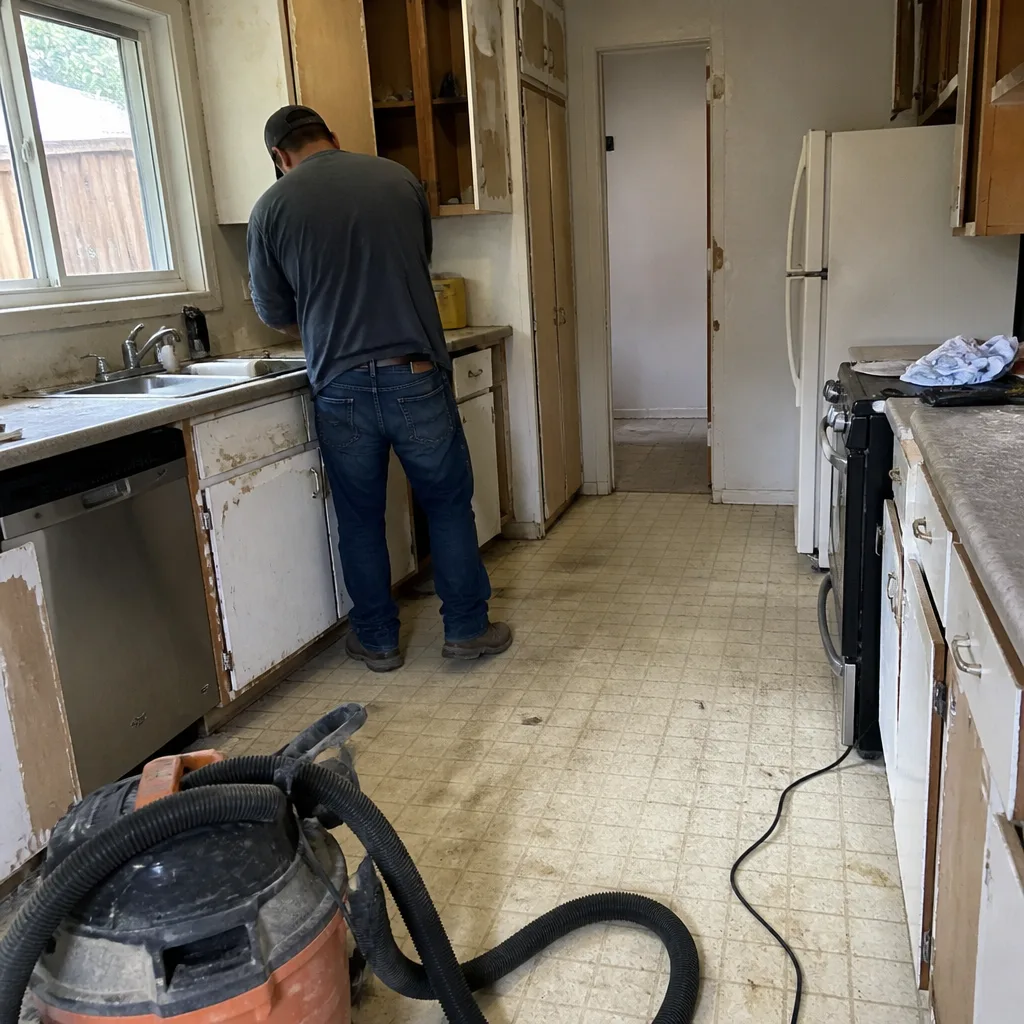 Before
 After
Frequently Asked Questions
Every 2 to 3 years, not the 3 to 5 years most national guides recommend. The wider temperature swing between a 100°F afternoon and a cool night in Santa Clarita works the polymeric sand harder than a coastal climate does, so it ages roughly twice as fast.
Usually not. That’s efflorescence, a mineral bloom that comes up through the pavers as moisture dries out of the base. It’s cosmetic when it’s confined to a spot near a downspout or a low corner. If it returns across the whole driveway every season, it means moisture is trapped underneath, and that’s worth a professional look. Call (833) 762-8116 for a free estimate if you’re not sure which it is.
Only on low pressure and only after checking the seal. High-pressure washing strips the joint sand and the sealant and can etch the surface. A stiff broom, a leaf blower, and a hose are what we recommend for routine cleaning in Santa Clarita. Save the pressure washer for a professional re-sand and re-seal job.
A breathable, water-based sealer that the paver manufacturer approves. It lets moisture escape, which reduces efflorescence and freeze damage, and it’s typically compliant with local water restrictions. Check the paver warranty before you apply anything, because a solvent-based or high-gloss sealer can void coverage on the surface.
Usually not. A single popped paver near an edge or a wheel path is often a spot repair. The exception is when pavers rock across a wide area or ruts keep coming back, which points to a base course problem. We’ll tell you which one it is in writing before anything gets touched.
It depends on the scope and the city department involved. Spot repairs and re-sanding typically don’t need one. A full replacement, a change to the driveway apron, or a change that affects the public right-of-way usually does. If permits apply, we pull them and sign the inspection. That way the inspector’s sign-off is on the record for the next owner to look up.
UV bleaching is even color fading from sun exposure across the surface. Efflorescence is a white bloom that appears after rain or in damp seasons and washes away when you hose it down. Faded color with a firm surface is cosmetic; a bloom that keeps coming back is a moisture signal.
The Bottom Line
Santa Clarita’s heat, wind, and occasional freeze nights shorten the life of a paver driveway if the maintenance schedule is built for a coastal climate. The fixes are simple and local: re-joint the polymeric sand every 2 to 3 years, seal with a breathable water-based product every 3 to 5 years, clear grit before Santa Ana season, and learn to tell UV fading from efflorescence from real structural failure. Do all four and a properly based driveway holds. Skip one and the sequence starts. If you’re not sure what you’re looking at, we’ll look at it with you, put it in writing, and back the work with our written guarantee.
Contact Us
Barrett & Sons Construction is owner-operated and has served local communities since 1998. Our crew members carry up to 28 years of experience, every eligible job gets its permits pulled and inspections signed, and every price change arrives as a written change order before work begins. We also carry a permanent 10% Senior & Veteran discount, free second opinions on any written estimate, no trip charge inside the county, and $40 off any repair over $200. Call (833) 762-8116 to schedule your free estimate.
Written by the team at Barrett & Sons Construction Santa Clarita.