
Last updated November 16, 2026
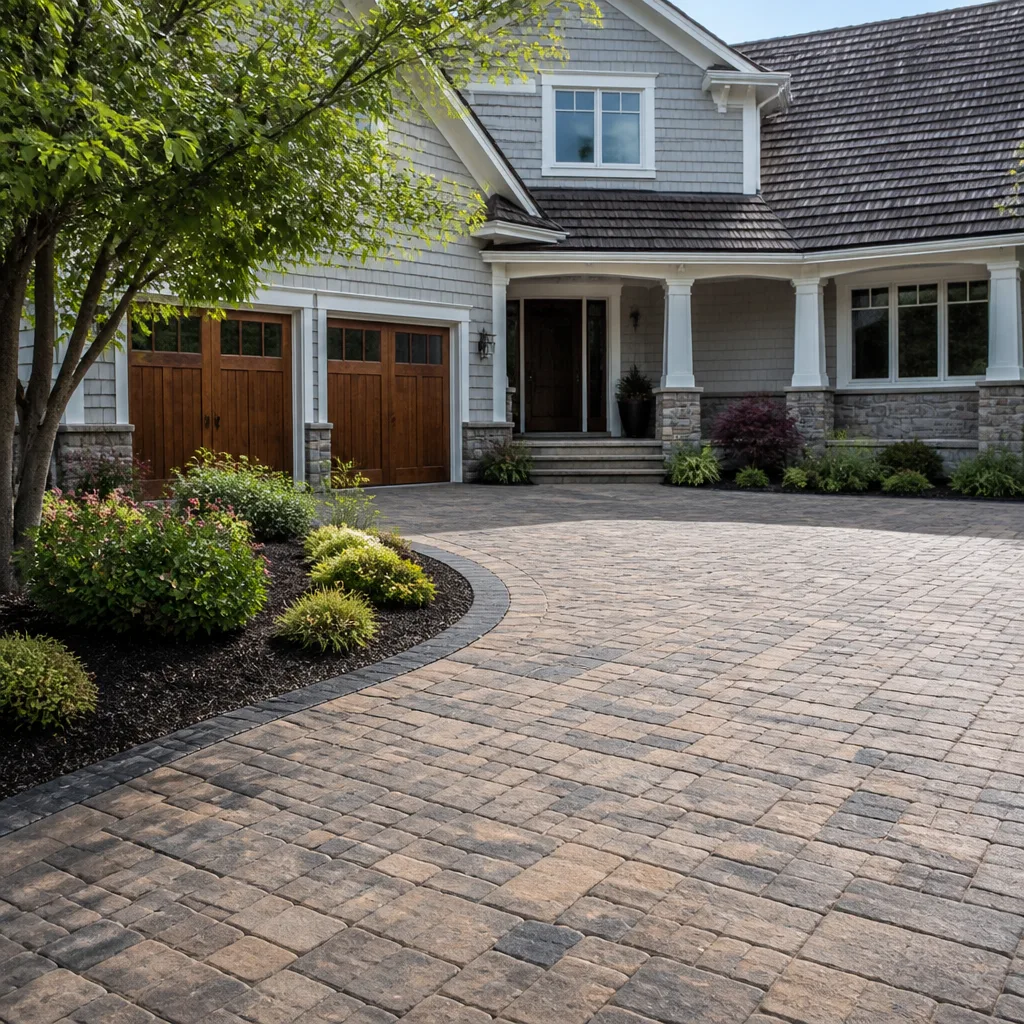 Driveway & pavers
 Kitchen remodeling
 Bathroom remodeling
 Home additions & ADU
 Roofing
 Windows & doors
 Fence
Free written scope consultation - allowances, timeline, and change-order rules on paper before a single trade is scheduled
Driveway & Pavers Troubleshooting: Common Problems and How to Fix Them
Here’s what we see on more driveways in Santa Clarita than any other single problem: pavers that have been re-sanded three times and keep sinking back into the same hollow. The homeowner blames the sand. The sand is almost never the problem. Sand is what fills a gap; it doesn’t hold a paver up. Something under that paver is moving, and until you know what, every repair is a bandage on a wound you haven’t found yet. This guide teaches you to read what your driveway is actually telling you, separating a small local fix from a failed base that needs real excavation, with the local culprits that show up in Santa Clarita specifically.
Quick Answer
Sinking or shifting driveway pavers are almost always a drainage or base problem, not a surface problem. If the settling is confined to a small area away from the edges and the rest of the field is tight, you can usually lift and re-level that section. If pavers are moving along the edges, along a slope, or in a wide pattern, the compacted base layer or the border restraint has failed and the section needs to come out and be rebuilt. Re-sanding alone never fixes either one.
Styles & brands we work with
- Kitchen remodeling
- Bathroom remodeling
- Home additions & ADU
- Roofing
- Windows & doors
- Driveway & pavers
- Fence
Table of Contents
- Localized Settling vs. Systemic Base Failure
- Why Your Paver Joints Keep Losing Sand
- Why Edge Pavers Always Fail First
- Are Those Cracks Cosmetic or Structural?
- Three Santa Clarita Culprits: Roots, Leaks, and Clay
- How the Correct Repair Actually Works
- Keeping It Fixed: What to Watch For
Localized Settling vs. Systemic Base Failure
Before you touch a paver, answer one question: is the problem in one spot, or is the whole field shifting? That single distinction decides whether you’re looking at an afternoon job or a section rebuild, and it’s the difference between a repair that lasts and one that comes back next spring.
Localized settling looks like one sunken paver or a small dip, usually where a heavy vehicle parked, where an irrigation line was trenched, or where a small pocket of base was never compacted properly. The pavers around it are still tight against each other. The joints hold sand. The edges are still locked. That’s a good sign, and it usually comes out clean: lift the affected pavers, check the base underneath, top it up, re-compact, reset, and re-sand.
Systemic base failure looks different. You’ll see:
- Wide, shallow depressions across several feet, not just one low spot
- Pavers that rock underfoot or feel “loose” across a large area
- Offset joints where whole rows have crept out of line
- Sand that disappears from long runs of joints within weeks of refilling
- Water pooling where it shouldn’t, or a low spot that stays soft after rain
When you see three or more of those together, the compacted aggregate base under the pavers has lost its integrity, either from water working into it, from soil movement below, or from a base that was never deep enough to begin with. You can still re-level the top, but it will sink again because the support underneath isn’t there. The fix is removing the failed section down to subgrade, re-establishing compaction, and rebuilding. In our experience, a base that was installed at 4 inches but should have been 6 or more will fail within a few seasons no matter how good the pavers are.
Why Your Paver Joints Keep Losing Sand
If you’ve re-sanded the same joints twice and they wash or settle out again, you’re not dealing with a sand shortage. You’re dealing with either a sand failure or drainage erosion, and they behave differently.
Polymeric sand failure happens when the sand never fully cured, was applied wet when it shouldn’t have been, or was put in too thin. You’ll see crumbling, sandy joints, a powdery film on the paver faces, or sand that sloughs out in dry weather even where there’s no water running. It’s a surface symptom of bad installation or expired product, and it can be fixed by cleaning out the joints to depth and re-installing fresh polymeric sand correctly.
Drainage erosion looks the same at first, but the sand is being carried away by water moving through the pavement. You’ll notice:
- Sand loss concentrated on the downhill side or along a slope
- Joints that empty out after rain specifically
- Streaks of sand on the pavement below a grade change
- Low spots that never fully dry, even in Santa Clarita’s dry months
The difference matters because re-sanding an erosion problem just buys you a season. The water is still moving, and it’s washing your base with it. That’s when we look for irrigation leaks, downspout discharge, and grade that pitches toward the driveway instead of away from the house. Fix the water source, then re-sand. In the Santa Clarita Valley, where we get long dry stretches followed by intense storm cycles, that drainage pattern shows up sharply, because a driveway that drains fine in July can hold water like a bowl in February.
Why Edge Pavers Always Fail First
The edge is the first thing to go on nearly every failed paver driveway, and that’s not a coincidence. Edge pavers carry the load of holding the entire field in place, and they depend on a border restraint, often a buried concrete curb, aluminum edge, or a soldier course set against compacted soil, to keep them from spreading outward.
When the restraint was installed too shallow, not pinned, or simply left out to save time, the edges start creeping outward a fraction of an inch at a time. Then the joints open, sand drops in and falls through, and the whole field loosens from the outside in. What you’ll see:
- Edge pavers that sit proud of the field or lean outward
- A gap opening between the edge course and the field
- Soil washing out from under the edge
- Settling that always starts at the driveway entrance or along the apron to the street
That entrance area takes the most traffic and the most water runoff in Santa Clarita, so it’s where a weak edge shows itself first. A proper repair means pulling the edge course, checking the restraint, and rebuilding it so pavers are mechanically held, not just butted up against the lawn. If the border restraint is missing or shallow, no amount of re-sanding will stop the edges from creeping.
Are Those Cracks Cosmetic or Structural?
A crack in a paver is a message. The trick is reading whether it’s telling you “this paver got hit by something” or “the ground under me is moving.”
Cosmetic cracks usually:
- Appear in one or two isolated pavers
- Run a short distance and stop
- Sit near the driveway entrance or where a heavy object was dropped
- Leave the pavers around them tight and level
Those can be replaced individually without worrying about the rest of the drive.
Structural or load-bearing cracks usually:
- Run in a straight line across multiple pavers, often following the same axis
- Line up with a low spot or a depression in the field
- Show up with adjacent joint separations or rocking pavers
- Repeat in the same location after prior repairs
A crack pattern that lines up across several pavers, especially over a dip, is a strong sign of subgrade movement or a base that’s lost support. Replacing the cracked pavers alone resets the clock but doesn’t stop the cause. When we see that in a Santa Clarita driveway, we check the base underneath the crack line before recommending anything, because we’ve learned that the surface looks fine until you lift the cracked paver and find a soft pocket or a rut in the base waiting right under it.
Three Santa Clarita Culprits: Roots, Leaks, and Clay
Santa Clarita drives fail in ways that a contractor from somewhere else won’t recognize on sight. Three patterns show up again and again here, and each one leaves a different fingerprint.
Tree roots from valley oaks
Valley oak roots push upward under driveways that were built too close to mature trees, and they lift pavers in a slow, rolling pattern rather than a sudden dip. You’ll see a gentle hump in the field, joints that open along the hump, and often a hairline crack running across the crown of the lift. The fix isn’t just re-leveling, because the root will push again. We look at where the root runs and whether the driveway can be adjusted around it, and if the tree is significant, we talk through options before cutting anything a homeowner might regret.
Irrigation line leaks
A slow leak under a driveway turns the base into a sponge, and the paver settles in a soft, localized dip that gets worse after the irrigation runs. The tell is a sunken area that stays slightly damp at the joints even in the dry season, sometimes with a burst of weeds at the seam. If we suspect a leak, we diagnose the irrigation first and repair the paver later, not the other way around, because patching the surface over a live leak means you’ll be back out there within a year.
Clay heave after rain
Santa Clarita’s expansive clay soils swell when they get wet and shrink when they dry out. On a driveway with shallow base or a poor edge restraint, that movement shows up as a wavy field, raised pavers at the edges, and joints that open in the dry months and close in the wet ones. This one is often mistaken for tree roots. The distinction is pattern: heave spreads across the field in wave-like lifts, while roots concentrate around a specific tree. On the expansive clay here, we often recommend deeper base and a reinforced border, because shallow installations in this soil rarely stay flat through several wet winters. The 2026 wet season was a good reminder of that for a lot of homeowners.
How the Correct Repair Actually Works
Once you know what’s failing, the repair sequence is straightforward. What’s important is that every step happens in the right order, because skipping one is how driveways end up back in the same condition. Here’s the sequence we follow, and the one any good paver contractor should follow:
- Diagnose the water first. Find and fix the irrigation leak, downspout, or grade issue before lifting a single paver. Water is what caused most of this.
- Mark the failure limits accurately. Tap and listen. Sound pavers are solid; failing pavers are dull and hollow. Mark the full failure zone, not just the visible dip.
- Remove the pavers and stack them carefully. Good pavers go back. Only replace the ones that are actually cracked.
- Expose and inspect the base. Look for soft spots, standing water, and how deep the compacted base actually is. This is where you learn if the original installation was done right.
- Re-establish and compact the base. Rebuild with proper depth and compaction, and correct any slope issue that caused the water to sit in the first place.
- Rebuild the edge restraint if it failed. Reset or replace the border so the field is mechanically held.
- Reset the pavers, compact, and re-sand with fresh polymeric sand. Cured correctly, dry-applied, and swept into the joints to depth.
That sequence is why a small repair is a small job. A base failure is a bigger one, but it’s the only one that stays fixed. It also lines up with what we do when we install a new driveway: get the base right, pull the permits where they apply, and put the scope in writing before the first paver comes out of the pallet. When we install pavers on a Barrett & Sons job, the hardscape brands are ones you can look up yourself, Belgard and Techo-Bloc among them, and every change in scope goes into a written change order before we move a single paver. That isn’t a sales pitch, it’s the only way a homeowner can compare one bid to another honestly.
Keeping It Fixed: What to Watch For
A properly repaired driveway shouldn’t need annual attention. But it does pay to check a few things each season, especially in Santa Clarita where the dry-to-wet swing does most of the damage.
- Walk the edge line each fall. Any gap opening at the edge means restraint is giving way, and that’s far cheaper to fix early.
- Watch joints after the first heavy rain. Sand washing out after a storm is a drainage clue, not a sand problem.
- Check irrigation heads near the driveway. A head shooting at the pavement slowly undermines the base over a season.
- Look for damp joints in dry weather. That’s usually a slow leak under the surface.
- Keep the joints filled and the surface sealed if you live on expansive clay. It won’t stop movement, but it slows the water that drives it.
Quick Answer Recap and Reading Your Drive
The short version: sand is a symptom, water is usually the cause, and the base is where the answer lives. If the problem is small and isolated, lift, re-level, re-sand, and it’s done. If the edges are creeping, the pattern is wide, or cracks are lining up across the field, the base or the edge restraint has failed and re-sanding will only reset the clock. Diagnose first, then repair.
Common Mistakes to Avoid
- Re-sanding over a failed base. Fresh polymeric sand over a base that is losing support will disappear within a season. Fix the support before you touch the joints.
- Ignoring a wet spot at the edge. Damp joints in a Santa Clarita dry spell usually mean an irrigation leak or a roof downspout discharging onto the pavement. Find the water source first.
- Replacing cracked pavers without looking underneath. A crack that follows a dip is a base problem showing up at the surface. Pull the cracked paver and check the base before you order replacements.
- Hiring the bid that leaves out the edge restraint. A driveway without a proper border restraint loosens from the outside in. Ask any contractor how they plan to pin the edge and watch their answer.
- Patching over a tree root hump without addressing the root. Valley oak roots do not stop pushing because you re-leveled the top. Decide the root plan first.
- Burying the survey of what went wrong. Getting a proper diagnosis written down matters if you ever need to make a warranty claim or compare bids. This is also why we insist every scope and every allowance goes in writing before the first paver comes out.
- Skipping the permits where the county or city requires them. Driveway replacement, widening, and grade changes often touch permitting, and the last contractor who told a homeowner permits were optional is a common story in Santa Clarita.
When to Call a Professional
If you’ve read through this and you’re still not sure which problem you have, that’s a signal it’s time for a trained eye, and there’s no shame in it. Re-sanding a small, dry joint is fine work for a homeowner. But call a professional when the pavers are rocking underfoot, when the edges are creeping, when a section is holding water, when you suspect a tree root or an irrigation leak you can’t locate, or when the failure is spreading wide enough that you’d be lifting a significant section. Those repairs need the base exposed, compacted, and rebuilt, and that means the right tools and the right diagnosis before anything gets moved. Barrett & Sons Construction Santa Clarita offers free estimates in Santa Clarita, and we’ll tell you whether you’re looking at a small repair or a section rebuild before anyone lifts a paver. Call (833) 762-8116 to set one up. Our team has up to 28 years of scaffolding experience reading exactly these failures, and every price change on a repair goes into writing before work starts.
See the difference
 Before
 After
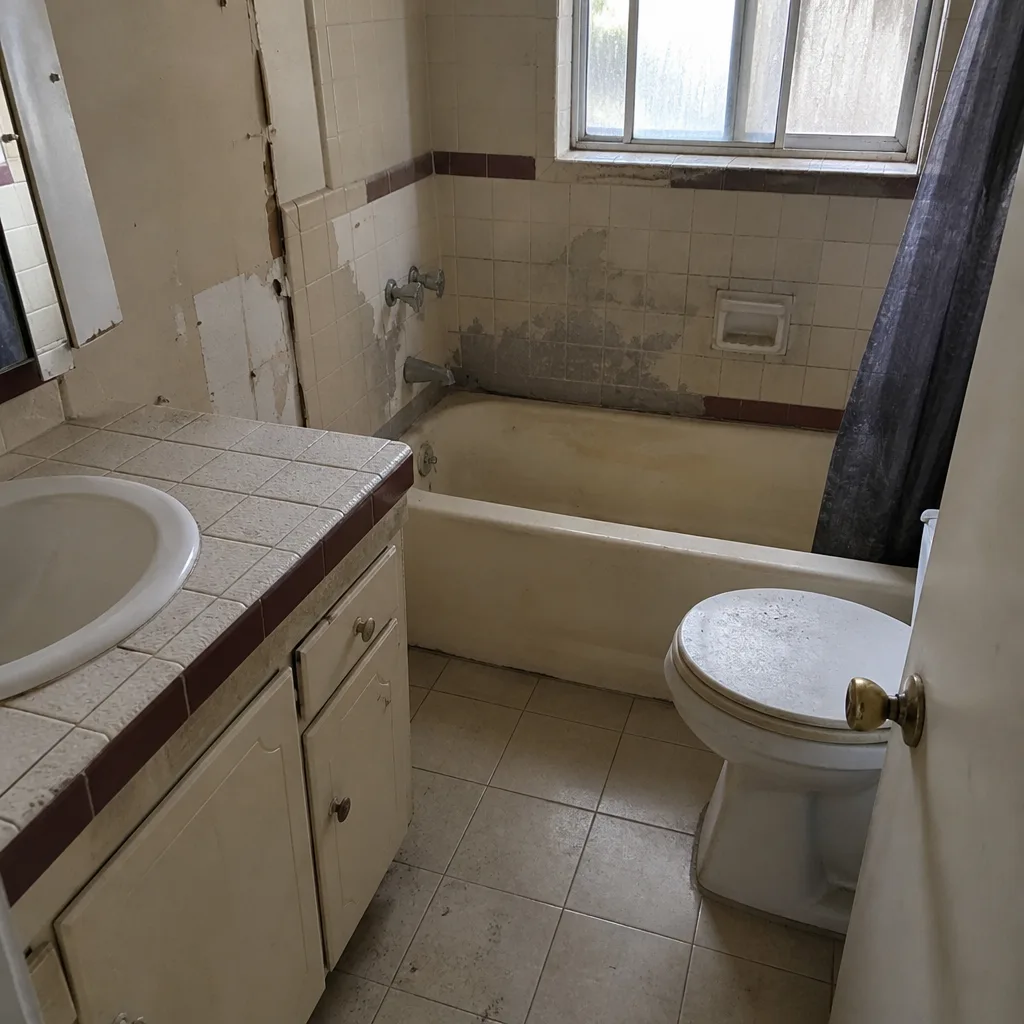 Before
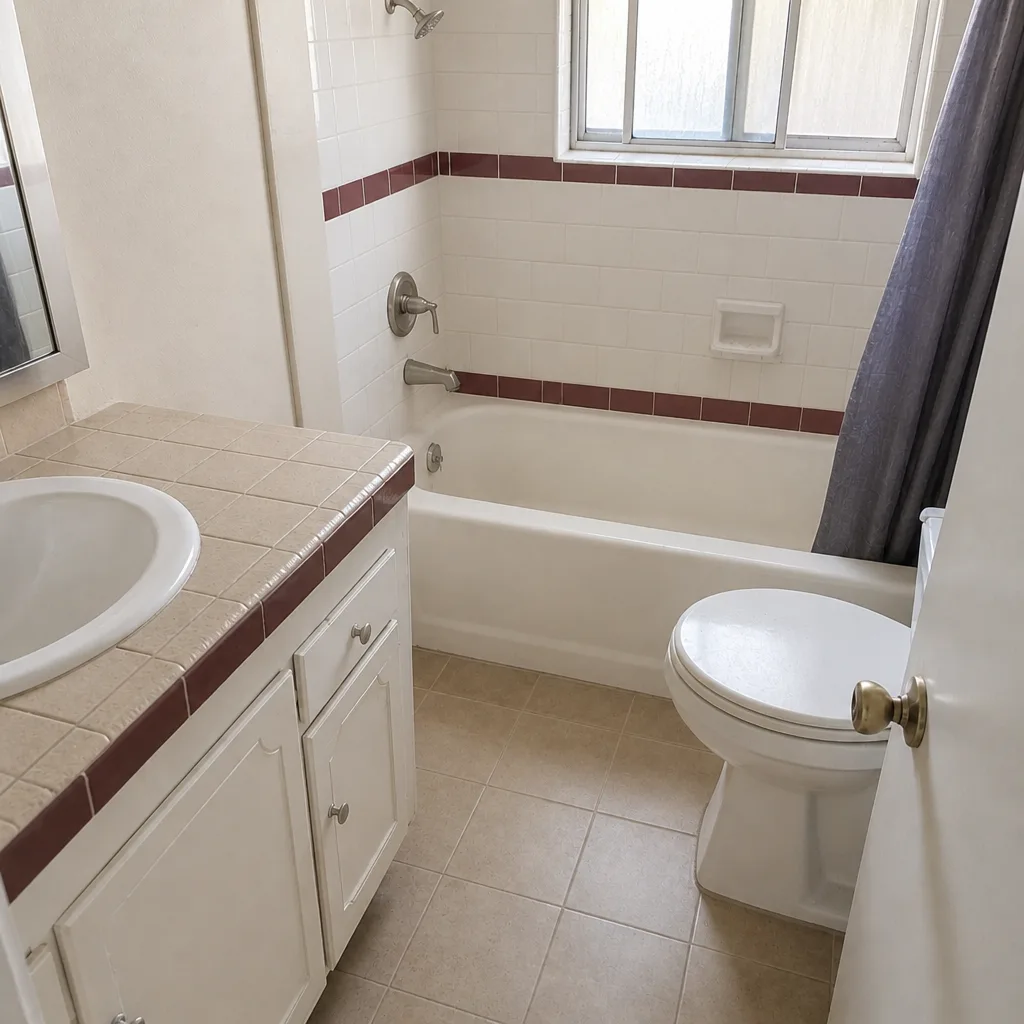 After
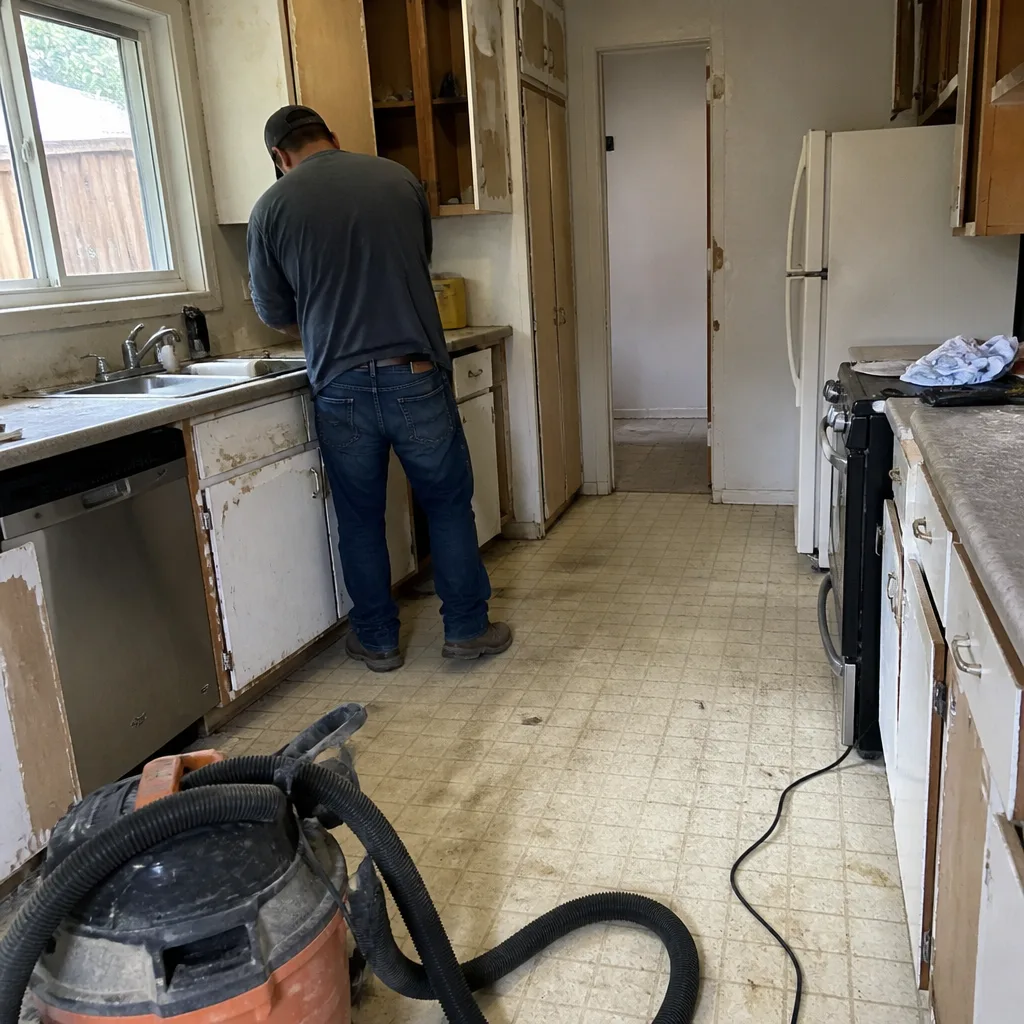 Before
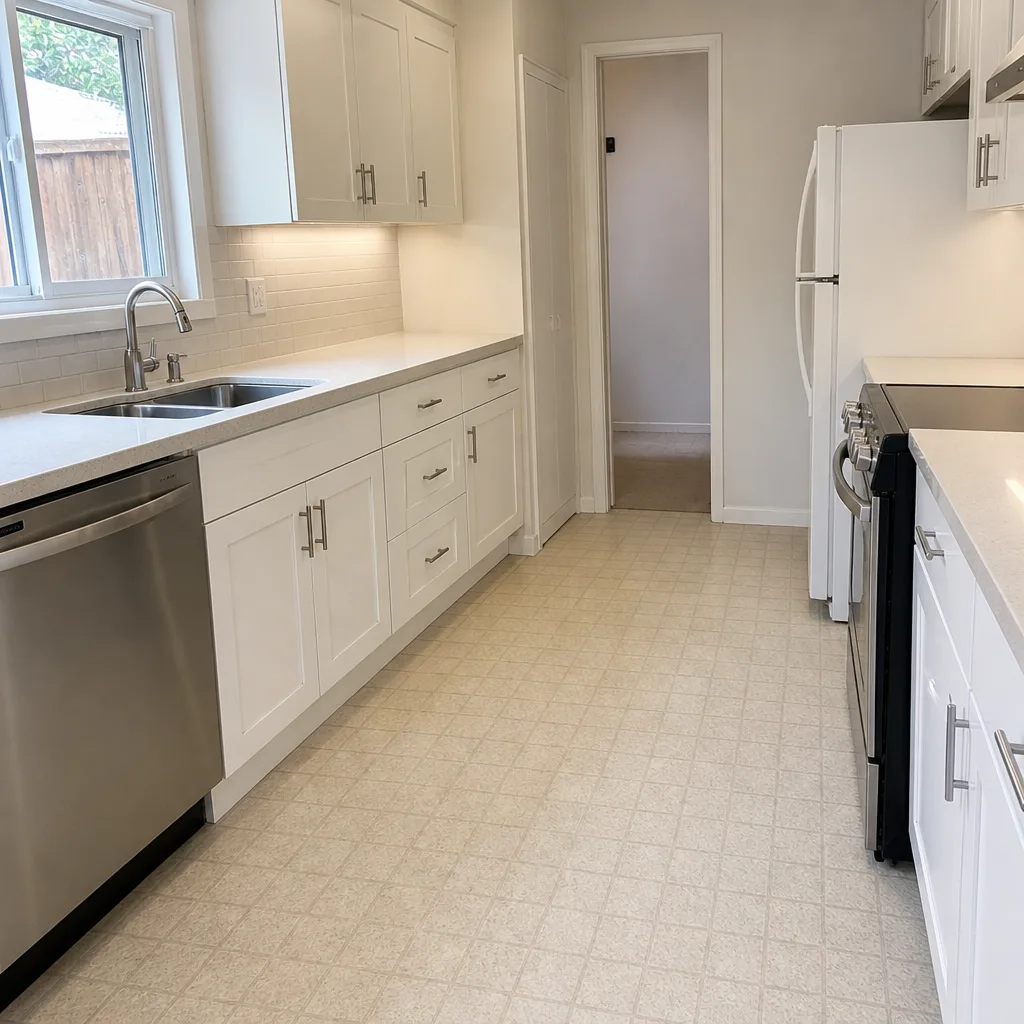 After
Frequently Asked Questions
A small localized re-level with re-sanding typically runs a few hundred to low four figures depending on the square footage and whether the base needs repair underneath. A section rebuild where the base or the edge restraint has failed costs more, especially if an irrigation leak or tree root has to be addressed first. Call (833) 762-8116 for an exact quote on your driveway, because estimates are free and the diagnosis is the whole point.
No. Sand fills a gap, it doesn’t hold a paver up. If the paver is sinking, the support underneath is moving, and more sand will disappear as soon as the next rain or irrigation cycle runs through. Call (833) 762-8116 if you’re not sure whether you’re looking at a repair or a rebuild.
Because whatever is under them is still moving. A re-level that doesn’t address a soft spot in the base, a slow irrigation leak, or a creeping edge restraint will settle back within a season. The fix is diagnosing what’s causing the movement, not re-sanding the same spot again. Call (833) 762-8116 and we’ll trace it back to the source.
Some do, and it depends on the scope. A localized re-level usually doesn’t; a full driveway replacement, a grade change, or adding to a paved area often touches permitting and inspection requirements. We pull the permits and get the inspections signed on any eligible job, and we’ll tell you plainly which kind of job yours is. Call (833) 762-8116 to talk through your situation.
Not without a written change order you approve first. That’s the whole point of written scope, written allowances, and written change orders on every job. If we lift the pavers and find the base is deeper than expected, you get that in writing before any extra work begins. Call (833) 762-8116 for a free second opinion on any written estimate another contractor has given you.
A localized re-level is usually a half-day to a full day. A section rebuild with base correction and edge restraint is typically a few days, and more if irrigation or root work is involved. We build that estimate into the written scope so nobody is guessing. Call (833) 762-8116 to schedule a free estimate and a clear timeline.
More on Your Driveway and Hardscape
If you’re weighing whether to repair or replace, the details that decide it are in our Driveway & Pavers in Santa Clarita guide to base depth, materials, and installations that hold up on local soil. If your hardscape project connects to a bigger plan out back, our guides to Fence Installation in Santa Clarita and Home Additions & ADU in Santa Clarita cover how we approach grading, drainage, and access together. When you’re ready to see what a driverway that stays flat actually looks like on a Barrett & Sons install, start with the Barrett & Sons Construction Santa Clarita home page. On hardscape projects we install Belgard and Techo-Bloc pavers, among others you can look up, and every eligible job gets permits pulled and inspections signed. Our crews install windows from brands like ES Windows, ECO Window Systems, Mr-Glass, and Therma-Tru on the same licensed and insured jobs. Barrett & Sons has been serving local communities for over 29 years, founded in 1998, and every completed job is backed by our written 90-Day Done Right Promise. The crew members and their teams are background-checked, and they carry the Barrett & Sons name.
The Bottom Line
Almost every driveway paver problem starts under the surface. Sand is a symptom, water is usually the cause, and the base or the edge restraint is where the answer lives. Localized settling in a tight field is a small repair; wide movement, creeping edges, and crack lines are base failures that need a section rebuilt before the surface will hold. In Santa Clarita, root lift around valley oaks, slow irrigation leaks, and clay heave after rain show up as three different patterns, and each one has its own fix. Read the driveway before you touch a paver, and you’ll stop fixing the same spot every year.
Contact
If your driveway is sinking, shifting, or losing sand faster than you can fill it, call (833) 762-8116 for a free estimate. A live person answers the phone 24 hours a day, seven days a week, and we’ll walk through what your driveway is telling us before anyone lifts a paver. Our standing offers include $40 off any repair over $200, no trip charge inside the county, and a permanent 10% Senior & Veteran discount. Prefer a second opinion on a written estimate you already have? Bring it. Call (833) 762-8116 today.
Written by the team at Barrett & Sons Construction Santa Clarita.