
Last updated November 16, 2026
 Driveway & pavers
 Kitchen remodeling
 Bathroom remodeling
 Home additions & ADU
 Roofing
 Windows & doors
 Fence
Free written scope consultation - allowances, timeline, and change-order rules on paper before a single trade is scheduled
Driveway & Pavers Maintenance Schedule: What to Do and When
The single maintenance task that extends a paver driveway’s life the most costs nothing and takes ten minutes – but almost nobody does it after the first winter. It’s a walk-through with a broom and a bucket of joint sand, done at the right moment in early spring, before the dry season sets in. Skip it year after year and you’re not just letting a driveway look tired. You’re letting water into the base, and base failures turn a $400 touch-up into a five-figure rebuild. We’ve pulled enough failed driveways out here in Santa Clarita to know the pattern well. What follows is a plain, month-by-month schedule built around our actual seasons, not generic advice written for a climate that isn’t ours.
Quick Answer
Maintaining a paver driveway comes down to three habits: refill joint sand every spring after the rains, clean with a pH-neutral soap and a garden hose instead of a pressure washer, and seal only when the pavers and climate call for it. In Santa Clarita, that means inspecting for erosion in March and April, sealing (if you seal at all) before the summer heat peaks, and checking joints again after the first fall storms. Do those three things and a good paver driveway can last decades longer than one left to fend for itself.
Styles & brands we work with
- Kitchen remodeling
- Bathroom remodeling
- Home additions & ADU
- Roofing
- Windows & doors
- Driveway & pavers
- Fence
Table of Contents
- Why a Paver Driveway Needs a Schedule at All
- Spring (March – May): The Post-Rain Inspection
- Summer (June – August): Clean and Seal Before the Heat
- Fall (September – November): Before the First Rains
- Winter (December – February): The Quiet Season
- How Often Joint Sand Actually Needs Refreshing
- Cleaning Pavers Without Ruining Them
- When Sealing Is Worth It – and When It Isn’t
Why a Paver Driveway Needs a Schedule at All
A paver driveway isn’t one surface. It’s thousands of small stones sitting on a compacted base, held in place by polymeric joint sand and edge restraints. The pavers themselves are tough; the joints and the base are what fail first. When a joint opens up, water gets past the surface and into the base layer, and in a climate like ours, that water does its damage fast. A Santa Clarita summer bakes the base dry and shrinks it, then a winter storm soaks it and softens it. Repeat that cycle a few years and you get settlement, rocking pavers, and a driveway that flexes under the tires.
The good news is that all of this is preventable with a bit of timing. The maintenance calendar isn’t about doing more work – it’s about doing the right work at the moment the driveway is most vulnerable. We used to see this spelled out in failed driveways across Valencia and Saugus, and we still do. A driveway that got its joints topped off every spring after the rains almost never develops the settled, wavy look that sends homeowners to us for a full replacement.
If your driveway is past the maintenance stage and into the replacement stage, our Driveway & Pavers in Santa Clarita page covers what a proper rebuild looks like – base prep, edge restraints, and all.
Spring (March – May): The Post-Rain Inspection
This is the most important season on the calendar. Santa Clarita’s rainy window runs roughly November through March, and by the time April rolls around, the joints have taken their annual beating. What you do in these weeks sets the tone for the whole year.
Here’s the spring walk-through, in order:
- Walk the whole driveway at a slow pace, looking down. Note any pavers that rock underfoot, any low spots holding water, and any joints wider than about a quarter inch.
- Sweep out loose debris and old sand with a stiff broom. Don’t pressure-wash yet – you’ll blow out the joints you’re about to refill.
- Check the edges along the garage apron and the street. Edge restraints that have shifted are the number one cause of pavers spreading outward over time.
- Refill the joints with polymeric sand on a dry day, working it in with a broom and misting lightly to activate it. Stay off the driveway for 24 hours.
- Look at the base in any spot that’s settled. A dip you can feel with your foot is a base problem, not a paver problem.
In Santa Clarita, we regularly see spring joint erosion along the driveway’s lower edge after a wet winter, because that’s where runoff concentrates. That’s the spot to check first. If the joints along the curb line are washed out every year, it’s worth having the drainage looked at rather than just refilling the sand and hoping.
Summer (June – August): Clean and Seal Before the Heat
Summer in Santa Clarita means weeks in the 90s and 100s, and that heat is the reason sealing windows matter here. Sealant needs to cure properly – it wants moderate temperatures, no rain, and a dry surface, and if you apply it into a 105-degree afternoon it flashes off before it can soak in. The right time to seal is a mild stretch in late spring or early summer, before the hottest weeks hit.
Cleaning first matters just as much. Sealant traps whatever’s on the surface, so a driveway sealed with dust and pollen on it will hold that dust under the film for years. Clean first, let it dry 24 to 48 hours, then seal. If your driveway has an oil stain from a car, deal with the stain before sealing – sealant over oil won’t bond, and you’ll see a bald spot within a season.
Summer is also a good time to look at the landscaping edges. In Canyon Country and Newhall, we’ve seen roots from mature trees creep under driveways and lift pavers over a few seasons. That’s a job for a professional eye – catching it early can mean lifting a handful of pavers instead of tearing out a section.
Fall (September – November): Before the First Rains
The fall checklist is the mirror of spring. Everything you do now is about getting the driveway watertight before Santa Clarita’s wet season arrives. The first significant storm usually hits in November or early December, and the driveway needs to be ready before then.
- Re-sweep and top off any joints that opened up over the summer’s dry heat. Polymeric sand shrinks in the heat; a quick refill in October saves you a bigger job in April.
- Clear the drainage – gutter downspouts that dump onto the driveway, channel drains at the street, and the slope at the garage apron. Water that pools at the garage door finds its way into the joints.
- Trim back overhanging trees that drop leaves and sap onto the pavers. Leaves trap moisture against the surface and stain the pavers over a season.
- Check the sealant if you sealed in early summer. A properly sealed driveway should still bead water in October. If it doesn’t, you’re on a reseal window sooner than you thought.
Fall is also a good time to think about the whole yard, not just the driveway. If a fence is leaning after a wet spring and a dry summer, our Fence Installation in Santa Clarita crew can sort it while the driveway is dry and accessible.
Winter (December – February): The Quiet Season
Winter isn’t a work season for pavers – it’s a watch season. The work is mostly done by the time the rains start. But there are a few low-effort tasks that pay off in spring.
After each significant storm, walk the driveway and look for standing water. A puddle that’s gone within a few hours is fine – that’s drainage working. A puddle that lingers a full day is telling you something about the slope or the base, and it’s worth noting. Keep a phone photo of any spot that stays wet, and show it to a contractor in the spring. That photo will save a lot of guesswork.
Don’t pressure-wash in winter. The joints are softest and most vulnerable after rain, and blasting water into them accelerates erosion. If the driveway gets stained by leaves or acorn tannins, a light sweep and a rinse is enough. Save the real cleaning for spring.
One winter habit that pays for itself: keep a bag of polymeric sand in the garage. When a joint opens after a hard rain and you notice it on a dry day in January, you can refill it before the next storm. A ten-minute fix now beats a two-day project in April.
How Often Joint Sand Actually Needs Refreshing
Most polymeric joint sand manufacturers print a recommendation of every two to three years on the bag. In our experience around Santa Clarita, the honest answer is: every year, or every other year if the driveway is sheltered. The manufacturer number is written for an average climate with average rainfall and average traffic. Santa Clarita’s dry heat shrinks the sand every summer and the winter rains wash out what’s left along the low edges.
The signals that you need to refresh sooner than you planned:
- Joints are wider than a quarter inch at the surface.
- You can see daylight or feel the paver edges catching after a rain.
- The sand is pulling away from the paver edges in scattered spots.
- You’re seeing weeds or grass coming up in the joints, which means the sand barrier is broken.
The five-minute fix that buys you another season: sweep dry polymeric sand into the widest joints in the fall, before the rains. You don’t need to do the whole driveway – just the joints that have visibly opened. A half-bag of sand and a broom handle the worst of it, and it stops a small joint problem from becoming a base problem before spring.
Cleaning Pavers Without Ruining Them
Pressure washing is the single most common way homeowners damage their own paver driveway. A 3,000 PSI unit will strip sealant, blast out joint sand, and permanently etch the surface of softer pavers like travertine. The pressure washer manufacturers market them for concrete driveways; pavers are a different surface entirely.
What we recommend instead:
- A garden hose with a wide nozzle and a stiff broom. This handles 90% of everyday dirt, dust, and leaf tannin.
- pH-neutral soap made for masonry or a mix of mild dish soap and water. Avoid anything labeled “concrete cleaner” or “acid wash” – both will etch pavers and void your sealant warranty.
- For oil stains, a poultice of baking soda or cat litter left overnight, then swept up dry. Don’t scrub oil into the pores with a wet brush.
- For efflorescence (the white chalky bloom that appears on new pavers), a stiff brush and a dry day. If it persists, a specialty efflorescence remover used sparingly. Never muriatic acid.
If you do use a pressure washer, keep it under 1,500 PSI, use a wide fan tip, and hold the wand at a low angle so you’re not driving water into the joints. Even then, plan on topping off the joint sand afterward.
When Sealing Is Worth It – and When It Isn’t
Sealing gets sold as a cure-all. It isn’t. On the right driveway it keeps color richer, slows joint sand loss, and makes cleanup easier. On the wrong driveway it traps moisture under the surface and causes the exact problems it’s supposed to prevent.
Sealing is generally worth it when:
- The pavers are a quality concrete or clay product (Belgard and Techo-Bloc both make surfaces that benefit from a good penetrating sealer).
- The driveway is in full sun most of the day and you want to hold the color.
- You’re willing to reseal every two to four years as the sealer wears off.
Sealing is usually a bad idea when:
- The pavers are natural stone, especially travertine or any tumbled stone. Sealer on these can trap moisture and cause spalling in freeze-prone or heavily irrigated areas.
- The driveway has drainage issues – you’ll seal water in, not out.
- You want a “wet look” finish on pavers that were designed to look matte. Filmy sealant on the wrong surface reads cheap from the street.
If you’re not sure, ask before you seal. A free second opinion on any written estimate is one of our standing offers – we’ll tell you honestly if sealing is a waste of your money on your particular driveway.
Common Mistakes to Avoid
- Pressure-washing with a heavy-duty unit. It strips joint sand, voids sealant, and etches pavers. Use a hose and a broom unless a professional is doing the work.
- Using muriatic acid or any acid-based cleaner. It permanently etches the surface of concrete pavers and destroys natural stone. Skip anything labeled “concrete etch” or “acid wash.”
- Sealing a wet driveway. In Santa Clarita’s dry climate, this is tempting after a rain when the pavers look clean, but sealing over moisture traps it – and trapped moisture is how pavers spall in our temperature swings.
- Refilling joints with ordinary play sand. It washes out with the first rain. Polymeric sand has a binder that locks the joint together; play sand is just a temporary plug.
- Ignoring a settled or rocking paver. A single rocking paver almost always means a base issue underneath. Lifting and resetting it is a half-day fix; ignoring it lets water in and turns it into a much larger repair.
- Skipping the spring inspection. In our experience, the driveways that fail are the ones that missed two or three springs of joint maintenance, not the ones that missed one.
- Planting trees too close to the driveway edge. In Canyon Country and Newhall, we regularly see root-lifted pavers within eight to ten years of planting. Plan for root spread when you plant.
See the difference
 Before
 After
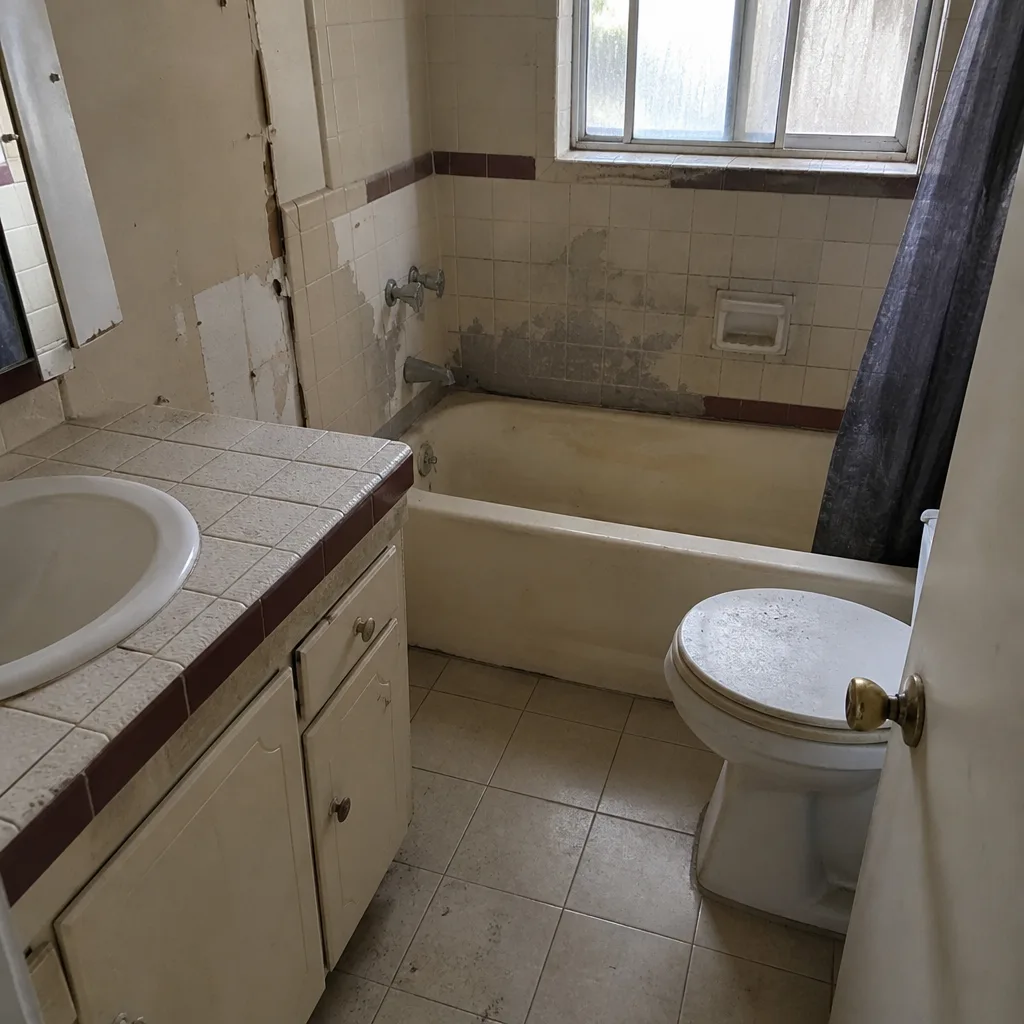 Before
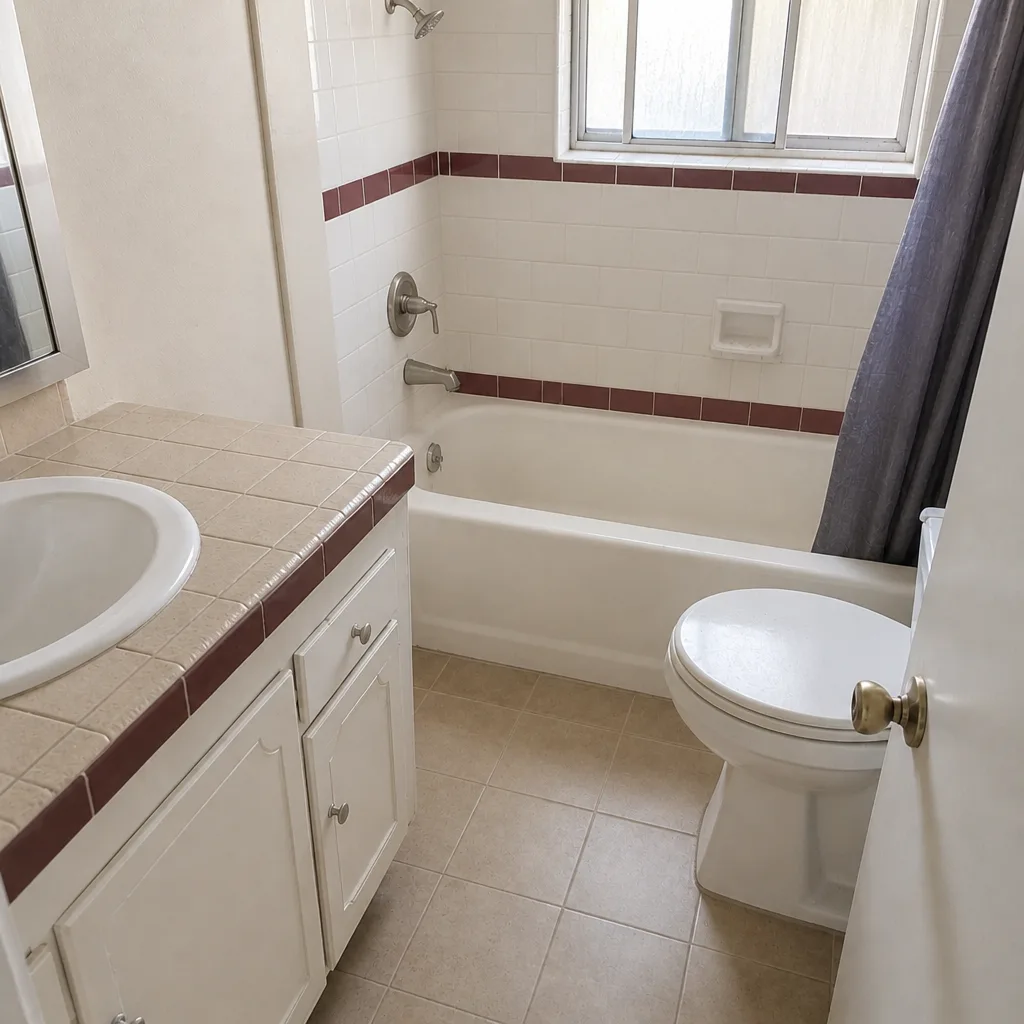 After
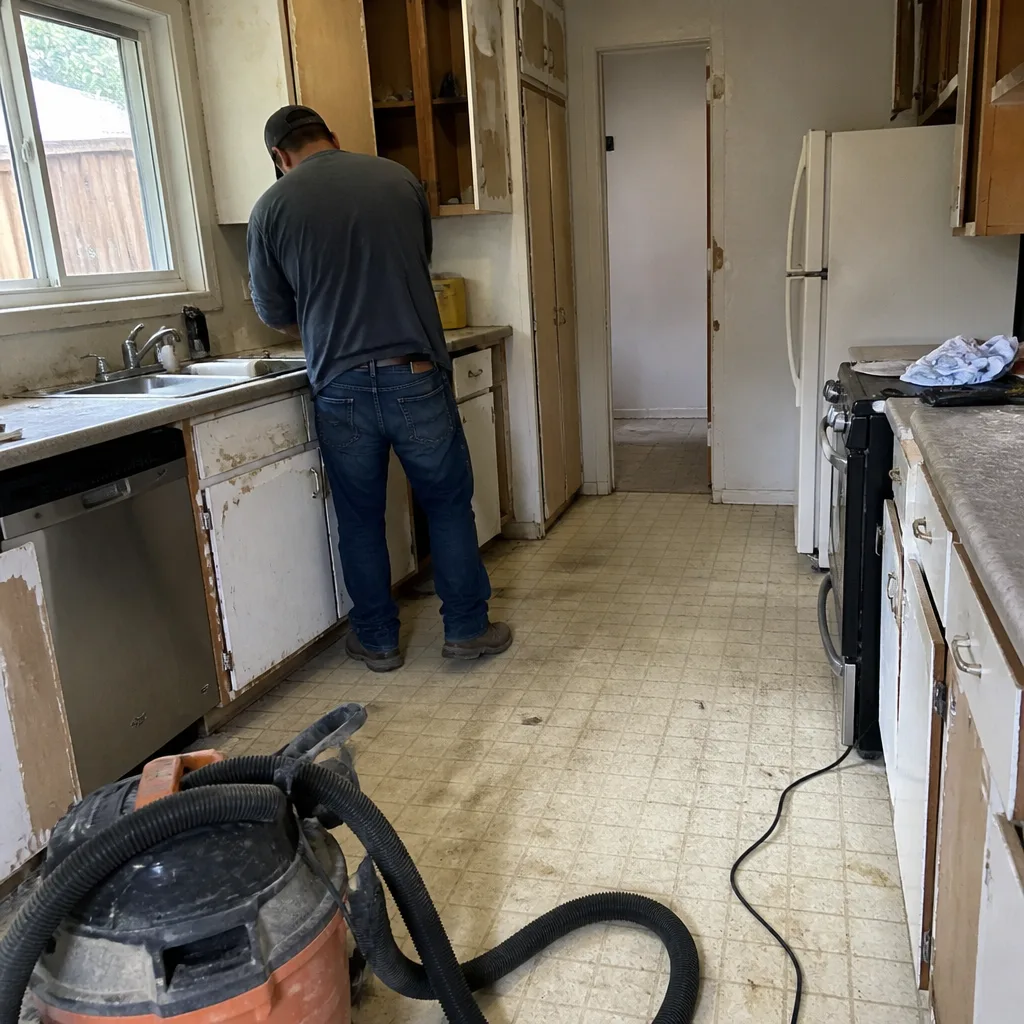 Before
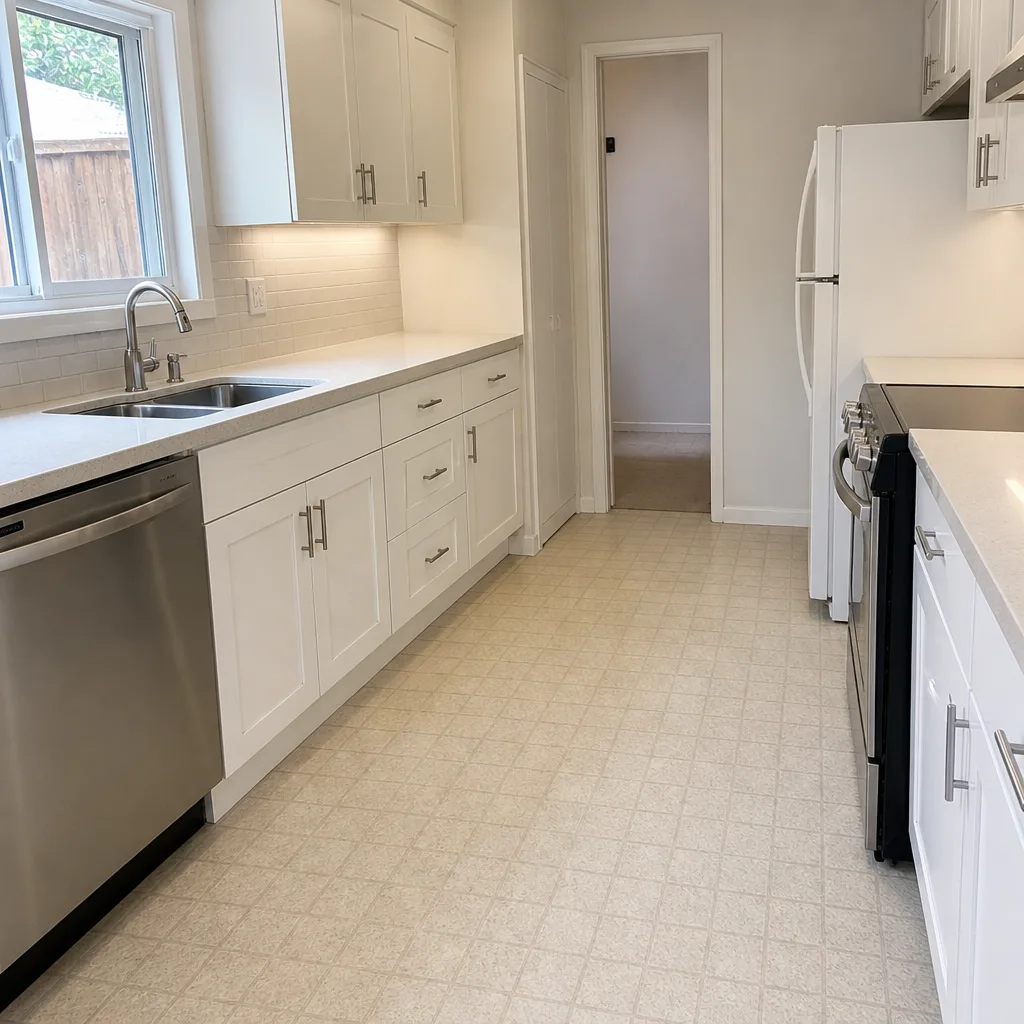 After
When to Call a Professional
Most of the schedule above is homeowner work. But some problems are past the maintenance stage and into the repair stage, and calling a pro sooner saves money. Call for a professional look when:
You have pavers that rock underfoot or have settled into low spots that hold water. Water is pooling against the garage door after a storm and not draining within a day. The edge restraints have shifted and pavers are spreading outward at the street. You’re seeing a pattern of recurring joint erosion along the same stretch after every rain. Or the driveway is due for a replacement and you want to know whether a rebuild over the existing base is possible or a full excavation is needed.
Barrett & Sons Construction Santa Clarita offers free estimates in Santa Clarita. We pull permits and sign inspections on eligible jobs, we hand you a written scope and a written change order before any price moves, and every completed job comes with our 90-Day Done Right Promise. Call (833) 762-8116 to schedule yours – a live person answers the phone, 24 hours a day.
Frequently Asked Questions
In Santa Clarita, plan on topping off the joints every spring and spot-refilling after any hard rain. The manufacturer’s two-to-three-year recommendation is written for a milder climate; our dry summers shrink the sand and our winter rains wash out the low edges faster than that. If you see open joints wider than a quarter inch, that’s your signal to refill now.
Only with a low-pressure unit under 1,500 PSI and a wide fan tip, and even then, plan on refilling the joint sand afterward. A standard 3,000 PSI unit will strip joint sand, void your sealant, and etch softer pavers. A garden hose with a stiff broom handles most of what a paver driveway actually needs. Call (833) 762-8116 for an exact quote on a professional cleaning.
Not always. Sealing helps concrete and clay pavers hold their color and slow joint sand loss, but it can cause spalling on natural stone and trap moisture on any driveway with drainage issues. If you’re not sure, get a free second opinion on any written estimate before you spend the money on sealer.
Rocking pavers, low spots that hold water for more than a day, and pavers that spread outward at the edges are all signs of base trouble. Joint erosion alone is a top-layer fix; rocking or settling underfoot means the base underneath needs attention. That’s a call-a-pro moment, not a sand-and-broom moment.
Polymeric sand is the best weed barrier a paver driveway has. Once the joint sand is intact and topped off annually, weeds have almost nothing to root into. If you’re re-weeding every spring, the joints are already open – that’s your signal to refill.
A joint refill and patch repair is usually a few hundred dollars. A full rebuild over a repaired base runs into the thousands, and a complete replacement with a fresh base is considerably more. The cheapest version of this job is the one done on time every year. Call (833) 762-8116 for an exact quote – estimates are free.
The Bottom Line
Paver driveway maintenance isn’t complicated; it’s just seasonal. Inspect after the rains in spring. Refill the joints with polymeric sand before the dry season. Clean with a hose and a broom, not a pressure washer. Seal only when the paver type and drainage call for it. Check the joints again after the first fall storms. Do that, and a good paver driveway in Santa Clarita will outlast the homeowner who installed it. Skip it, and the driveway gets more expensive to fix every year. Start with the ten-minute walk-through this spring and see what you find.
When you’re ready for a professional look – whether it’s a repair, a rebuild, or planning a new driveway as part of a larger project like a Home Additions & ADU in Santa Clarita – we’re glad to come out. Barrett & Sons Construction Santa Clarita pulls permits, writes every scope and change order in writing, and backs every job with the 90-Day Done Right Promise. Call (833) 762-8116 for a free estimate, or start at our Barrett & Sons Construction Santa Clarita home page to see the rest of what we do.
Written by the team at Barrett & Sons Construction Santa Clarita.