
Last updated November 16, 2026
 Driveway & pavers
 Kitchen remodeling
 Bathroom remodeling
 Home additions & ADU
 Roofing
 Windows & doors
 Fence
Free written scope consultation - allowances, timeline, and change-order rules on paper before a single trade is scheduled
DIY vs Professional Driveway & Pavers: What’s Safe to Do Yourself
Here’s the part that ends most DIY paver projects: it’s not the laying. It’s the base prep, and you won’t know you got it wrong until the second rainy season. A driveway that looked flawless in July heaves and settles by February, and by then the pallets are gone and the rental tamper went back. We’re Barrett & Sons Construction, and we’ve pulled out enough failed weekend installs around Santa Clarita to know exactly where the line sits. This guide draws that line honestly: which paver work a capable homeowner should absolutely tackle, which work almost guarantees a callback, and how to run the math before you lift a shovel.
Quick Answer
Cleaning pavers, refreshing joint sand, replacing a broken paver on a stable base, and sealing an existing driveway are genuinely safe DIY jobs. Base excavation, compaction in lifts, and setting drainage slope are not realistic weekend work – not because they’re complicated, but because they need plate compactors, a laser level, and an eye for grade that most homeowners haven’t built. Most DIY paver driveways that fail do so in the base, and the repair usually costs more than hiring it done right the first time.
Styles & brands we work with
- Kitchen remodeling
- Bathroom remodeling
- Home additions & ADU
- Roofing
- Windows & doors
- Driveway & pavers
- Fence
Table of Contents
- The Paver Tasks That Are Genuinely DIY-Friendly
- Why Base Prep, Compaction, and Slope Aren’t DIY
- The Hidden Cost Math of a Failed DIY Install
- Permits and Code in Santa Clarita: What DIYers Miss
- How to Be a Smart, Involved Homeowner on a Pro Install
- Materials and Brands: What to Look For
- Common Mistakes to Avoid
- When to Call a Professional
The Paver Tasks That Are Genuinely DIY-Friendly
We’re not going to tell you every paver job needs a contractor. That’s not honest, and it’s not how we run our crews. Several maintenance jobs around a driveway or patio are well within reach of a homeowner with a free Saturday and a hardware store nearby.
Here’s the short list of tasks we’d hand a capable homeowner without hesitation:
- Paver cleaning. A stiff broom, a garden hose, and a paver-safe cleaner handle most dirt, pollen, and light efflorescence. Skip the pressure washer at full blast – it scours the surface and blows out joint sand.
- Joint sand refresh. Over a season or two, joint sand works loose. Sweeping polymeric sand back into the joints and misting it per the bag directions is a real homeowner job, and it protects the field from weed growth.
- Replacing a single cracked paver. If the base under it is stable – no rocking, no sunken corner – you can lift the broken unit, reset it on fresh bedding sand, and tap it level. A putty knife and a rubber mallet do most of it.
- Basic sealing. On an established, stable driveway, a penetrating sealer applied with a roller per the manufacturer’s directions is doable. Do it on an overcast morning, not in direct July sun, or the sealer flashes before it soaks in.
All four of those are maintenance, not construction. They extend the life of what’s already there, and none of them risk the structural integrity of the driveway. If your driveway is 15 years old and just needs a refresh, you’re looking at a few hundred dollars and a weekend. Call it a win.
Why Base Prep, Compaction, and Slope Aren’t DIY
Here’s the honest part. The base is where a paver driveway lives or dies, and it’s the one part of the job most homeowners can’t realistically execute on a weekend. Not because it’s complicated to understand – it’s because it requires equipment and instincts you don’t develop in one job.
The order of operations on a real install looks like this:
- Excavation to depth. A paver driveway typically sits on 6 to 10 inches of compacted aggregate base, plus bedding sand, plus the paver thickness. That means digging 10 to 14 inches of native soil out – by machine, not by hand. A wheelbarrow and a shovel turn a three-day job into a three-week job.
- Compaction in lifts. Base goes down in 2 to 3 inch layers, and each layer gets compacted with a plate compactor before the next goes on. Skip a lift or short the compaction and the base is loose under the surface – which doesn’t show until it does.
- Slope and drainage. Water has to leave the driveway at roughly 1 to 2 percent away from the house and garage. That’s an imperceptible grade to the eye and a critical one in practice. Set it wrong toward the house and you’ve created a water intrusion problem that will cost thousands to correct.
- Edge restraint. The pavers need a fixed border or they creep outward over the years. Concealed edge restraints, spiked into the base, are what keeps the field locked.
Any one of those done poorly doesn’t fail on install day. It fails after a Santa Clarita rainy season or two, when the driveway starts to rut, heave, or drain toward the garage. And by then the contractor who can fix it has to start over – excavate, re-base, and re-lay.
The Hidden Cost Math of a Failed DIY Install
The logic that pushes most homeowners toward DIY is simple: save labor. The math that shows up in year two is less simple. A DIY install that needs a full re-do doesn’t save you the labor – it doubles it, because you pay to rip it out before anyone re-installs.
Picture a typical Santa Clarita driveway – say 600 to 800 square feet of pavers. Here’s what the two paths actually cost:
- Hire it done right the first time: one scope, one price, one crew, one warranty. The base is placed, compacted, and sloped to code. The work is backed by a written promise – our 90-Day Done Right Promise lands on every contract – and if something settles, one call brings the crew back.
- DIY that holds: you save the labor, you keep the driveway, you pat yourself on the back. Real result for a homeowner with access to a compactor and a strong back.
- DIY that fails in year two: you’ve paid for pavers and base once, then paid again to remove and re-install. You’ve lost two weekends minimum and the equipment rentals on the first attempt. And now you’re calling a contractor to fix something they have to tear out before they can start.
The hidden line item nobody budgets for is the loss of the first install. That’s the honest cost comparison: the DIY install that fails costs about the same as hiring it done, plus the labor you put in.
Permits and Code in Santa Clarita: What DIYers Miss
Driveway work in Santa Clarita is not always permit-exempt, and DIYers regularly find this out at the wrong moment. Two places it surfaces: a code enforcement letter, or a resale disclosure eight years down the road.
Here’s what we tell homeowners to check before starting any driveway work:
- Widening or new hardscape beyond the original footprint can trigger setback and impervious-surface rules. Santa Clarita lots vary block by block, and what’s fine on one side of the street may not be on the other.
- Driveway approaches where pavement meets the public right-of-way are often governed by the city or county – not the homeowner’s discretion. A DIY install that crosses that line can cost you when it’s time to sell.
- Drainage changes that push water toward a neighbor’s property can create a nuisance issue that follows the deed. The slope you set on your driveway can create a liability you didn’t intend.
- Stormwater and grading rules in the Santa Clarita Valley apply on larger hardscape projects, and a homeowner starting with a shovel generally won’t know they’ve crossed the threshold.
Permits aren’t paperwork theater. The permit inspector works for the homeowner, not the contractor – that’s why we like him. He confirms the base, slope, and drainage are right before they’re buried under pavers. Every eligible job we take, we pull the permit and have the inspections signed, because the last contractor our customers used often told them permits were optional.
The corollary for a DIY homeowner is straightforward: if the scope of your driveway project crosses into widening, re-grading, or anything that touches the right-of-way, call the city before you dig. It’s a 15-minute call that prevents a five-figure surprise.
How to Be a Smart, Involved Homeowner on a Pro Install
You don’t have to choose between paying a contractor and handing over the project blind. The homeowners who get the best outcomes on a professional install are involved at the right stages, with the right questions. Here’s a stage-by-stage map of what to ask – and what to expect in answer.
- At the estimate: ask for a line-item scope, not a lump sum. Base depth, paver brand and line, edge restraint, and clean-up should each be its own line. Ask what happens if the base turns out deeper than expected – the answer should involve a written change order, not a phone call in week two.
- Before excavation: confirm who pulls the permit and who’s on it. Ask when compaction will happen and whether you can see it – a good crew has no problem letting you watch a lift go down.
- During base prep: this is your one chance to check grade. Ask the foreman to walk the slope with you before pavers go down. The 1 to 2 percent fall is subtle enough that seeing it before it’s covered is worth the five-minute conversation.
- During laying: your only job is to stay out of the way and let the crew work. Confirm the brands being installed match the brands in the scope – Belgard and Techo-Bloc lines are common in our installs, and you should be able to look up exactly what’s going in.
- At the walkthrough: walk the perimeter, check the transition to existing concrete or asphalt, and confirm edge restraint is in place. Anything that looks off, say so before the crew leaves – that’s the moment cleanup is cheapest.
That’s being a smart owner – not micromanaging. The crew wants to hand off a driveway they’re proud of. Ask the right questions at the right stages and you get exactly that.
Materials and Brands: What to Look For
The materials decision matters as much as the labor decision, and it’s the one place where being specific pays off. Paver lines vary widely in freeze-thaw durability, color stability under UV, and wear layer. Two driveways that look identical on install day can perform very differently by year five.
We install Belgard and Techo-Bloc paver lines most often in Santa Clarita, and there’s a reason: both publish detailed product data, hold up to the valley’s sun without the early color fade we see on cheaper lines, and are spec’d to handle freeze-thaw cycling in the mountain-adjacent neighborhoods where overnight lows in January drop below what most of the LA basin sees. Those are materials you can look up, not mystery brands off a van.
If you’re buying paver materials for a DIY maintenance job – a single replacement paver, a bag of polymeric sand, a sealer – the same rule holds. Buy from a name you can verify, ask the supplier for the technical sheet, and match the color and thickness of the existing paver as closely as you can. A slightly mismatched paver looks a lot better than an empty joint.
Common Mistakes to Avoid
Here’s what we see most often when we’re called to fix a DIY install or to rework an old driveway:
- Shorting the base depth to save time. A 4-inch base piles up nicely under pavers and settles in the first heavy rain. Not a maybe – routinely.
- Skipping the plate compactor. Hand tamping a driveway base is a fantasy. The compactor is what makes the base a single solid unit rather than loose aggregate under pressure.
- Setting slope by eye. Water must leave the driveway away from the house and garage at 1 to 2 percent. The eye is not calibrated for that, and neither is a string line you tied to two stakes in the dark.
- Forgetting the edge restraint. Pavers without a fixed border creep outward over the years. It’s a small cost line in the scope and a real structural need.
- Choosing pavers without checking local climate fit. Santa Clarita’s summer heat (many weeks over 100°F) and the occasional winter freeze near the foothills put real stress on paver color and durability. That’s the exact area where a budget line from an unverified source shows its age.
- Skipping the permit “to save a few hundred.” A driveway widening or grade change that triggers a resale disclosure costs more to reconcile than the permit would have cost to pull.
- Assuming all paver quotes are apples to apples. A quote without a base depth, brand, and edge restraint line is a quote that will grow. Ask for the written scope before you compare prices – that’s the only fair comparison.
When to Call a Professional
Call a professional the moment your project involves excavation, base prep, slope, or anything that touches a permit. That’s the honest line. Paver maintenance is fine for a capable homeowner. Paver installation on a driveway or any surface that carries vehicles, drains toward the house, or affects resale is not the right place to teach yourself a trade. We’d say the same to a neighbor over the fence.
Barrett & Sons Construction Santa Clarita offers free estimates in Santa Clarita – call (833) 762-8116. A crew member will walk your driveway, talk through scope in writing, and give you a line-item quote with the base depth, brand, and permit spelled out. If the answer is that you don’t need us, we’ll tell you. That’s a better deal than a driveway that turns into a callback in year two.
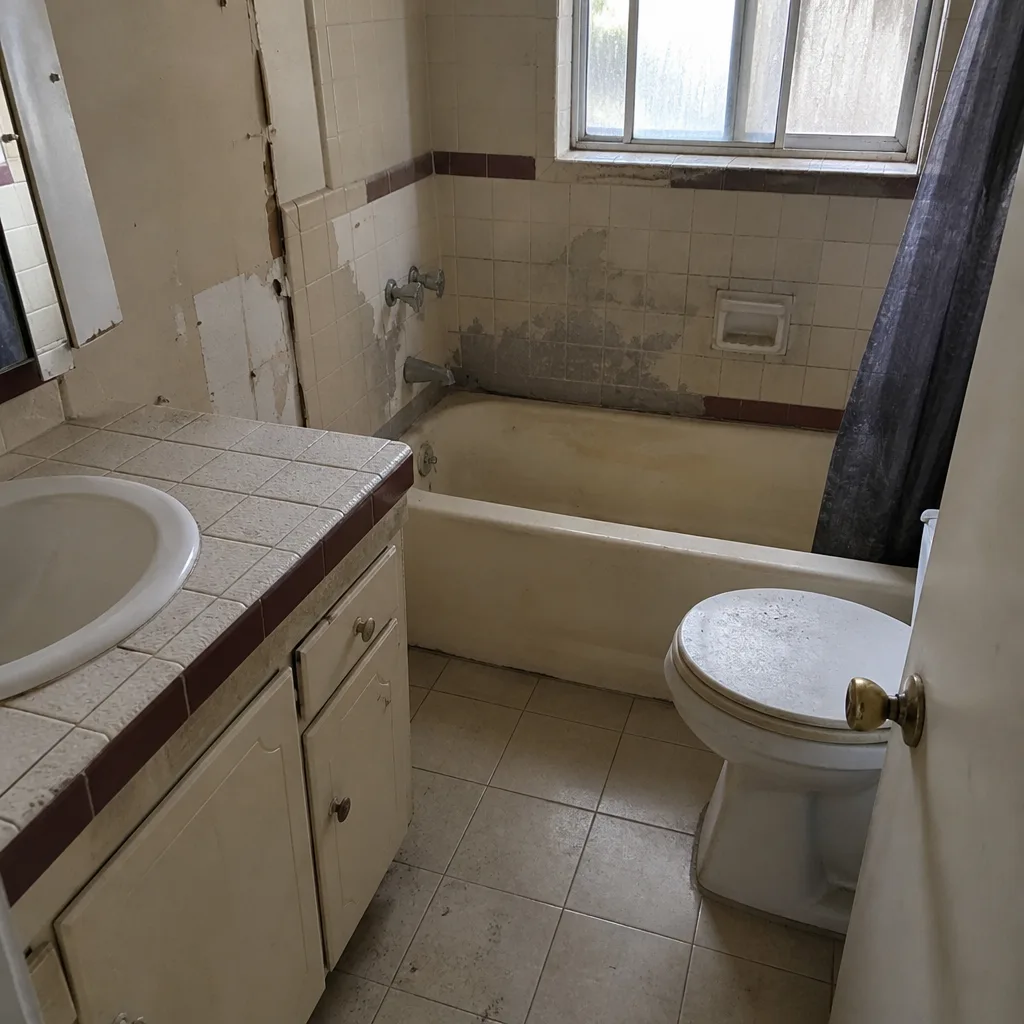
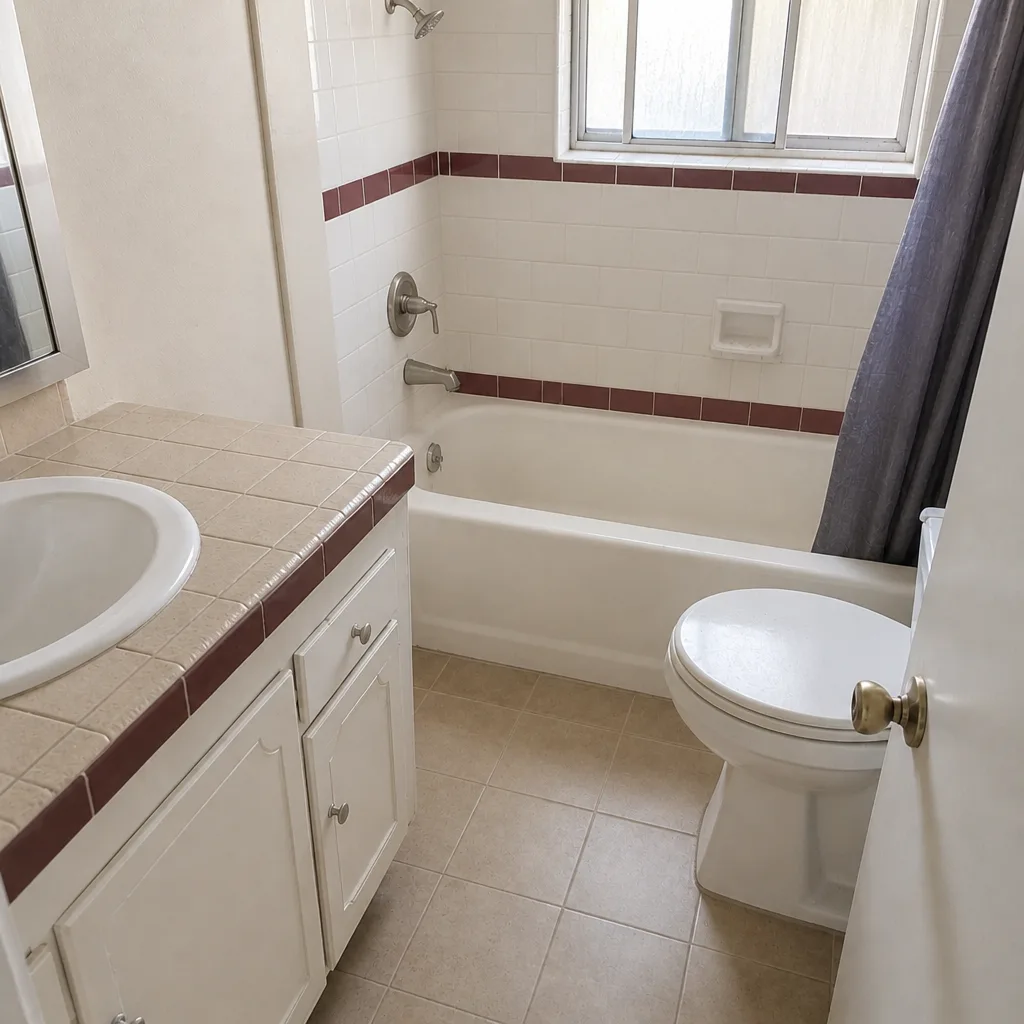
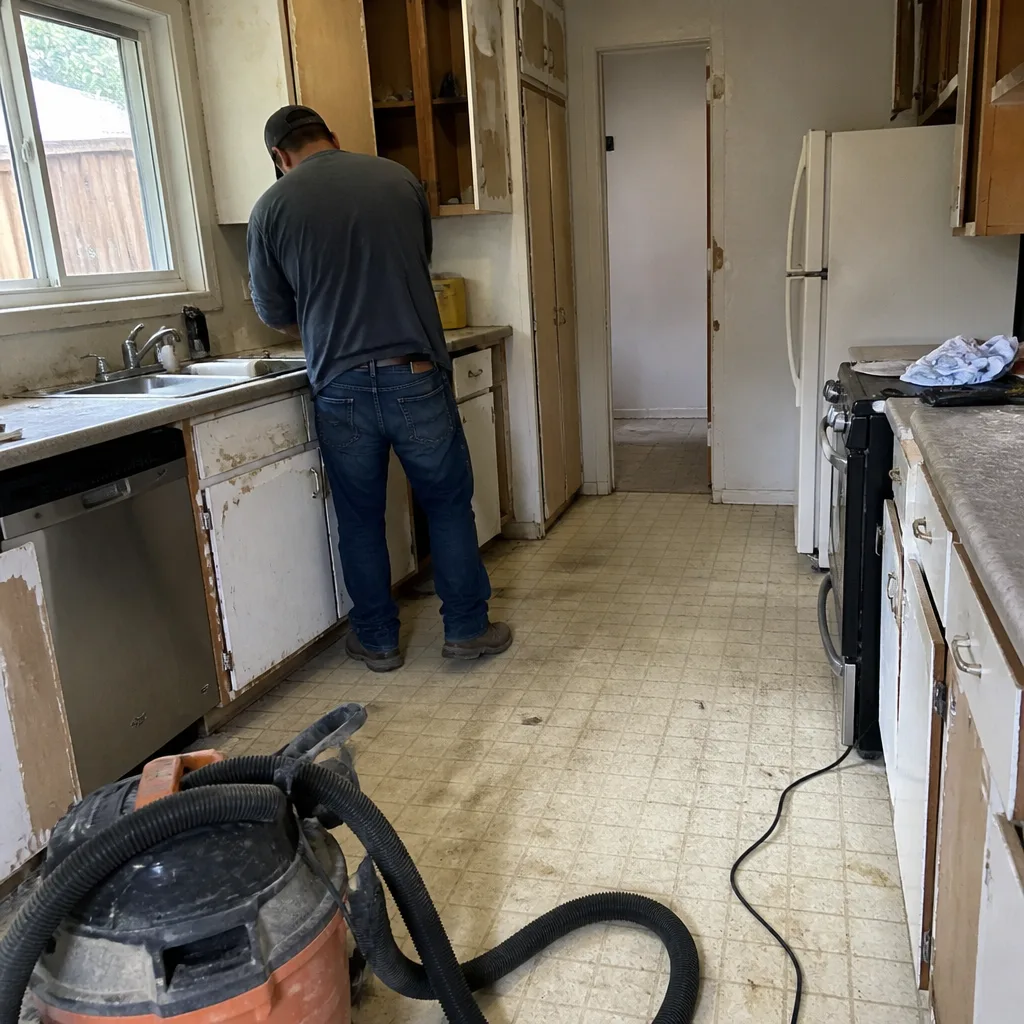
See the difference
 Before
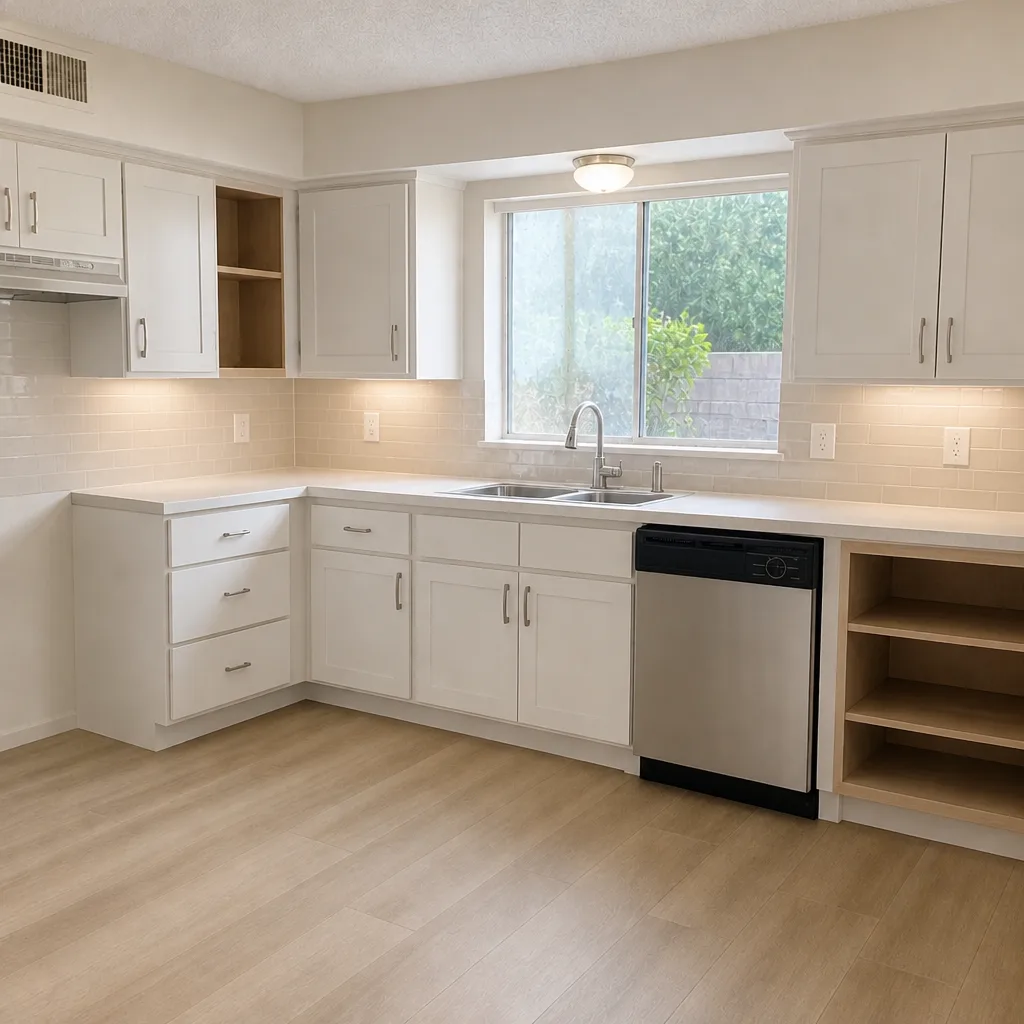 After
 Before
 After
 Before
 After
Frequently Asked Questions
You can, but we’d only recommend it if the project is a maintenance install over an existing, stable base – like replacing a single paver or refreshing joint sand. A full new driveway install requires excavation, compaction in lifts, and precise drainage slope, and most DIY attempts at that scope fail in the base within two rainy seasons. Get a free estimate before you commit; it costs nothing and saves a lot of second-guessing.
Paver driveway pricing in Santa Clarita depends on square footage, base depth, paver line, and site access – two driveways on the same block can differ by a few thousand dollars for those reasons alone. The only honest number is a written line-item quote for your specific site. Call (833) 762-8116 for an exact quote; estimates are free.
Not unless something is found beneath the surface that couldn’t be seen at estimate – and when that happens, it arrives as a written change order before any work proceeds. We put every scope, allowance, and price change in writing because the allowance that isn’t on paper is a surprise waiting for a date. Ask every contractor you interview to show you what their change order process is before you sign.
Yes – on every eligible job, we pull the permit and have the inspections signed. That includes walking the base and slope with the city inspector before pavers go down, which is the one moment a base problem can be caught for free. If a contractor tells you permits are optional for a driveway, consider that a red flag.
A typical Santa Clarita paver driveway takes a few working days from excavation to final compaction, with weather and site access affecting the schedule more than anything else. Schedule a free estimate and we’ll give you a realistic timeline in the written scope, along with a planned start window you can rely on.
Sealing an established paver driveway with a penetrating sealer is a reasonable DIY job if the base is stable and the pavers are clean and dry. Apply it on an overcast morning or early evening, not in direct Santa Clarita summer sun, and follow the manufacturer’s coverage rates exactly – over-applying leaves a milky film. If your driveway has rocking, sunken, or uneven areas, get those addressed first before sealing anything.
The Bottom Line
The line between a DIY paver job and a professional install is the base. Maintenance – cleaning, sand refresh, single-paver replacement, and sealing – is legitimately yours to do. Excavation, compaction in lifts, drainage slope, and edge restraint are not, no matter how handy you are, because the equipment and the eye required aren’t developed in a weekend. And a DIY install that fails in year two costs about what hiring it done right costs, plus the labor. If you’re past the maintenance line on your Santa Clarita driveway, get a written estimate before you pick up a shovel.
If you want help narrowing down which paver projects sit around your home, or you’re looking at other exterior work while you’re at it, take a look at our Driveway & Pavers in Santa Clarita page, our Fence Installation in Santa Clarita work, or our Home Additions & ADU in Santa Clarita service. You can always start at the Barrett & Sons Construction Santa Clarita home page to see everything we do.
Call (833) 762-8116 for a free estimate. No trip charge inside the county, a free second opinion on any written estimate, $40 off any repair over $200, and a permanent 10% Senior & Veteran discount – all standing offers we’ll honor. A live person answers the phone 24 hours a day.
Written by the team at Barrett & Sons Construction Santa Clarita.