
Last updated November 16, 2026
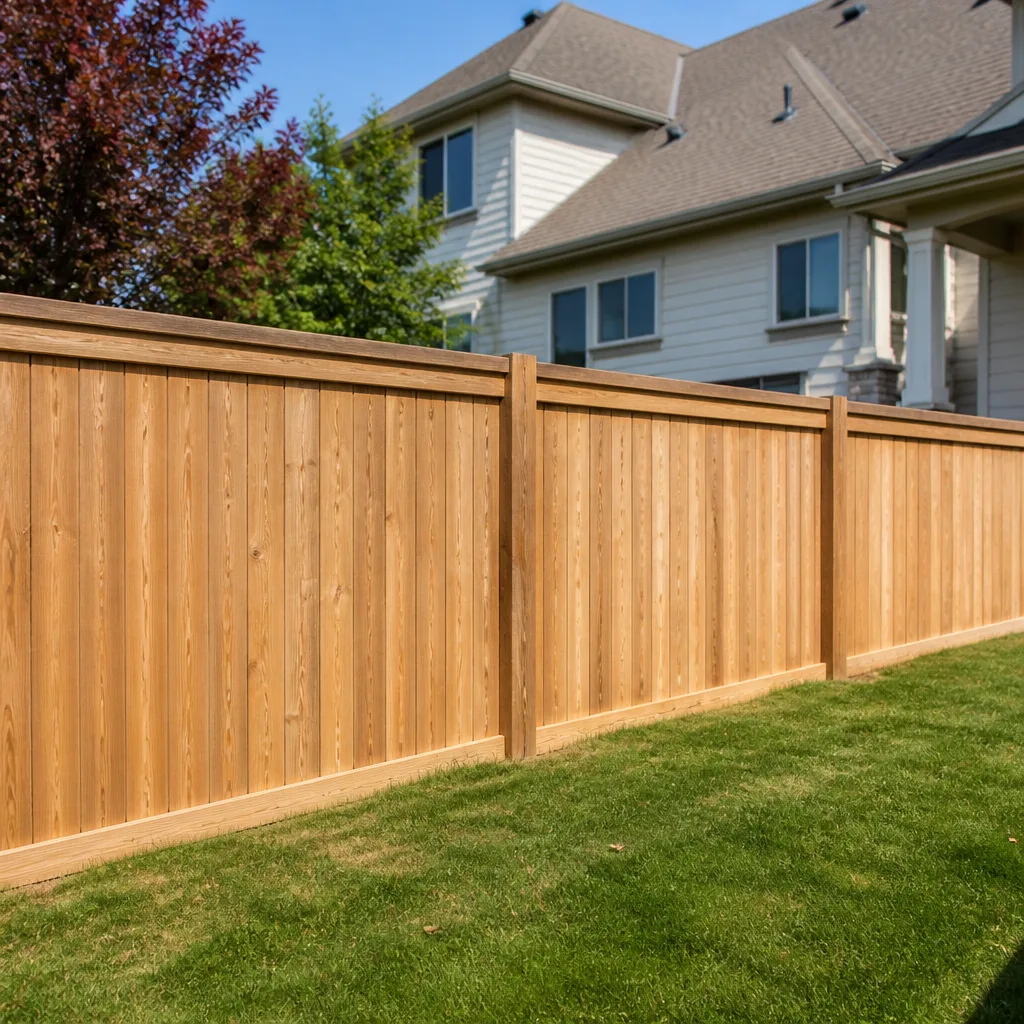 Fence
 Kitchen remodeling
 Bathroom remodeling
 Home additions & ADU
 Roofing
 Windows & doors
 Driveway & pavers
Free written scope consultation - allowances, timeline, and change-order rules on paper before a single trade is scheduled
DIY vs Professional Fence Installation: What’s Safe to Do Yourself
The number-one reason DIY fence projects get abandoned half-finished isn’t skill. It’s hitting rock or caliche two feet down when the plan called for four, and not having the equipment to break through it. We’ve watched more than a few homeowners in Santa Clarita end up with a row of leaning posts and a rented auger parked in the driveway for a week because the ground fought back. This guide maps the real line between what a capable homeowner can handle and what goes sideways without the right tools and experience. No upsell, no scare tactics. Just an honest look at where the DIY column ends and the professional one begins.
Quick Answer
Replacing individual boards, rehanging a sagging gate, and sealing existing wood fence are genuinely safe and satisfying DIY jobs. Digging new post holes and building a full fence line from scratch is a different animal – especially in Santa Clarita, where caliche hardpan, buried irrigation, and old utility lines turn a weekend project into a multi-week slog. If you’re setting new posts, the professional column usually wins on cost, time, and code compliance.
Styles & brands we work with
- Kitchen remodeling
- Bathroom remodeling
- Home additions & ADU
- Roofing
- Windows & doors
- Driveway & pavers
- Fence
Table of Contents
- What Actually Belongs in the DIY Column
- Why Digging in Santa Clarita Is Harder Than Most Guides Admit
- The Real Equipment Math: DIY vs Professional
- Property Lines, HOA Rules, and the Two-Hour Research Window
- Three Checkpoints to Watch During a Professional Install
- Material Choices and What to Buy Where
- Common Mistakes to Avoid
- When to Call a Professional
What Actually Belongs in the DIY Column
Some fence work is genuinely within reach for a homeowner with basic tools and a free Saturday. We tell people this all the time when they call asking about a full replacement and really just need a repair. Saving them money on the small stuff builds trust that lasts.
Here’s the honest list of what you can safely handle yourself:
- Replacing individual fence boards. A cracked or rotted picket nailed to a sound post comes off with a pry bar and goes back on in twenty minutes. No digging required.
- Rehanging a sagging gate. Most sagging gates are a hinge problem, a latch alignment problem, or a loose post at the top of the frame. Add a diagonal brace, swap the hinges, adjust the lag bolts, and you’ve bought yourself years.
- Applying sealant to existing wood fence. A pump sprayer and a couple of hours of rolling extends the life of a wood fence by years in our dry climate. This is the single highest-return DIY fence job on the list.
- Tightening loose pickets and resetting popped nails. A box of exterior screws and a driver bit will do more for the appearance of an aging fence than most people realize.
- Painting or staining a fence in good shape. No structural risk, and the visual payoff is immediate.
Notice what isn’t on that list. Nothing that requires digging. Nothing that requires setting a post in concrete. Nothing that involves a full run of fence line. Those are the jobs where the gap between “looks manageable” and “actually manageable” gets wide. For a deeper look at what a full replacement involves and how we approach it, see our Fence Installation in Santa Clarita page.
Why Digging in Santa Clarita Is Harder Than Most Guides Admit
Most generic DIY fence guides are written by people who’ve never dug a hole in the Santa Clarita Valley. They assume soil. We have caliche.
Caliche is a calcium carbonate hardpan that forms in arid climates where water evaporates before it drains deep enough to carry minerals away. The result is a layer of cemented soil that can be as hard as soft rock, sometimes six inches below the surface, sometimes two feet down. It’s not everywhere, but it’s common enough across the valley that any experienced crew assumes it on every job until proven otherwise. A digging bar will get through it. A spade will not.
Then there are the other underground surprises:
- Buried irrigation lines. In older Santa Clarita neighborhoods, sprinkler systems were often installed with minimal documentation. A shovel strike is the most expensive mistake a DIY excavator makes.
- Utility proximity. Before any digging, California law requires a call to 811 (the free Underground Service Alert line) at least two business days ahead. Tell them where you’re planning to dig and they’ll mark what’s there. This is not optional. It’s also free.
- Root balls from mature trees. In neighborhoods with established landscaping, roots extend further than the canopy suggests and can make a hole nearly impossible without cutting through them – which can damage the tree.
We’re not trying to talk anyone out of a shovel. But if you’ve planned a Saturday install and hit caliche at two feet, the honest truth is that the auger rental, the bar, and the time you’ll spend chipping through hardpan will cost more than a professional install would have. That’s not a sales pitch; it’s what we see.
The Real Equipment Math: DIY vs Professional
Ask any homeowner who’s priced out a DIY fence install and they’ll tell you: it’s cheaper than hiring a pro, right up until it isn’t. Let’s do the math honestly.
Here’s what a proper DIY install of a 100-linear-foot, 6-foot wood privacy fence actually requires:
- Gas-powered auger rental for the weekend, plus the trailer to haul it and the fuel: $200 – $350 depending on the machine and the rental yard.
- Post-hole digger, digging bar, and hand tools (you may already own these): $0 – $120.
- Quikrete or Sakrete Fast-Setting concrete for 20 posts at roughly two 50-lb bags per post: about $250 – $350 in bags alone.
- Wheelbarrow or mixing tub, hoe, and hose: $60 – $150 if you don’t already have them.
- 4-foot level and string line: $40.
- Dump fees for the spoil from 20 holes: $50 – $100.
Add that up and you’re at $600 – $1,100 in equipment and materials before you’ve bought a single board. A professional install bundles all of that into the price, and the crew already owns the auger, the mixing setup, and the truck. On top of that, we use Quikrete and Oldcastle materials, both of which hold up to our dry heat and occasional winter rain. You can look up those brands before you decide. The material savings DIY promises are real. The equipment savings aren’t.
Property Lines, HOA Rules, and the Two-Hour Research Window
This is the section that saves people the most money. In our experience, more DIY fence projects fail because of paperwork than because of digging.
Here’s what two hours of research up front will tell you:
- Where your property line actually is. The plat map at the county recorder, or a stamped survey you may already have from your home purchase, will tell you. If the fence goes up two feet onto the neighbor’s side, they’re within their rights to demand removal – at your cost.
- Whether your HOA has a fence design standard. Many HOAs in Santa Clarita regulate fence height, material, color, and even which side faces out (finished surface toward the neighbor or toward the street). A fence that doesn’t match the architectural review standard is a fence you may need to take down and rebuild.
- Whether a city permit is required. Fence height rules vary across the valley. Any fence over six feet typically triggers a permit, and retaining walls behind fences have their own separate rules.
- Whether your neighbor has an easement. Utility easements run through a surprising number of backyards, and a fence placed across one is a fence you may have to move.
We’ve seen a homeowner in a Santa Clarita neighborhood tear out a brand-new 90-foot fence because they hadn’t checked the HOA design standard. That’s $4,000 of materials in a dumpster. Two calls – one to the HOA and one to the city – would have prevented it. If you’re not sure where to start, ask us before you dig. Our team can tell you what we check on every project, and none of it is a secret.
Three Checkpoints to Watch During a Professional Install
Hiring a fence company doesn’t mean checking out until the invoice arrives. Whether you hire us or anyone else, watch these three checkpoints. Shortcuts almost always show up here first.
Checkpoint 1: Post depth and hole size. A proper post hole for a 6-foot wood fence goes at least two feet down (deeper for gates, corners, and end posts) and is dug wider than the post so concrete can surround it. Before concrete goes in, take a look. If the posts are set a foot down or wedged with rocks instead of concrete, that fence is going to lean in a windstorm. In our climate, hole depth matters more than people realize because the ground dries and contracts, and shallow posts work their way loose.
Checkpoint 2: String-line and post level. A professional crew uses a string line down the run and a level on every post. Look at the line of the fence from the end of the run. If it wobbles, something’s off. Photos during the set are worth taking. It’s easier to fix a post before the concrete cures than after.
Checkpoint 3: Rail attachment and fastener choice. The rails should be attached with nails or screws long enough to bite deeply into the post (minimum 3 inches for a 2×4 rail on a 4×4 post). Boards should be attached evenly and sequentially, with the fasteners not splitting the pickets. This is where cheap crews cut corners, because fasteners don’t show up in the final photo.
Any written quote worth the paper should spell out the fence height, post depth, post spacing (usually 8 feet on center for wood), concrete type, and material brand. Ours do, and any changes are in writing before the work moves. That’s what the Barrett & Sons Construction Santa Clarita home page means by “name on the truck.”
Material Choices and What to Buy Where
Material choice drives the entire project cost, and it’s the one place where DIY genuinely saves a lot. Here’s a plain-spoken look at what’s on the market.
- Pressure-treated pine. The workhorse. Cheapest per linear foot, holds up in our climate, and needs sealing every few years. This is what most fence installs in Santa Clarita use.
- Cedar. Nicer to look at, naturally rot-resistant, roughly 30 – 40% more expensive than PT pine. Worth the upgrade on street-facing fence.
- Vinyl. Zero maintenance, but the color and texture choices are limited and the panels can crack in extreme heat cycling. Higher upfront cost, lower long-term upkeep.
- Composite. The middle ground. Better than vinyl for appearance, more expensive than wood, no painting required.
- Ornamental steel or aluminum. Best for front-yard applications and view corridors. Usually requires a professional install because the panels are heavy and precise.
Where to buy matters. Quikrete and Sakrete concrete are both common at hardware stores and home centers in Santa Clarita. Board suppliers vary – we use Oldcastle materials when the spec calls for them because the grading is reliable. If you’re buying fence boards yourself, look for straight grain, minimal knots, and no green tint (green means the pressure treatment is still curing, and the boards will shrink after install if you don’t let them adjust).
If you’re planning a bigger outdoor project alongside the fence – a paver patio, a new driveway, or a home addition – the fence is often the last piece in the sequence. Have a look at our Driveway & Pavers in Santa Clarita page and Home Additions & ADU in Santa Clarita page if you’re coordinating multiple projects.
Common Mistakes to Avoid
- Not calling 811 before digging. Every single time, every single project. It’s free and it can prevent a gas or water line strike that costs thousands. Two business days of lead time is required.
- Skipping the concrete. Setting posts in gravel or dry-packed soil is common in quick DIY installs. It looks fine for a season, then the posts wobble. In Santa Clarita’s clay-heavy, dry soils, concrete is not optional.
- Buying fence boards without letting them acclimate. Pressure-treated boards are damp when you buy them. If you install them immediately they shrink and you get gaps between pickets. Stack them for a week first.
- Building on the wrong side of the property line. Even a foot over is a problem. Get the survey, or find the plat map. If the neighbor’s fence is the only marker, don’t assume it’s accurate.
- Ignoring HOA design standards. The most expensive fence is the one you have to tear down. Call the HOA before buying materials.
- Underbuilding gates. Gates get the most use and the most stress. A gate post needs more concrete, deeper setting, and a diagonal brace. Many DIY gate posts fail within a year.
- Not planning for the slope. Fences on grade need stepped posts or a racked design, and many DIY installs go crooked at the first slope. Our valley has lots of gently rolling lots; plan for it.
When to Call a Professional
Call us before you dig if any of these describe your project: you’re installing a new fence line for the first time, the run is longer than about 40 linear feet, the ground is caliche or rock, you have no documentation of where utilities run, your lot slopes, your HOA has a design standard, or the fence is over six feet tall. Any of those changes the math fast enough that a professional install usually costs less than the DIY project once time is valued honestly. Barrett & Sons Construction Santa Clarita offers free estimates in Santa Clarita – call (833) 762-8116 to schedule one. We’ll tell you flatly whether the job is worth doing yourself. Sometimes the answer is yes, and we’ll say so.
See the difference
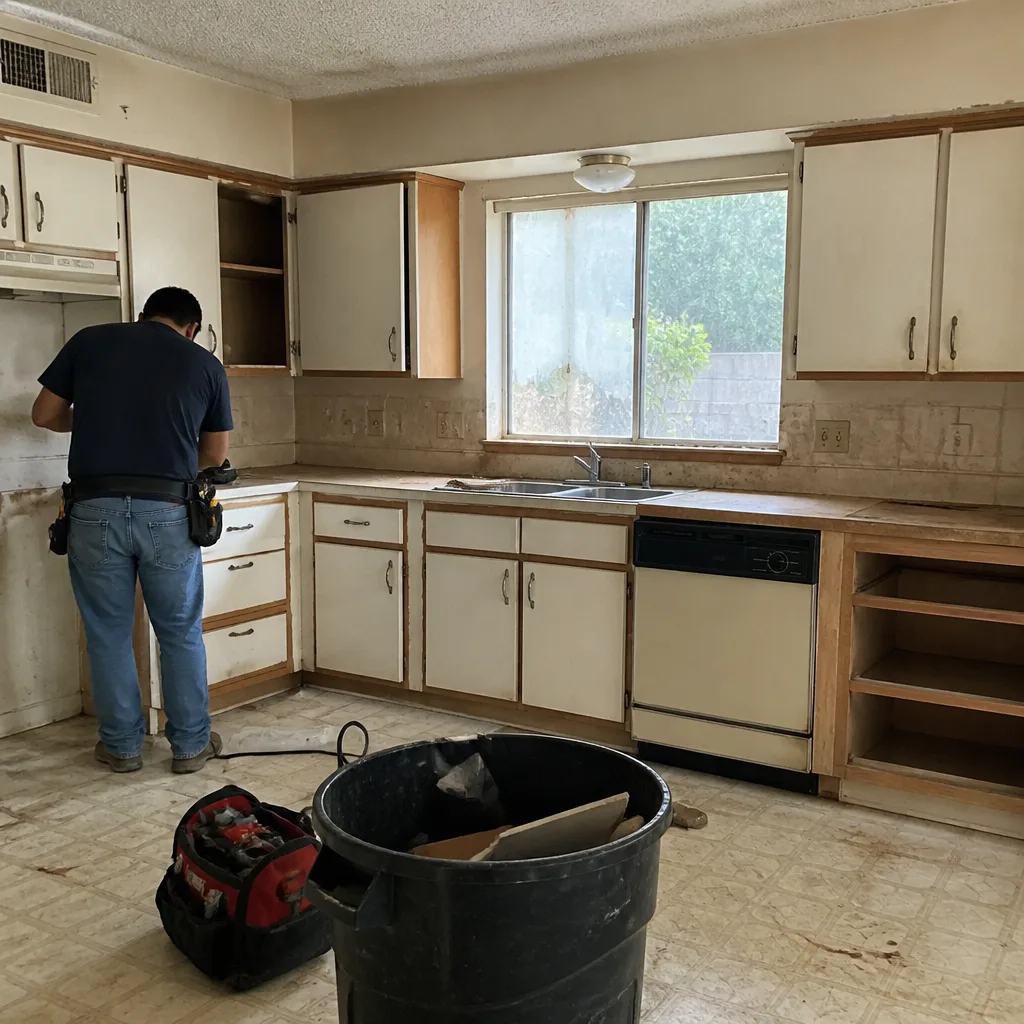 Before
 After
 Before
 After
 Before
 After
Frequently Asked Questions
For a standard 6-foot wood privacy fence, our material costs typically run $22 – $35 per linear foot, and depending on the site conditions, install prices land around $40 – $65 per linear foot. A 100-foot run usually totals $4,000 – $6,500 including concrete, posts, and rails. Vinyl runs higher ($55 – $85 per linear foot), and ornamental steel higher still. Call (833) 762-8116 for a written line-item quote specific to your yard.
You can, but plan on caliche. Most homeowners find that the auger rental, digging bar, and added time push the DIY cost above a professional install once rock and hardpan are on the table. Call 811 first regardless, and if you hit caliche past the second foot, call (833) 762-8116 for an honest look before you keep digging.
Fences up to six feet generally don’t require a permit; anything taller typically does. Front-yard fences and fences on corner lots often have additional sight-line rules. Check with the city before you buy materials, and check with your HOA’s architectural review committee as well. If a permit is required, we pull it – our Santa Clarita jobs include permits and inspections on every eligible project.
A 100-foot, 6-foot wood fence usually takes our crew two to three days from start to finish, weather permitting. Caliche slows things down, and gates add a half-day. The concrete needs at least 24 hours to cure before we attach boards to keep posts true. Call (833) 762-8116 to schedule a free estimate and get a realistic timeline for your property.
Yes, and we encourage it. If the posts and rails are solid, replacing individual pickets is a genuine DIY job that takes an afternoon per section and costs a fraction of a new fence. Pry the old pickets, check the rails for rot, and screw the new pickets into the rail. No digging, no concrete, no permits.
Not without a written change order. If the scope changes mid-project because we hit something not visible up front – a buried tank, a root system, a utility line – we stop and give you a written change order before a single additional nail goes in. Every Barrett & Sons job runs this way, and every price change shows up on paper before work moves.
The Bottom Line
The line between DIY and professional fence work is real and it’s not about skill. It’s about ground. Pickets, gates, and sealing are yours to handle. Post holes in Santa Clarita’s caliche, with buried irrigation and utility conflicts, are where DIY projects go sideways. Add the honest cost of auger rental, bags of Sakrete, and the time you’d spend chipping hardpan, and the professional install usually wins. Get the survey. Call 811. Call your HOA. Then decide. If you want a written quote to compare against your DIY numbers, Barrett & Sons Construction Santa Clarita will come look, tell you what we’d do, and put the price in writing. Reach us at (833) 762-8116 – free estimates, no trip charge inside the county, and a free second opinion on any written estimate you’re holding. Our technicians have up to 28 years of experience on fence work, and every completed job is backed by our 90-Day Done Right Promise. Proudly serving Santa Clarita and the surrounding communities for over 29 years.
Written by the team at Barrett & Sons Construction Santa Clarita.